Table of Contents
Advertisement
Quick Links
Advertisement
Table of Contents

Related Manuals for JOBO Photo Display PDJ077


Summary of Contents for JOBO Photo Display PDJ077
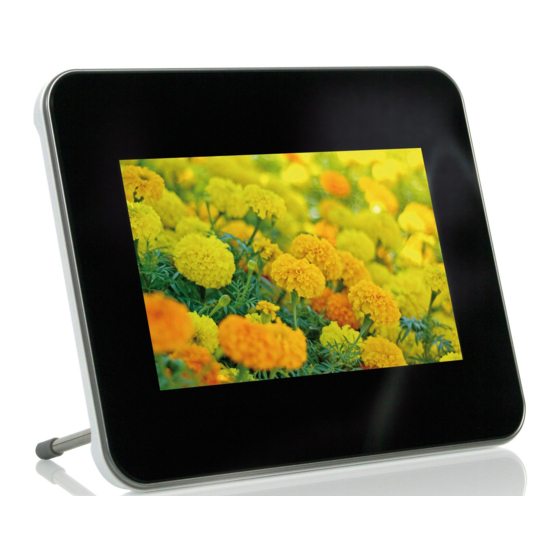
- Page 1 Photo Display P D J 0 7 7 User’s Manual...
-
Page 2: Table Of Contents
Introduction ...1 Important Safety Precautions...2 Location of Control Buttons ...4 Remote Control...5 Getting Started ...6 Remote control preparation ...6 Connecting the power cable ...6 Inserting media...7 Copy files from computer ...8 Viewing Photos...9 Main screen ...9 Running a slideshow ...10 Viewing thumbnails ...10 Browsing a single picture ... - Page 3 Frequently Asked Questions ...17 Technical Specification ...19 Contact/Service ...20...
-
Page 4: Introduction
Before operating this unit, please read this manual thoroughly and keep it for future reference. This manual will help you use all of the exciting features to make your Digital Photo Frame view more enjoyable. The PDJ077 is compatible with SD, MMC, MS and CF memory card formats, which enables you to view digital photo directly from your camera’s memory card. -
Page 5: Important Safety Precautions
Important Safety Precautions Always follow these basic safety precautions when using your Digital Photo Frame. This will reduce the risk of fire, electric shock, product damage and personal injury. Warning: To reduce the risk of electric shock, do not remove the cover or back. There are no user-serviceable parts inside. Refer servicing to qualified personnel. - Page 6 Disclaimer: We do not recommend the use of any ammonia or alcohol-based cleaners on the LCD screen or plastic casing. Some chemical cleaners have been reported to damage the screen and/or display case. JOBO will not be liable for damage resulting from the use of any ammonia or alcohol-based cleaners.
-
Page 7: Location Of Control Buttons
Location of Control Buttons SD/MMC/MS -card slot CF-card slot [ ] Press to move the cursor down or select the next picture. [ ] Press to move the cursor up or select the previous picture. [ ] Press to move the cursor right or rotate the picture. [ ] Press to move the cursor left or rotate the picture. -
Page 8: Remote Control
Remote Control Press to turn the player on or to standby mode. Press to move the cursor upward or select previous picture. Press to move the cursor leftward or rotate the picture. MENU Press to return to the main menu. Press to move the cursor downward or select next picture. -
Page 9: Getting Started
Note: You can leave the power switch on, and use the To turn off the power of the Digital Photo Frame completely, slide the power switch from ON to OFF. User Manual PDJ077 page 6 button on the remote control to turn the frame on or to standby mode. -
Page 10: Inserting Media
Inserting media Insert the SD/MMC/MS card into the 3-in-1 card slot with the metallic contacts facing towards the display. Insert the CF card into the CF card slot with the pinholes pointing towards the CF card slot opening. Insert the USB drive into the USB HOST slot as shown. Important: Do not force the memory card in the memory slot. -
Page 11: Copy Files From Computer
Before connecting to computer, remove any connected USB drive from the frame. Connect the mini plug of the USB cable to the mini USB port on digital photo frame, and other end to the computer. The computer system detects “New hardware” and starts to install the driver automatically. Wait for the system to finish the installation. -
Page 12: Viewing Photos
Appears when you insert a CF card. SETUP To customize the settings of Digital Photo Frame. Press the [ ] or [ ] button on the remote control to highlight a picture source. To start a slideshow, press the [ ] button. -
Page 13: Running A Slideshow
Running a slideshow In any mode, press the [ ] button to start slideshow. To pause the slideshow and view a single picture, press the [OK] button. To resume the slideshow, press the [OK] button again. Press the [ ] button to exit the slideshow and view the pictures in thumbnail. Press the [MENU] button to exit the slideshow and return to the main screen. -
Page 14: Browsing A Single Picture
Browsing a single picture You can select a single picture to display on the screen, without a slideshow. Select a picture in the thumbnail view, and press the [OK] button. The selected picture is displayed on the full screen. To view the previous or next photo, press the [ ] or [ ] or [ To rotate a picture, press the [ ] or [ ] button. -
Page 15: Using Osd Menu
Using OSD menu You also can use the OSD menu to manually view the photos one by one. Press the [OSD] button during viewing the picture or slideshow. The OSD menu appears on the screen and slideshow pauses. Press the [ ] or [ ] button to navigate between the icons on the OSD menu. To start slide show from the current picture, highlight To skip to previous picture, highlight To skip to next picture, highlight... -
Page 16: Managing Files
Managing Files In the File mode, you can view all playable files and folders on the memory source. You also can copy files from a memory device to another memory device or delete the files. Select a memory source (e.g. USB, SD/MMC) in the main screen and press the [OK] button. -
Page 17: Coping Files
Coping files Highlight a file using the [ ] or [ ] button and press the [ ] button. A check mark is displayed next to the file. To check more files, repeat above step. Press the [OSD] button. A menu with COPY and DELETE options is displayed on the right screen. -
Page 18: Deleting Files
Use the [ ] or [ ] button to select “ Changing Frame Settings The system settings let you customize and configure your Digital Photo Frame. Select the SETUP icon in the main screen and press the [OK] button. Or press the [SETUP] button any time. -
Page 19: Settings Menus
Settings menus Setting options Description LANGUAGE Choose the on-screen language. Specify how long each picture is displayed in a slide show. SLIDESHOW TIME The available options include: 3s, 5s, 15s, 1 min, 15mins, 1 hour. Specify the transition effect between pictures in a slide show. The available options include: Random, Fading, Vexpand Top, Vexpand Bottom, Vexpand Middle, TRANSITION EFFECT Hexpand Left, Hexpand Right, Hexpand Middle, Off, Bottom to Top, Top to Bottom, Left to Right,... -
Page 20: Frequently Asked Questions
The file formats on your card or USB device might not be supported (only JPEG pictures are accessible). Provide files with the supported JPEG. There is a memory card inserted in the Digital Photo Frame, but the device is not able to read the card. What can I do? •... - Page 21 Note: The rotated picture will return to its original orientation after you power off the Digital Photo Frame. What is the best picture resolution displayed on the screen? • The best resolution is 640*480 and the maximum picture resolution supported by this Digital Photo Frame is 8000*8000 pixels. User Manual PDJ077 page 18...
-
Page 22: Technical Specification
Technical Specification Digital TFT LCD Panel size: 7 inches Display Screen aspect ratio: 4:3 Resolution: 640*480 pixels Remote control, DC in Input: 100~240V AC, 50/60Hz Power adaptor Output: 9V 1.5A DC USB Host 2.0 & USB device 2.0 USB port Supports USB flash media SD™... - Page 23 Monday through Thursday from 9:00 am to 4:00 pm and on Friday from 9:00 am to 1:00 pm. Independently of these service times you can also get in touch by e-mail, fax or mail: JOBO AG Koelner Strasse 58 D-51645 Gummersbach Tel.
Need help?
Do you have a question about the Photo Display PDJ077 and is the answer not in the manual?
Questions and answers