Table of Contents
Advertisement
Quick Links
Advertisement
Table of Contents

Subscribe to Our Youtube Channel
Related Manuals for JOBO PDJ104


Summary of Contents for JOBO PDJ104
- Page 1 User Manual Version 1.0...
-
Page 2: Table Of Contents
Content Important Safety Precautions ....................3 Cleaning LCD Screen......................3 1. Introduction .........................4 1.1. Key features .......................4 1.2. Package content ......................4 1.3. Getting Started ......................4 2. Getting to know the PLANO 10..................5 2.1 Main parts........................5 2.2. Button Control......................6 2.3. Replacing the Remote Control Battery ................6 3. -
Page 3: Important Safety Precautions
Unplug the JOBO Photo Display PLANO 10 before performing care and maintenance. • Do not block the ventilation holes on the back of the JOBO Photo Display PLANO 10 at anytime. • Keep your Multimedia JOBO Photo Display PLANO 10 out of direct sunlight and heat sources. -
Page 4: Introduction
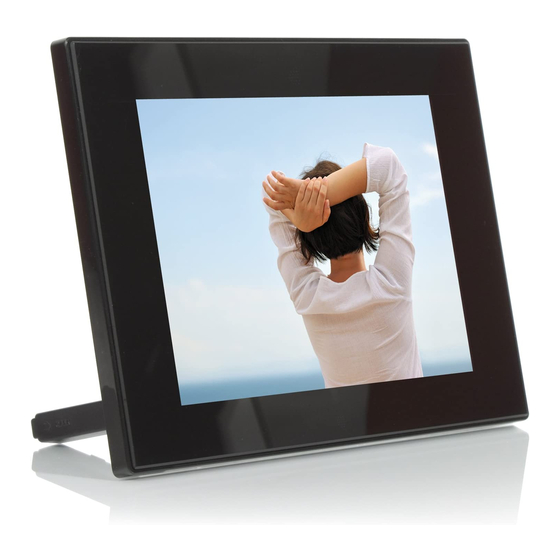
3. Pull out adjustable Stand to adjust the viewing angle. 4. Press the Power ON button on the back of the JOBO Photo Display PLANO 10 . The frame will automatically start a slide show of the photos on the card. -
Page 5: Getting To Know The Plano 10
Use the Up and Down arrows to choose a photo. Press the Play button (>/ll) on the top of the JOBO Photo Display PLANO 10, or the Enter button on the remote control. Note: Pull the plastic tab sticking out of the remote control. It protects the battery, and the remote control will not work unless it is removed. -
Page 6: Button Control
2.2. Button Control You can control all of the JOBO Photo Display PLANO 10’s functions with the buttons on the top of the frame or with the remote control. To display the setup screen, simply hold down the Exit button for a second, or press the Setup button on the remote control. -
Page 7: Functions Of The Photo Display
• When the Remote control will not be used for a long period of time, remove the battery from the remote control to prevent leaking and corrosion. • Incorrectly inserting, shorting, dismantling, or heating the battery or throwing it into a fire may cause the battery to rupture and leak. 3. -
Page 8: Card Selection Screen
3.2. Card Selection Screen When a memory card is inserted the corresponding symbol is highlighted, otherwise it is dimmed. You can select between the highlighted symbols and confirm by pressing ENTER. 3.3. Thumbnail Screen This screen shows thumbnail versions of all photos on the selected memory source In thumbnail view you can see 16 (4x4) small images. -
Page 9: Full Screen View
3.4. Full Screen View While an image is displayed as full image on the screen you have the following options: • Press ENTER to start or pause the slideshow. • Press ZOOM to zoom in the image. • Press ROTATE to rotate the image 90 counter clockwise. 3.5. -
Page 10: Set Time, Date And Alarm
• When the alarm is set, you can see the red alarm icon right next to the clock. • Today’s date is highlighted in yellow in the calendar. 4.1. Set Time, Date and Alarm Press the SETUP button to setup alarm, clock, and date, as shown below. You can select on field with the RIGHT and LEFT buttons and you can edit the highlighted field with UP and DOWN button. -
Page 11: Warranty Conditions
If you want to make any claims under the warranty you are asked to contact the Technical Service of JOBO AG. You will be expected to quote the serial number of the JOBO product and may also have to submit proof of purchase to show that the warranty period has not yet elapsed.
Need help?
Do you have a question about the PDJ104 and is the answer not in the manual?
Questions and answers