Table of Contents
Advertisement
Quick Links
Advertisement
Table of Contents

Related Manuals for JOBO PDJ070


Summary of Contents for JOBO PDJ070
- Page 1 User Manual Version 1.0...
-
Page 2: Table Of Contents
Table of Contents Important Safety Precautions ....................3 Cleaning LCD Screen......................3 1. Introduction .........................4 1.1. Key features .......................4 1.2. Package content....................4 1.3. Getting Started ....................4 2. Getting to know the PLANO 7 ..................5 2.1 Main parts ......................5 2.1. Buttons and Remote Control .................5 3. -
Page 3: Important Safety Precautions
Unplug the JOBO Photo Display PLANO 7 before performing care and maintenance. • Do not block the ventilation holes on the back of the JOBO Photo Display PLANO 7 at anytime. • Keep your Multimedia JOBO Photo Display PLANO 7 out of direct sunlight and heat sources. -
Page 4: Introduction
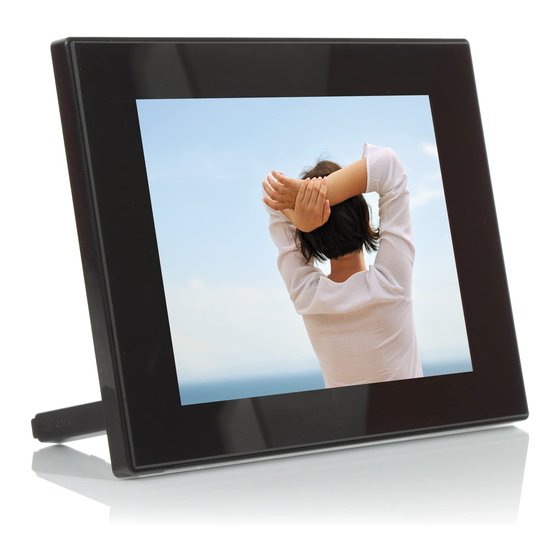
3. Pull out adjustable Stand to adjust the viewing angle. 4. Press the Power ON button on the back of the JOBO Photo Display PLANO 7. The frame will automatically start a slide show of the photos on the card. -
Page 5: Getting To Know The Plano 7
2.1. Buttons and Remote Control You can control all of the JOBO Photo Display PLANO 7’s functions with the buttons on the top of the frame or with the remote control. To display the setup screen, simply hold down the Exit button for a second, or press the Setup button on the remote control. -
Page 6: Key Operating Screens
In addition you can operate the PLANO 7 with the infrared remote control. Here is a description of the remote control: 3. Key Operating Screens The key operating screens will guide you through the most important functions of the PLANO 7. 3.1. -
Page 7: Connect A Usb Flash Drive
3.1.1. Connect a USB Flash Drive You can also plug a USB Flash Drive into the USB port on your JOBO Photo Display PLANO 7, then follow the same steps in Card Selection Screen. Your JOBO Photo Display PLANO 7 will treat a USB Flash Drive the same way it sees memory cards. -
Page 8: Slide Show And Photo Options
1. With the Thumbnails screen displayed, press Enter to display the selected photo on the full screen. 1. Press the Left Arrow to return to the previous photo. 2. Press the Right Arrow to display the next photo. 3. To stop the display and return to the Thumbnail screen, press the Exit button. 4. -
Page 9: Settings Menu
5.2. Settings Menu You can control all of the viewing options in the Setup Menu using the buttons on the top of the frame or the remote control. You can display the on-screen Setup Menu any time the Photo Display when it is not displaying Photos, by pressing the Setup button. -
Page 10: Frequently Asked Questions
Q: How do I set up my JOBO Photo Display PLANO 7? A: It is very simple to get your JOBO Photo Display PLANO 7 out of the box and running in just a few minutes. Just plug the power adapter into the JOBO Photo Display PLANO 7 and into a standard Wall Socket. -
Page 11: Warranty Conditions
If you want to make any claims under the warranty you are asked to contact the Technical Service of JOBO AG. You will be expected to quote the serial number of the JOBO product and may also have to submit proof of purchase to show that the warranty period has not yet elapsed.
Need help?
Do you have a question about the PDJ070 and is the answer not in the manual?
Questions and answers