Sign In
Upload
Download
Table of Contents
Contents
Add to my manuals
Delete from my manuals
Share
URL of this page:
HTML Link:
Bookmark this page
Add
Manual will be automatically added to "My Manuals"
Print this page
×
Bookmark added
×
Added to my manuals
Manuals
Brands
Polaroid Manuals
LCD TV
37"
User manual
Polaroid 37" User Manual
37”/42” 16:9 full hd digital lcd
Hide thumbs
Also See for 37"
:
User manual
(76 pages)
1
Table Of Contents
2
3
4
5
6
7
8
9
10
11
12
13
14
15
16
17
18
19
20
21
22
23
24
25
26
27
28
29
30
31
32
33
page
of
33
Go
/
33
Contents
Table of Contents
Bookmarks
Table of Contents
Table of Contents
Table of Contents
Cleaning the Screen and Cabinet
Disposing of Your TV at the End of Service Life
Superior Features of Your Integrated Digital Television
Receiving Digital Broadcasting Channels
1 Important Information
2 Features of Your New Television
Special Features
3 Important Safety Instructions
4 Start
Antenna Connection
Powering on Your Device and the Initial Use
Batteries
5 Your New Television
TV Control Panel
Rear and Side External Connections
Remote Control
6 Performing the Initial Power-On Settings
TV Controls
Turning on the TV and Setting the Channels
Performing Digital Tunings
First Time Installation
Program Table
Language Settings
Performing Analog Tunings
Common Interface Module
System Menu
Channel Number
7 Settings of Your New Television
Sound Menu Settings
Picture Menu Settings
Color Temperature
Picture Format
Features Menu Settings
Other Picture Features
Pip Position
Pip Size
8 Teletext
External Equipment Connections
10 Help and Tips
Technical Specifications Chart
Advertisement
Quick Links
1
Rear and Side External Connections
2
Remote Control
Download this manual
See also:
User Manual
37"/42" 16:9 FULL HD DIGITAL LCD
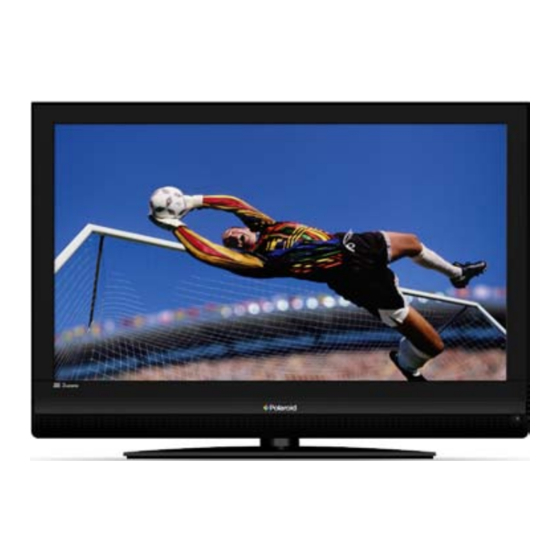
Your TV may look different from the one pictured above.
Questions?
Need some help?
This manual should help you
understand your new product.
If you still have questions, call
our help line found on the
insert with this icon:
Or visit
www.polaroid.com/support.
Table of
Contents
Previous
Page
Next
Page
1
2
3
4
5
Advertisement
Table of Contents
Need help?
Do you have a question about the 37" and is the answer not in the manual?
Ask a question
Questions and answers
Related Manuals for Polaroid 37"
LCD TV Polaroid 37" User Manual
37” lcd television with ntsc/atsc tuners (76 pages)
LCD TV Polaroid 3211-TLXB User Manual
32” hd widescreen lcd television (64 pages)
LCD TV Polaroid 32GSD3000 Manual
Digital hd led tv & dvd combo (2 pages)
LCD TV POLAROID HD-READY DIGITAL LCD User Manual
32”/37” 16:9 hd-ready digital lcd (30 pages)
LCD TV Polaroid PL6521UHDG User Manual
4k uhd android tv (52 pages)
LCD TV Polaroid FLM-2017 User Manual
20” lcd television (29 pages)
LCD TV Polaroid FLM-2632 Owner's Manual
26” lcd television with ntsc/atsc tuner (59 pages)
LCD TV POLAROID DEFINIA User Manual
Lcd tv (49 pages)
LCD TV POLAROID HD-READY LCD TV User Manual
42” 16:9 hd-ready lcd tv (26 pages)
LCD TV POLAROID FULL HD LCD TV User Manual
42" 1080p full hd lcd tv (21 pages)
LCD TV Polaroid FLU-2632 User Manual
Widescreen lcd television (46 pages)
LCD TV Polaroid FLM-1507 Manual
15 ” lcd television (22 pages)
LCD TV POLAROID HD LCD TV User Manual
15” / 19” hd lcd tv (45 pages)
LCD TV Polaroid FLM-1512 User Manual
15 ” lcd television (22 pages)
LCD TV Polaroid FLM-2011 Operating Manual
20” lcd television (37 pages)
LCD TV POLAROID LCD TV User Manual
15” / 19” 4:3 lcd tv (19 pages)
This manual is also suitable for:
42"
Table of Contents
Print
Rename the bookmark
Delete bookmark?
Delete from my manuals?
Login
Sign In
OR
Sign in with Facebook
Sign in with Google
Upload manual
Upload from disk
Upload from URL


Need help?
Do you have a question about the 37" and is the answer not in the manual?
Questions and answers