Table of Contents
Advertisement
Customer Operation &
Installation Manual
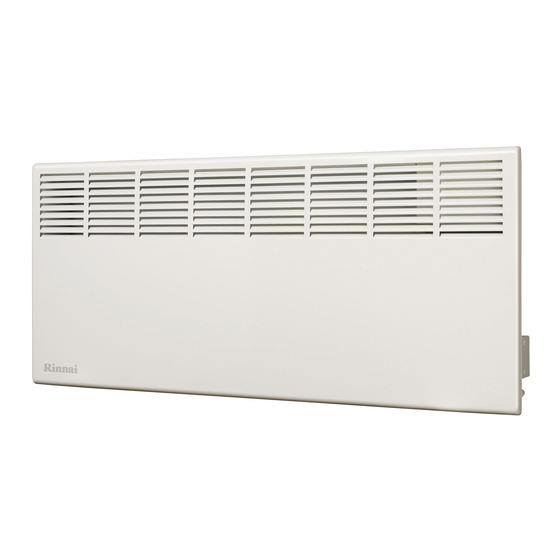
Electric Panel Heaters
MODELS: JEPH-10DTW / JEPH-15DTW / JEPH-22DTW
For safe and reliable operation and optimum
performance this appliance must be operated,
installed and maintained in accordance with these
instructions.
Read these instructions thoroughly before attempting
installation and operation.
Keep these instructions handy for future reference.
Distributed and serviced in Australia under a Quality
System certified as complying with ISO 9001 by
SAI Global
Advertisement
Table of Contents

Summary of Contents for Rinnai JEPH-10DTW
- Page 1 Customer Operation & Installation Manual Electric Panel Heaters MODELS: JEPH-10DTW / JEPH-15DTW / JEPH-22DTW For safe and reliable operation and optimum performance this appliance must be operated, installed and maintained in accordance with these instructions. Read these instructions thoroughly before attempting installation and operation.
-
Page 2: Warranty, Features & Specifications
2. Failure due to abuse or misuse, improper maintenance, failure to maintain or improper storage. 3. Failure due to incorrect or unauthorised installations or outdoors use. 4. Failure or damage caused by alterations, service or repair work carried out by persons other than Rinnai service persons or service agents. -
Page 3: Table Of Contents
ELECTRONIC LOCK FUNCTION.......................... 5 CARE AND MAINTENANCE ........................6 CARE OF THE HEATER ............................6 SERVICE AND REPAIR ............................6 DISPOSAL ................................6 INSTALLATION ............................7 GENERAL ................................7 WALL INSTALLATION............................7 FREESTANDING INSTALLATION ........................8 CONTACT INFORMATION........................9 Rinnai Australia Operation Manual... -
Page 4: Safety & Important Points
• The flexible cord and plug must not be modified. If the cord or plug are damaged, they must be replaced by Rinnai or a Rinnai appointed service agent. • DO NOT cover or place articles on or against any parts of this heater, to avoid overheating. -
Page 5: How To Operate The Heater
Degrees Celsius indicator Constant Frost protection indicator Lock indicator Louvre, warm air discharge 240 Volt power cord & plug Air inlets Optional castors for floor mounting (see “INSTALLATION” on pages 7 & 8 for installation options) Rinnai Australia Operation Manual... -
Page 6: Manual Operation
During the initial burning in period some light grey smoke and smell may be experienced. This is normal and is caused by the burning of oil and dust from the manufacturing process. During this IMPORTANT period the space being heated should be well ventilated. Rinnai Australia Operation Manual... -
Page 7: Delay Off Timer Operation
5 seconds between displaying the set temperature and the time remaining of the set delayed off timer period. 5. To cancel delay off timer and return manual operation press MODE button three times 6. To stop heater operation completely press power button Rinnai Australia Operation Manual... -
Page 8: Anti-Frost Protection Function
To Deactivate the Lock To deactivate the lock, repeat locking step above to return to normal operation The Lock function is also de-activated if the heater is switched ‘off’ via the main power switch NOTE Rinnai Australia Operation Manual... -
Page 9: Care And Maintenance
5. Ensure the heater is dry before reconnecting to the electricity supply. SERVICE AND REPAIR If the electric power cord or plug are damaged, they must be replaced by Rinnai or a Rinnai appointed service agent. There are no user serviceable parts inside the appliance. All service and repair work must be carried out by persons competent and permitted by law to do so. -
Page 10: Installation
2. Loosen the locking latch on the taller leg of the mounting bracket and detach the mounting bracket from the back of the panel heater. 3. Position the mounting bracket on the wall. Ensure the two bottom mount holes are at least 175mm from the floor and drill holes as required. Rinnai Australia Operation Manual... -
Page 11: Freestanding Installation
5. Remove the cable tie from the flexible cord and insert the 2 pin plug of the heater into the power socket outlet. DO NOT bundle or coil the flexible cord to reduce it’s length as overheating and subsequent fire hazard could result. Rinnai Australia Operation Manual... -
Page 12: Contact Information
*Cost of a local call Higher from mobile or public phones. Fax: (03) 9271 6622 Rinnai has a Service and Spare Parts network with personnel who are fully trained and equipped to give the best service on your Rinnai appliance. If your appliance requires service, please call our Service Line.


Need help?
Do you have a question about the JEPH-10DTW and is the answer not in the manual?
Questions and answers