Table of Contents
Advertisement
Operation & Installation Manual
Electric Panel Heaters
Models: PEPH-10PEW, PEPH-15PEW & PEPH-22PEW
For safe and reliable operation and optimum
performance this appliance must be operated, installed
and maintained in accordance with these instructions.
Read these instructions thoroughly before attempting
installation and operation.
Keep these instructions handy for future reference.
Advertisement
Table of Contents

Related Manuals for Rinnai PEPH-10PEW


Summary of Contents for Rinnai PEPH-10PEW
- Page 1 Operation & Installation Manual Electric Panel Heaters Models: PEPH-10PEW, PEPH-15PEW & PEPH-22PEW For safe and reliable operation and optimum performance this appliance must be operated, installed and maintained in accordance with these instructions. Read these instructions thoroughly before attempting installation and operation.
- Page 2 BEFORE PROCEEDING WITH THE OPERATION OR INSTALLATION OF YOUR NEW HEATER PLEASE READ THIS MANUAL THOROUGHLY AND GAIN A FULL UNDERSTANDING OF THE REQUIREMENTS, FEATURES AND OPERATION OF YOUR NEW APPLIANCE. Rinnai PEPH_OIM...
-
Page 3: Table Of Contents
To Activate The Lock ..........................11 To Deactivate The Lock ..........................11 CARE AND MAINTENANCE......................12 CARE OF THE HEATER ..........................12 SERVICE AND REPAIR ..........................12 DISPOSAL ..............................12 INSTALLATION..........................13 GENERAL............................... 13 WALL INSTALLATION............................ 13 FREESTANDING INSTALLATION ......................... 14 CONTACT INFORMATION .......................16 Rinnai PEPH_OIM... - Page 4 This page is intentionally blank Rinnai PEPH_OIM...
-
Page 5: Warranty, Features & Specifications
2. Failure due to abuse or misuse, improper maintenance, failure to maintain or improper storage. 3. Failure due to incorrect or unauthorised installations or outdoors use. 4. Failure or damage caused by alterations, service or repair work carried out by persons other than Rinnai service persons or service agents. -
Page 6: Safety & Important Points
• The flexible cord and plug must not be modified. If the cord or plug are damaged, they must be replaced by Rinnai or a Rinnai appointed service agent. • DO NOT cover or place articles on or against any parts of this heater, to avoid overheating. -
Page 7: How To Operate The Heater
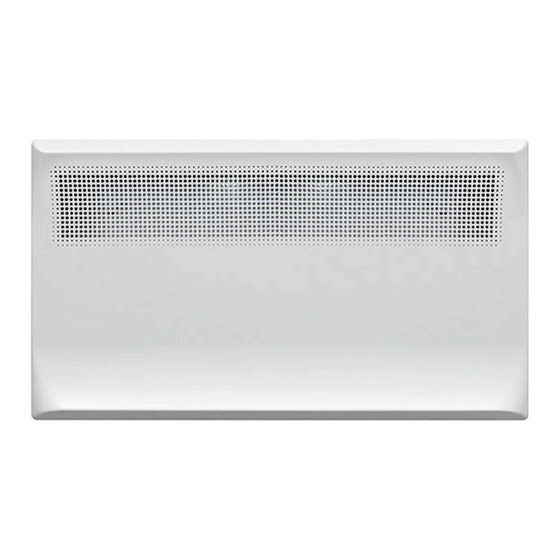
Warm air discharge 240 Volt power cord & plug Air inlets Optional castors for floor mounting (see “INSTALLATION” on page 14 for installation options) Mounting bracket for wall installation (see “INSTALLATION” on pages 13 & 14 for installation options) Rinnai PEPH_OIM... -
Page 8: Manual Operation
During the initial burning in period or after long periods of non use some light grey smoke or smell may be experienced. This is normal and is caused by dust that may have settled on the heating IMPORTANT element. During this period the space being heated should be well ventilated. Rinnai PEPH_OIM... -
Page 9: Programmed Operation
If the appliance is turned off using the power button the time will be saved. If the appliance is turned off using the main power switch then the time setting will be lost and NOTE will require re-setting. Rinnai PEPH_OIM... -
Page 10: Setting The Programmed Operation Timer
5. To edit the timer settings press the PROG button then change the state of the desire block(s) press the ‘Up’ or ‘Down’ buttons. To save the new timer settings press the PROG button 6. To stop Timer operation press the POWER button Rinnai PEPH_OIM... -
Page 11: 24 Hour Reset Button
All control functions are now locked and none of the buttons on the control will work. To Deactivate The Lock To deactivate the lock, repeat locking step above to return to normal operation. The Lock function is also de-activated if the heater is switched ‘off’ via the main power switch NOTE Rinnai PEPH_OIM... -
Page 12: Care And Maintenance
SERVICE AND REPAIR If the electric power cord or plug are damaged, they must be replaced by Rinnai or a Rinnai appointed service agent. There are no user serviceable parts inside the appliance. All service and repair work must be carried out by persons competent and permitted by law to do so. -
Page 13: Installation
For model PEPH22PEW, loosen the locking screw on each leg of the mounting bracket, depressing both to detach the mounting bracket from the back of the panel heater. 3. Position the mounting bracket on the wall. Ensure the two bottom mount holes are at least 175mm from the floor and drill holes as required. Rinnai PEPH_OIM... -
Page 14: Freestanding Installation
5. Remove the cable tie from the flexible cord and insert the 2 pin plug of the heater into the power socket outlet. DO NOT bundle or coil the flexible cord to reduce it’s length as overheating and subsequent fire hazard could result. Rinnai PEPH_OIM... - Page 15 NOTES Rinnai PEPH_OIM...
-
Page 16: Contact Information
Braeside, Victoria 3195 For further information visit: www.rinnai.com.au Rinnai has a Service and Spare Parts network with personnel who are fully trained and equipped to give the best service on your Rinnai appliance. If your appliance requires service, please call our National Help Line.
Need help?
Do you have a question about the PEPH-10PEW and is the answer not in the manual?
Questions and answers