Advertisement
Quick Links
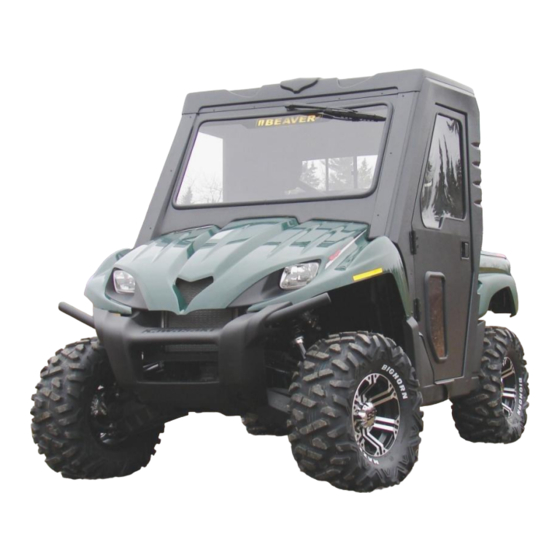
Owner's Manual
Model:
Kawasaki Teryx 750™
Caution:
Before using this
product, read this
manual and follow all
Safety Instructions.
1
Kawasaki Teryx 750 Cab Kit*
Safety Instructions
Cab Kit Contents
Hardware Assembly
Panel Assembly
Operation
™
*DefenderCab
and accessories are in no way affiliated
with Kawasaki Heavy Industries Ltd™. Any use of the name is only
to identify their utility vehicle as it pertains to our accessories.
Kawasaki and teryx are registered trademarks of Kawasaki heavy
industries Ltd.
Advertisement

Summary of Contents for DefenderCab Kawasaki Teryx 750
- Page 1 Owner’s Manual Model: Kawasaki Teryx 750™ Kawasaki Teryx 750 Cab Kit* Safety Instructions Cab Kit Contents Hardware Assembly Panel Assembly Caution: Operation Before using this ™ *DefenderCab and accessories are in no way affiliated product, read this with Kawasaki Heavy Industries Ltd™. Any use of the name is only to identify their utility vehicle as it pertains to our accessories.
-
Page 2: Safety Instructions
Warning: Failure to heed all safety and operating instructions and warnings regarding use of this product can result in serious bodily injury. SAFETY INSTRUCTIONS Read entire assembly instructions Dress for safety. DO NOT wear loose before beginning work. clothing, gloves, neckties or jewelry if using power tools to assemble this Install all parts indicated in assembly product. -
Page 3: Tools Required For Assembly
CAB KIT CONTENTS ™ Your DefenderCab should contain the parts listed below. Separate all parts from packing materials. Do not discard packing material until assembly is complete. Item quantities are listed in parenthesis below. Panels, Doors and Brackets Hardware (1) Plastic Roof Panel (2) RH Lift Off Hinge (1) Plastic Rear Panel (2) LH Lift Off Hinge... - Page 4 Vehicle Preparation 1. Forward Bracketery Fig.1 i) Remove seats and set aside for better access to vehicle interior. Refer to Owner’s Manual for instructions. ii) Remove lower foot guardrails and set shoulder screws aside for later use. Loosen 19mm bolts (A in Fig.1) until 3/16”...
- Page 5 Fig. 3 2. Rear Bracketery i) Remove 14mm bolts from lower mounting points on rear crossbar. Install Striker Mounting Brackets as shown (Fig.3). Reinstall bolts and hand tighten only. Attach Striker Plates using (4) ¼-20 x 3/8” screws, keep loose for later adjustment. Interior ii) Remove 14mm bolts from upper crossbar and install Upper Rear...
- Page 6 v) Hold lower side panel sections Fig. 7 firmly against vehicle body and pierce (3) 3/16” holes through side panel and underside of vehicle rocker panel. Slide U-Type speed clips onto rocker panel and fasten side panels with (3) #8-32 screws each.
- Page 7 Fig.10 5. Back Panel Installation i) With help from an assistant, mount rear panel inside plastic side panels. If needed, use temporary clamps to hold and align bends and edges to ensure a clean fit (F in Fig.10). Using a ¼” drill bit, transfer holes onto back panel (G in Fig.10).
- Page 8 iii) Align remainder of roof panel to Fig. 14 back panel and transfer remaining holes onto rear and side panels. (NOTE: A proper finish at corners is better achieved by firmly holding panels from interior while drilling through [H in Fig.14]). Secure with (7) ¼-20 x 5/8”...
- Page 9 v) Open and close door. Adjust Fig. 17 amount of latch / striker plate interface by moving striker mounting bracket towards front or back of vehicle until door closes firmly (M in Fig. 17). Tighten rear lower cross brace 14mm bolts (N in Fig.17). (NOTE: Plastic panel door frame may require trimming on some units.)
-
Page 10: Operation
OPERATION The DefenderCab™ with removable doors is very useful for work or play. It is perfect for the hunting, farming, fishing, commercial and recreational enthusiast. The cab and optional heater allow the full enjoyment of the vehicle in all weather conditions. Removing the doors Cleaning your DefenderCab™...
Need help?
Do you have a question about the Kawasaki Teryx 750 and is the answer not in the manual?
Questions and answers