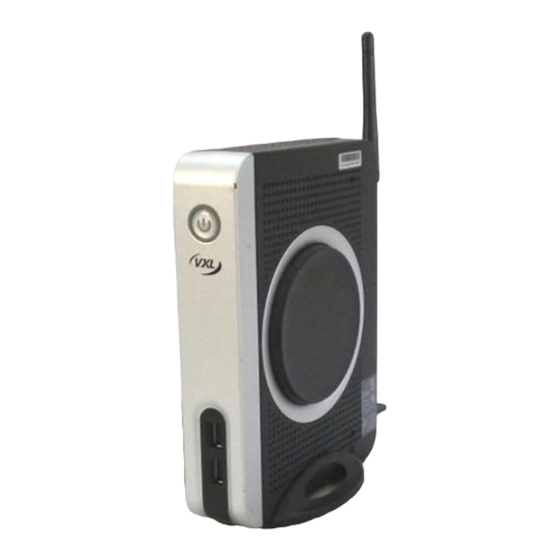
Summary of Contents for Vxl TC15yy
- Page 1 TC15yy Service Manual...
- Page 2 Copyright © 2004-2013 VXL Instruments Limited. All Rights Reserved. Information in this document is subject to change without notice and does not represent a commitment on the part of the manufacturer. No part of this guide may be reproduced or transmitted in any form or means, electronic or mechanical, including photocopying and recording, for any purpose, without the express written permission of the manufacturer.
-
Page 3: Table Of Contents
Table of Contents Tools Required ............................1 Pedestal and Side Cover ........................3 Removing the Pedestal and Side Cover ....................3 Fixing the Pedestal and Side Cover ......................4 Replacing RAM ............................5 Replacing Flash ............................7 Replacing Wireless LAN .........................8 Replacing the Motherboard ........................10... - Page 4 Warning and Caution Statements Warning: It is best to wear an electrostatic discharge (ESD) cuff when handling electronic components (Motherboard, RAM and Power Supply). Warning: Please ensure that the power supply is switched off before unplugging the power supply connector from the motherboard. Caution: Memory modules have a foolproof insertion design.
-
Page 5: Tools Required
Tools Required The tools required for servicing the TC 15yy series Thin Client are shown in Figure 1. Figure 1: Tools Required A. HEX Screwdriver E. Hot Glue Gun with rod. B. Star Screwdriver F. Isopropyl Alcohol ((CH CHOH) C. Nut Driver D. - Page 6 B. Phillips screwdriver C. Hex Nut driver 5.0 mm D. Nose pliers with spring Tools Required...
-
Page 7: Pedestal And Side Cover
2. Unplug and remove the power adapter from its connector at the back of the client. 3. Unlock and remove the pedestal as shown in Figure 2. Figure 2: TC15yy Series 4. Using the star screwdriver ( Item B in Figure 1) unscrew the 4 screws shown in Figure 3. -
Page 8: Fixing The Pedestal And Side Cover
Note: Retain the screws for future use. 5. Pull the side cover upwards and remove it as shown in Figure 4. Figure 4: Side Cover Fixing the Pedestal and Side Cover To fix the side cover, pedestal and power adapter: 1. -
Page 9: Replacing Ram
Replacing RAM To replace RAM: 1. Remove the power adapter, pedestal and side cover . For more information see, section ‘Removing the Pedestal and Side Cover’ on page 3. Note: If the RAM is fixed using glue, apply isopropyl alcohol on the glue holding the RAM, pull the glue out using the nose pliers. - Page 10 Note: You will hear a distinctive click, indicating the module is correctly locked into position. Use the hot glue gun to fix the RAM with glue. 6. Fix the top cover, pedestal and power adapter. For more information see, section ‘Fixing the Pedestal and Side Cover’...
-
Page 11: Replacing Flash
Replacing Flash To replace Flash: 1. Remove the power adapter, pedestal and side cover. For more information see, section ‘Removing the Pedestal and Side Cover’ on page 3. Note: If the flash is fixed using glue, apply isopropyl alcohol on the glue holding the RAM, pull the glue out using the nose pliers. -
Page 12: Replacing Wireless Lan
Replacing Wireless LAN To replace wireless LAN: 1. Remove the power adapter, pedestal and side cover. For more information see, section ‘Removing the Pedestal and Side Cover’ on page 3. 2. Unscrew and remove the antenna. Figure 8: Unscrew Antenna 3. - Page 13 Figure 10: WLAN PCB 5. Pull in and remove the antenna cable. Figure 11: Antenna Cable 6. Insert the antenna cable of the new Wireless LAN. 7. Fix the WLAN PCB. 8. Using the nut driver ( Item C in Figure 1), fix tooth the washer and nut. 9.
-
Page 14: Replacing The Motherboard
Replacing the Motherboard To replace the motherboard: 1. Remove the power adapter, pedestal and side cover. For more information see, section ‘Removing the Pedestal and Side Cover’ on page 5. 2. Using the nut driver ( Item C in Figure 1), remove spacer from the DVI-I connector. Figure 12: DVI Connector Spacer. - Page 15 5. Using the start screwdriver ( Item B in Figure 1) unscrew the motherboard screw. Figure 15: Motherboard Screws 6. Slide and remove the motherboard. Figure 16: Motherboard 7. Replace the existing motherboard with a new motherboard. 8. Using the star screwdriver, fix the motherboard. 9.


Need help?
Do you have a question about the TC15yy and is the answer not in the manual?
Questions and answers