Advertisement
Table of Contents
- 1 Installing Bits (Fig 1.)
- 2 Installing the Side Handle and the Depth Gauge
- 3 Selecting Drill or Rotary Hammer Action (Fig 3.)
- 4 Using the Forward/Reverse Switch (Fig. 4 & Fig. 5)
- 5 Starting, Stopping & Controlling Speed
- 6 Rotary Hammering (Fig 6.)
- 7 Using Rotary Percussion Core Bits (Fig 7.)
- 8 Chuck Adapter Kit
- Download this manual
ASSEMBLY
WARNING!
To reduce the risk of injury, always unplug tool
before attaching or removing accessories. Use
only specifically recommended accessories.
Others may be hazardous.
Installing Bits (Fig 1.)
This tool is designed with a universal drive system that
accepts SDS, SDS Plus and Hilti-TE-C style bits. Always
clean and lubricate the shank of the bit before installing it
into your tool to help prevent heat build-up and to protect the
bit shank from wear due to abrasive concrete dust.
1. To install a bit, pull
the chuck collar back
toward the tool.
2. Line up the recesses on
the shank of the bit with
the marks on the chuck
collar as shown. Then,
insert the bit into the
spindle as far as possible.
3. Release the chuck col-
lar, locking the bit into
position. Rotate the bit
slightly to be sure it is
locked securely.
4. To remove the bit, pull
the chuck collar back
toward the tool and
remove the bit.
Installing the Side Handle and the Depth Gauge
The tool is shipped with the side handle and depth rod pack-
aged separately.
RenTrain INC
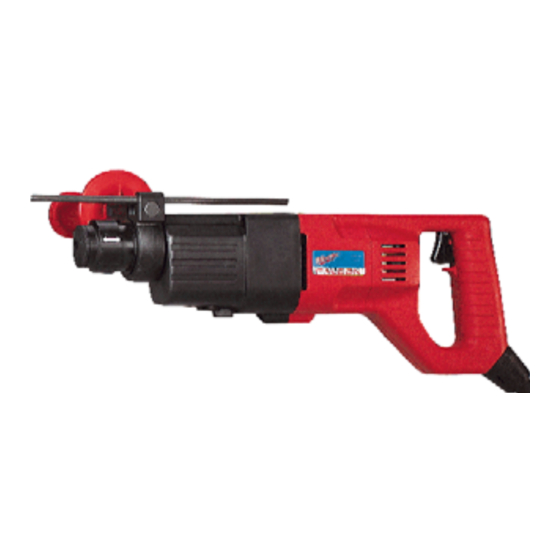
Milwaukee Tool
Heavy-Duty Falcon Rotary Hammers
Model Numbers: 5366-1, 5368-1, 5368-6 (kit)
Fig. 1
1.
2.
1. Line up the recesses on the
shank...
2. With the marks on the
chuck collar
Operating Instructions
1.To install the handle assembly, pry open the black handle
ring (wedging the head of a large screwdriver in the handle
ring gap may be helpful) and slip it over the nose of the gear
case, making sure that the molded keys on the inside diame-
ter of the handle ring engage the groove on the gear case.
2. Pass the bolt through the hole in the handle ring and screw
on the red side handle.
3. The depth rod passes through the auxiliary hole in the
handle ring and is clamped in place when the side handle is
tightened. To loosen the rod, partially unscrew the handle as
indicated above.
4. The drilling depth is the distance between the portion of
the bit where the flutes end and the tip of the depth rod (Fig
2.) Slide the depth rod backward or forward until it is set for
the desired depth. Then tighten the side handle securely.
1.
3.
1. Drilling Depth
2. Tip of Depth Rod
3. Flutes end here
Selecting Drill or Rotary Hammer Action (Fig 3.)
MILWAUKEE 3/4" Rotary Hammers have two settings: rota-
tion only or rotary hammering.
1. To select rotation only, rotate the shift knob 180° in the
direction of the double arrow so that the tab portion of the
knob points toward the "Drill" symbol. Do not shift the tool
when it is running or coasting to a stop.
Page 1
Fig. 2
2.
OPERATION
RenTrain INC
Advertisement
Table of Contents

Related Manuals for Milwaukee 5366-1


Summary of Contents for Milwaukee 5366-1
- Page 1 Selecting Drill or Rotary Hammer Action (Fig 3.) chuck collar toward the tool and MILWAUKEE 3/4” Rotary Hammers have two settings: rota- remove the bit. tion only or rotary hammering. Installing the Side Handle and the Depth Gauge 1.
- Page 2 Operating Instructions (continued) When drilling in wood or steel, shift knob to Rotation Only Fig. 5 and use chuck adapter kit shown on page 2. To select rotary hammering, rotate the shift knob 180° in the direction of the double arrow so that the tab portion of the knob points toward the “Hammer”...
- Page 3 MILWAUKEE Heavy-Duty Thin Wall Core Bits drill holes up to 3” deep. To make deeper holes, remove the bit, break and remove the core.
Need help?
Do you have a question about the 5366-1 and is the answer not in the manual?
Questions and answers