Iqinvision IQeye Sentinel Series Installation And Operating Instructions Manual
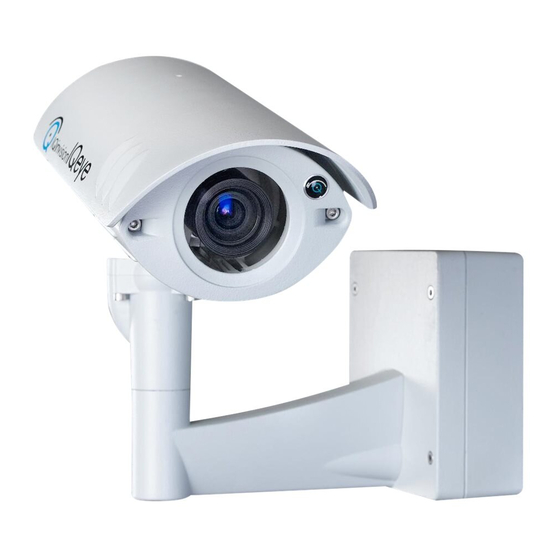
Indoor/outdoor camera
Hide thumbs
Also See for IQeye Sentinel Series:
- Installation and operating instructions manual (15 pages) ,
- Product overview (13 pages)

Related Manuals for Iqinvision IQeye Sentinel Series


Summary of Contents for Iqinvision IQeye Sentinel Series
- Page 1 IQeye Sentinel Series Indoor/Outdoor Camera Installation and Operating Instructions IQinVision ® When you can’t afford to miss a thing.
-
Page 2: Important Safeguards
Important Safeguards CAUTION: BEWARE OF RISK OF ELECTRICAL SHOCK. REFER SERVICING TO QUALIFIED SERVICE PERSONNEL. This label may appear on the bottom of the unit due to space limitations. The lightning flash with an arrowhead symbol within an equilateral triangle is intended to alert the user to the presence of uninsulated “dangerous voltage”... -
Page 3: Table Of Contents
• Wall Mount template • CD-ROM 2. Service If the unit needs repair service or parts, the customer should contact IQinVision for authorization to return, as well as shipping instructions. IQinVision 33122 Valle Road San Juan Capistrano, CA 92675-4853 USA Phone: +1-949-369-8100 or 1-877-850-0805 (toll-free in U.S.) -
Page 4: Description
The IQeye Sentinel series comes in multiple resolution options from 1.3 to 5 megapixels, and is available in both standard and day/night configurations. A wide variety of high quality lenses are available so Sentinel can deliver superb images in any application. -
Page 5: Parts List
5. Parts List The following depicts the parts included: 1 Indoor/Outdoor Camera and Lens Module 2 Wall, Ceiling & Parapet Arm 3 Power/Data Back Box Tools required: 3mm Allen wrench (supplied) Small straight-blade screw driver Punch down tool (supplied) Figure 1 6. -
Page 6: Mounting The Power/Data Back Box
3. Remove the camera/arm module from the back box. 4. Once installation is complete, replace the camera-side connec- tions and cover. Then tighten the retaining screws securely. Figure 3 8. Mounting the Power/Data Back Box Before mounting the power/data back box, deter- mine if camera installation will be wall, ceiling, or parapet and if the wiring will pass through the compression fittings in the back or the ½”... -
Page 7: Terminating Power And Data Cabling Inside The Back Box
NOTE: It is recommended that each screw and the material it is being installed into be able to bear a minimum of 50 pounds (22 kilograms) of pull force. 4. Pass the power & data cables through the back box, then install the power/ data back box on the mounting surface. - Page 8 NOTE: Using a power source with specifications other than those defined herein may result in errant functionality or damage to the camera, and will void the product warranty. 2. CONNECTING DATA (ETHERNET) CABLE: Route and connect the Ethernet cable to the Ethernet connections (RJ-45 or Punch Terminal) labeled wall-side in the back box.
-
Page 9: Camera/Arm Installation
10. Camera/Arm Installation The back box is provided with arm hangers on both sides to hold the camera/arm module on the back box to facilitate installation. NOTE: The arm hangers function perfectly at any orientation of the junc- tion box and will firmly hold the camera and junction box cover in any of the Wall, Ceiling or Parapet mount configurations. - Page 10 Connected but no power Dark Dark Figure 11 If your Sentinel camera fails to power up or indicate a network connection or show activity, please contact IQinVision technical support for assistance.
-
Page 11: Adjusting/Removing The Sunshield
11. Adjusting/Removing the Sunshield CAUTION Your IQ Sentinel sunshield is not captive to the camera enclosure. Please be sure you have the sunshield firmly in hand during adjustment, installation and/or removal. NOTE: For indoor applications of the Sentinel, you may wish to leave the sunshield removed for aesthetic reasons. -
Page 12: Camera/Lens Adjustment
b. REMOVAL – With the sunshield set screw loosened, gently pull the sunshield toward you until it is free of the sunshield bracket. c. OPTIONAL – The bracket that holds the sunshield can also be removed if desired. To remove the sunshield bracket, loosen and remove the two (2) 3mm countersunk screws using the supplied 3mm Allen wrench. - Page 13 7. Focus the lens using the focus adjustment on the lens, then lock the focus adjustment set screw. NOTE: IQinVision provides a desiccant pack for placement inside the lens cover assembly. IQinVision recommends that you utilize this desiccant pack to prevent fogging of the inside of the lens glass due to any moisture that is present when you install the camera.
-
Page 14: Pc Configuration
14. PC Configuration of IQeye Sentinel PLEASE NOTE – The default user name for all IQeye devices is “root” and the default password is “system”. a) Insert the IQtools CD into the CD drive of the PC. The IQfinder installation application will launch automatically. - Page 15 IQeye device in the address field of the browser. PLEASE NOTE – The default user names for all IQeye devices is “root” and the default password is “system”. When you can’t afford to miss a thing. IQinVision ® 33122 Valle Road San Juan Capistrano, CA 92675-4853 USA phone +1.949.369.8100...
Need help?
Do you have a question about the IQeye Sentinel Series and is the answer not in the manual?
Questions and answers