
Subscribe to Our Youtube Channel
Related Manuals for StarTech.com InfoSafe IDECASE35U2


Summary of Contents for StarTech.com InfoSafe IDECASE35U2
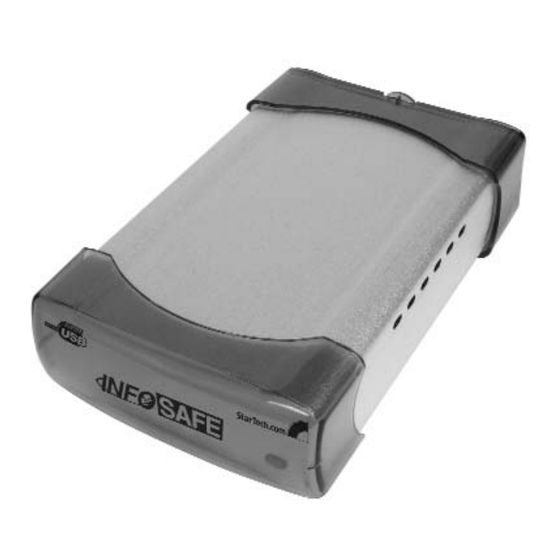
- Page 1 InfoSafe Mobile Drive Enclosure External USB 2.0 3.5” Hard Drive Enclosure with Active Cooling IDECASE35U2 Instruction Manual Actual product may vary from photo...
- Page 2 StarTech.com. Where they occur these references are for illustrative purposes only and do not represent an endorsement of a product or service by StarTech.com, or an endorsement of the product(s) to which this manual applies by the third-party company in question.
-
Page 3: Table Of Contents
Specifications ...........4 Accessory Products from StarTech.com ......5 Technical Support . -
Page 4: Introduction
I I n n t t r r o o d d u u c c t t i i o o n n Thank you for purchasing a StarTech.com USB 2.0 mobile InfoSafe drive enclosure for 3.5” EIDE hard drives. You you can use this drive enclosure to turn a standard hard drive into a portable storage solution for backup, multimedia, and other demanding applications. -
Page 5: Installation
Instruction Manual I I n n s s t t a a l l l l a a t t i i o o n n Installing a Hard Drive in the Enclosure Use caution when installing a hard drive in the enclosure. Excessive shock or force could damage the drive and/or the enclosure, resulting in data loss. -
Page 6: Installing Drivers (Windows 98/98Se)
Instruction Manual 6. Insert the tray into the enclosure until the rear panel is flush to the sides of the case. Re-tighten the screws you loosened in step 1. Ensure there is no movement of the tray in the enclosure and continue to tighten the screws as needed. Once the screws are tightened snugly and the tray does not move, the drive is ready to be used. -
Page 7: Disconnecting The Enclosure From A Computer
Instruction Manual Disconnecting the Enclosure from a Computer 1. Ensure that any programs that have accessed the drive are closed. 2. Ensure that the LED on the front of the enclosure is not flashing red, which indicates the drive is being accessed. 3. -
Page 8: Accessory Products From Startech.com
A A c c c c e e s s s s o o r r y y P P r r o o d d u u c c t t s s f f r r o o m m S S t t a a r r T T e e c c h h . . c c o o m m Contact your local StarTech.com dealer or visit www.startech.com for cables or other accessories that will help you get the best performance out of your new product. -
Page 9: Technical Support
Limitation of Liability In no event shall the liability of StarTech.com Ltd. and StarTech.com USA LLP (or their officers, directors, employees or agents) for any damages (whether direct or indirect,... - Page 10 Revised: 18 April 2005 (Rev. A)
Need help?
Do you have a question about the InfoSafe IDECASE35U2 and is the answer not in the manual?
Questions and answers