Advertisement
Quick Links
PADDED ACTUATOR COVER
PART NO. 1083039
NOTE: Check all parts for shipping damage. In case of dam-
age, DO NOT use. Contact your Dealer for further instruction.
SAFETY SUMMARY
The following recommendations are made for the safe
use of the PADDED ACTUATOR COVER:
GENERAL WARNINGS
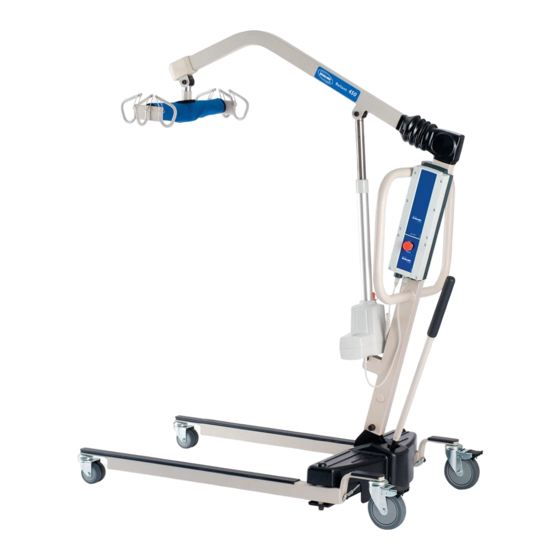
The Padded Actuator Cover is for use ONLY on
the following lifts: RPA 450-1, RPL 450-1 and RPA
600-1.
DO NOT install or use this equipment without first
reading and understanding these instructions. If
you are unable to understand the Warnings, Cau-
tions or Instructions, contact a healthcare profes-
sional, dealer or technical personnel before at-
tempting to install this equipment - otherwise, in-
jury or damage may occur.
After ANY adjustments, repair or service and
BEFORE use, make sure all attaching hardware
is tightened securely - otherwise injury or dam-
age may occur.
INSTALLATION WARNING
Caster locks MUST be locked during this pro-
cedure to prevent injury or damage.
CAUTION
DO NOT tumble dry the actuator cover.
DETAIL "C"
STEPS 4, 5, 8 -11
Boom Mounting Bracket
Pinch Guard
Bushing
Actuator Shaft Extension
Step Here
to Lock
Assembly, Installation and Operating Instructions
Nut
Washers
Bolt
DETAIL "A"
STEPS 1 AND 13
Locking
Lever
FIGURE 1 - INSTALLING/REMOVING THE ACTUATOR COVER
INSTALLING/REMOVING THE
ACTUATOR COVER (FIGURE 1)
1. Lock the casters as shown in DETAIL "A".
2. Remove the metal ring attached to the RED emergency
release pin as shown in DETAIL "D".
3. Lift-up on the boom and place it on your shoulder.
4. Remove the nut, bolt and washer securing the actuator
shaft extension to the boom mounting bracket.
5. Remove the pinch guard and bushing from the actuator
shaft extension.
6. Let the actuator rest on your chest.
7. Perform one (1) of the following:
A. Install the actuator cover by sliding the large opening of
the padded actuator cover over the actuator assembly.
NOTE: Ensure large opening is pulled all the way
down, with elastic band under actuator base. Ensure
RED emergency release pin protrudes through small
hole in actuator cover as shown in DETAIL "B".
B. Remove the actuator cover.
8. Rotate the actuator shaft extension until it lines-up with the
holes in the boom mounting bracket.
Step Here
to Unlock
OVER
Boom
DETAIL "B"
(STEP 3)
STEP 7
Actuator
FRONT
(STEP 6)
Actuator
Cover
Red Emergency
Release Pin
DETAIL "D"
STEPS 2 AND 12
Metal Ring
RED Emergency
Release Pin
BACK
Actuator
Base
Advertisement

Related Manuals for Invacare RPA450-1


Summary of Contents for Invacare RPA450-1
-
Page 1: Safety Summary
PADDED ACTUATOR COVER PART NO. 1083039 Assembly, Installation and Operating Instructions NOTE: Check all parts for shipping damage. In case of dam- age, DO NOT use. Contact your Dealer for further instruction. SAFETY SUMMARY The following recommendations are made for the safe use of the PADDED ACTUATOR COVER: GENERAL WARNINGS The Padded Actuator Cover is for use ONLY on... -
Page 2: Limited Warranty
This warranty gives you specific legal rights and you may also have other legal rights which vary from state to state. Invacare warrants its product to be free from defects in materials and workmanship for one (1) year for the original purchaser. If within such warranty period any such product shall be proven to be defective, such product shall be repaired or replaced, at Invacare's option.
Need help?
Do you have a question about the RPA450-1 and is the answer not in the manual?
Questions and answers