Table of Contents
Advertisement
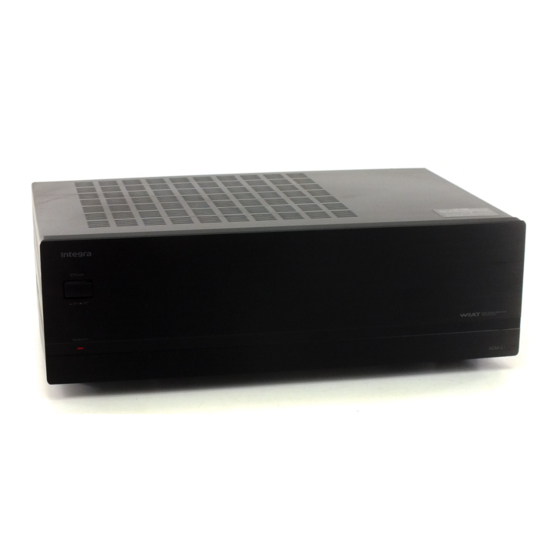
2 Channel Amplifier
ADM-2.1
Instruction Manual
Thank you for purchasing the Integra 2 Channel
Amplifier.
Please read this manual thoroughly before making
connections and plugging in the unit.
Following the instructions in this manual will enable
you to obtain optimum performance and listening
enjoyment from your new 2 Channel Amplifier. Please
retain this manual for future reference.
#US_ADM-2.1_01.p65
1
Contents
Before using
Important Safeguards ....................................... 2
Features ............................................................. 3
Supplied accessory ........................................... 3
Precautions ........................................................ 3
Facilities and connections
Rear panel facilities and connections ............... 4
Connection diagram .......................................... 5
Front panel facilities and connections .............. 6
Operations ......................................................... 7
Appendix
Troubleshooting guide ...................................... 7
Specifications ................................... Back cover
8/25/00, 6:22 PM
Advertisement
Table of Contents

Related Manuals for Integra ADM-2.1


Summary of Contents for Integra ADM-2.1
-
Page 1: Table Of Contents
2 Channel Amplifier ADM-2.1 Instruction Manual Thank you for purchasing the Integra 2 Channel Amplifier. Please read this manual thoroughly before making connections and plugging in the unit. Following the instructions in this manual will enable you to obtain optimum performance and listening enjoyment from your new 2 Channel Amplifier. -
Page 2: Important Safeguards
WARNING: TO REDUCE THE RISK OF FIRE OR ELECTRIC SHOCK, DO NOT EXPOSE THIS APPLIANCE TO RAIN OR MOISTURE. CAUTION: TO REDUCE THE RISK OF ELECTRIC SHOCK, DO NOT REMOVE COVER (OR BACK). NO USER-SERVICEABLE PARTS INSIDE. REFER SERVICING TO QUALIFIED SERVICE PERSONNEL. -
Page 3: Features
— the final result is flat response beyond 100 kHz. AUTO POWER ON/OFF FUNCTION You can turn on and off the ADM-2.1 via a signal input to the AUDIO IN jacks or 12V TRIGGER IN jack. AUDIO IN/OUT LINK FUNCTION The signal inputs from the AUDIO IN jacks are output from the AUDIO OUT jacks. -
Page 4: Rear Panel Facilities And Connections
Turn this INPUT LEVEL control to adjust the input level of the signal from the AUDIO IN jacks. Normally, set to MAX. Note: When a CD player is connected to the ADM-2.1, be sure to adjust the INPUT LEVEL control. #US_ADM-2.1_04-07.p65 •... -
Page 5: Connection Diagram
If a speaker with an impedance of less than 6 ohms is connected, it may damage the ADM-2.1. Connection diagram Since the many users will purchase the ADM-2.1 together with the DTR-7.1, here is an explanation of how to connect the ADM-2.1 to the DTR-7.1. 12V TRIGGER OUT jack ANTENNA... -
Page 6: Front Panel Facilities And Connections
Power switch turns on the ADM-2.1 and the Standby/On indicator lights orange after flashing red for 5 seconds. If the ADM-2.1 is in the standby state, the ADM-2.1 turns on automatically when 12V DC is supplied to the 12V TRIGGER IN jack. -
Page 7: Operations
1. Lower the volume at the control amplifier or preamplifier. Lower the volume of the control amplifier or preamplifier to the minimum so that when the ADM-2.1 is turned on, you do not hear loud unwanted sounds. 2. Select the input on the control amplifier or preamplifier. -
Page 8: Specifications
110 dB (IHF A, 0.5 V input) Integra Division of ONKYO U.S.A. CORPORATION 200 Williams Drive, Ramsey, N.J. 07446, U.S.A. Tel: 201-825-7950 Fax: 201-825-8150 E-mail: integra@onkyousa.com Integra Division of ONKYO CORPORATION Sales & Product Planning Div. : 2-1, Nisshin-cho, Neyagawa-shi, OSAKA 572-8540, JAPAN...
Need help?
Do you have a question about the ADM-2.1 and is the answer not in the manual?
Questions and answers