Table of Contents
Advertisement
Advertisement
Table of Contents

Related Manuals for Wansview NCS601W


Summary of Contents for Wansview NCS601W
- Page 1 NCS601W Quick Start www.wansview.com...
-
Page 2: Table Of Contents
Index Camera Mounting ........3 1. There‟s an App for That ......4 2. Connect the Camera ......4 3. Wi-Fi Setup Mode ......... 5 4. Connect Phone to +Cam ...... 6 5. Launch Seedonk App ......7 6. Setup Wizard ........8 7. -
Page 3: Camera Mounting
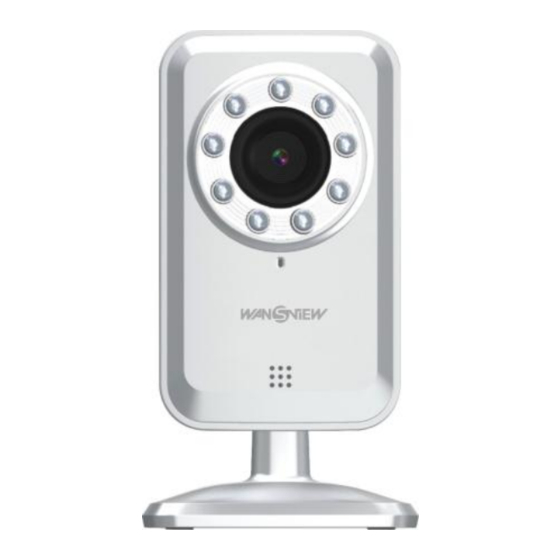
Camera Mounting To mount the +Cam to a wall, unscrew the base of the camera and remove the metal plate. With the included screws and anchors, fasten the mounting bracket on to the wall. Then, reattached the base cover and screw the stand back on to the mounting bracket. -
Page 4: There"S An App For That
1. There’s an App for That To get started, download the Seedonk app from Apple‟s App store or Android Market. 2. Connect the Camera Plug the +Cam in to AC power with the supplied adapter before continuing. -
Page 5: Wi-Fi Setup Mode
3. Wi-Fi Setup Mode Please make sure the “Wi-Fi Setup” switch on the back of the camera is set to ON. -
Page 6: Connect Phone To +Cam
4. Connect Phone to +Cam Go to Settings -> Wi-Fi on your iPhone or Android phone and connect to the +Cam wireless network. -
Page 7: Launch Seedonk App
5. Launch Seedonk App Once your Phone establishes its connection to the +Cam, (usually takes around 30 seconds) launch the Seedonk App. The Seedonk app will automatically detect your +Cam. When prompted, click „Yes‟ to setup your camera. -
Page 8: Setup Wizard
6. Setup Wizard Follow the instructions in the Camera Setup Wizard to complete installation. Click “Continue” button... - Page 9 Click “Connect camera to Internet”...
- Page 10 Choose a Wi-Fi Network...
- Page 11 Please enter the Network Password and then Continue.
- Page 12 If you don‟t have Seedonk account, please create a new account, or use your existing account. After finish all the information, click Continue...
- Page 13 Enter your account Username and Password then Sign in...
- Page 14 You can set the camera information here...
- Page 15 Please set the “WIFI Setup” switch to OFF to finish setting.
-
Page 16: Using Seedonk
7. Using Seedonk Please enter your user name and password, created during the setup process, in the login window to access your +Cam. -
Page 17: 7A. Seedonk Features - Main Window
7a. Seedonk Features – Main Window... -
Page 18: 7B. Seedonk Features - Camera Viewer
7b. Seedonk Features – Camera Viewer Record Take a a Video Snapshot... -
Page 19: Other Way To View Camera
8. Other Way to View Camera 8a. Webpage View Logo in www.seedonk.com and click 【LOGIN/SIGNUP】 Put your registered username and password then click Sign in. - Page 20 You can view and set the camera here. For first time use, you need to download plug-in or use your player.
-
Page 21: 8B. Pc Client Software
8b. PC Client Software User can go to www.seedonk.com to download IM software, after install, you can use like a Skype. -
Page 22: Safety Information
9. Safety Information Do not point the camera directly at the sun; else it will damage the image sensor. Keep the camera away from heat to avoid electric shocks. Keep the camera away from rain or moisture. Do not attempt to open, dismantle, repair, or service the camera. -
Page 23: Troubleshooting
10. Troubleshooting LED Status Indicators Wi-Fi Setup Green: Setup mode on Orange: Setup mode initializing Light Off: Setup mode off Network Green: Connected to Seedonk Orange: Connected to local network Flashing Orange: Not connected to any network Power Green: Power On...
Need help?
Do you have a question about the NCS601W and is the answer not in the manual?
Questions and answers