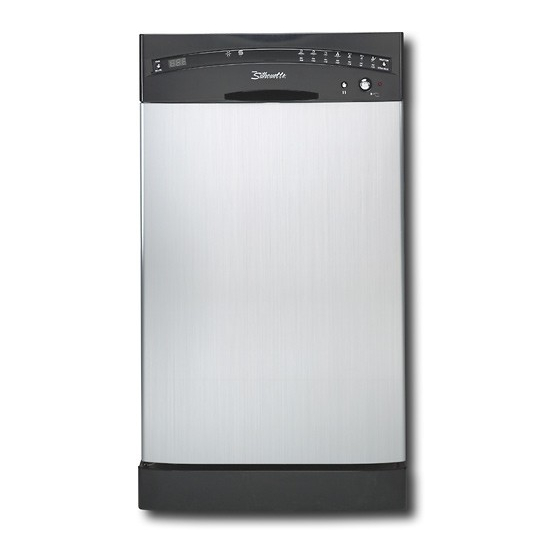
Danby Silhouette DDW1806BSL Instruction Manual
Built-in dishwashers
Hide thumbs
Also See for Silhouette DDW1806BSL:
- Instruction manual (15 pages) ,
- Installation instructions manual (11 pages)
Table of Contents
Advertisement
Advertisement
Table of Contents

Subscribe to Our Youtube Channel
Related Manuals for Danby Silhouette DDW1806BSL


Summary of Contents for Danby Silhouette DDW1806BSL
- Page 1 Built-In Dishwasher Instruction Manual DDW1806BSL 461.14352 Write the model and serial numbers here: Model # __________________ Serial # __________________ You can find them on the tub wall just inside the door or the lower part of back. SAVE THESE INSTR UCTIONS...
-
Page 2: Table Of Contents
NOTE: Never attempt to repair any equipment you are not properly qualified (trained) to service. If You Need Service If you are unable to solve a problem yourself after reading the troubleshooting section. Please contact Sears (Kenmore) Danby Service at: Service at: 1-800-263-2629 ® 1-800-4-MY-HOME... -
Page 3: Safety Information
IMPORTANT SAFETY INFORMATION READ ALL INSTRUCTIONS BEFORE USING WARNING! When using your dishwasher, follow the basic precautions below WARNING! HYDROGEN GAS IS EXPLOSIVE Under certain conditions, Hydrogen gas may be produced in a hot-water system that has not been used for two weeks or more. HYDROGEN GAS IS EXPLOSIVE. If the hot-water system has not been used for such a period, before using the dishwasher turn on all hot-water faucets and let the water flow from each for several minutes. -
Page 4: Control Panel
IMPORTANT! To get the best performance from your dishwasher, read all operating instructions before using it for the first time. About the Dishwasher Control Panel Models: 461.14352 PAUSE Delayed Start Button: Press this button to set delayed Selector Button: Press this button to scroll through (wash) start time. -
Page 5: Wash Cycle Table
For heavily soiled loads, such as pots, pans, casserole dishes and dishes with dried food. properly. -
Page 6: Water Softener
WATER SOFTENER This dishwasher is featured with a self-contained water softener system. If your dishwasher is connected to a water source already treated, (soft water) you do not need to utilize this feature. If the dishwasher is not connected to a pre-treated (soft water) source, we strongly recommend you take full advantage of this feature. -
Page 7: Detergent Dispenser
DETERGENT DISPENSER The dispenser must be refilled before the start of each wash cycle following the instructions provided in the" Wash Cycle Table".Our dishwashers use less detergent and rinse aid than conventional dishwashers. Generally, only one tablespoon of detergent is needed for a normal wash load. More heavily soiled items need more detergent. Always add the detergent just before starting dishwasher, otherwise it could get damp and will not dissolve properly. -
Page 8: Dishwasher Rack
When to Refill the Rinse Aid Dispenser Normally, the rinse agent pilot light on the control panel will illuminate automatically when the dispenser is empty. We recommend you check the level periodically and adjust as needed. Loading the Dishwasher Racks For best performance of the dishwasher, follow these loading guidelines. -
Page 9: Silverware Basket
SILVERWARE BASKET ilverware should be placed in the silverware basket with handles at the bottom. Knives should be placed with handles up to avoid cuts. Long utensils should be placed in the horizontal position at the front of the upper rack. Forks Soup spoons Dessert spoons... -
Page 10: Cleaning The Spray Arms
Cleaning the Spray Arms It is necessary to clean the spray arms regularly for hard water chemicals will clog the spray arm jets and bearings. To remove the spray arm, screw off the nut to take out the washer on top of the spray arm and remove the arm. Wash the arms in soapy and warm water and use a soft brush to clean the jets. -
Page 13: Before Calling For Service
OVERFLOW CONDITIONS: The dishwasher is designed to detect/monitor water overflow conditions. The overflow tube is located in the lower (well) section of the inner door liner. This tube must be kept free and clear of obstructions and debris. In the event of an overflow condition, the water level rises above the height of the overflow tube and is directed into the overflow container. -
Page 14: Fault Codes
This warranty is available only to the person to whom the unit was originally sold by Danby Products or by an authorized dis- tributor of Danby, and is non-transferable.
Need help?
Do you have a question about the Silhouette DDW1806BSL and is the answer not in the manual?
Questions and answers