Table of Contents
Advertisement
Quick Links
Download this manual
See also:
User Manual
Advertisement
Table of Contents

Subscribe to Our Youtube Channel
Related Manuals for Luxibel LX103


Summary of Contents for Luxibel LX103
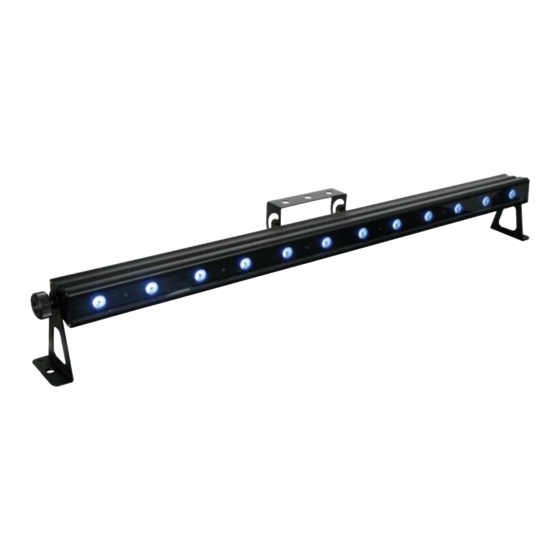
- Page 1 LX103 SMART LED COLOUR BEAM – 12 X 3W TRI-COLOUR LEDS LED WASH-EFFECT – 12 X 3W DRIEKLEURIGE LEDS EFFET WASH À LED – 12 LED TRICOLORES DE 3W EFECTO 'WASH' CON LEDS – 12 LEDS TRICOLORES DE 3W LED WASH-EFFEKT – 12 X 3W DREIFARBIGE LEDS...
- Page 2 LX103 terminator eindweerstand résistance de terminaison terminación Terminierung How to turn the controller line from 3-pins into 5-pins (plug and socket). Controller line van 3-pin naar 5-pin aanpassen (stekker en contact). Modifier la ligne du contrôleur de 3 broches en 5 broches (fiche et contact).
-
Page 3: Safety Instructions
• Use an appropriate safety cable to fix the device (e.g. VDLSC7 or VDLSC8). • Install the LX103 at a minimal distance of 0.5 m from flammable and explosive objects or substances. • Respect a minimum distance of 1m between the device’s light output and any illuminated surface. -
Page 4: General Guidelines
Protect the device against damage by leaving it switched off until it has reached room temperature. • This device is designed for professional use on stage, in discos, theatres, etc. The LX103 can be used indoors (<35°C, <75%RH) with an alternating current of max. 240V AC/50Hz. -
Page 5: Installation
When applicable, connect an XLR cable to the female 3-pin XLR output of a controller (not incl.) and the other side to the male 3-pin XLR input of the LX103. Multiple LX103’s can be linked through serial linking. The linking cable should be a dual core, screened cable with XLR input and output connectors. -
Page 6: Standalone Mode
LX103 Use the <UP> and <DOWN> buttons to navigate the menu map and menu options. Press <ENTER> to access the menu function currently displayed or to enable a menu option. To return to the previous option or menu without changing the value, press the <MENU> button. -
Page 7: Master/Slave Mode
Example: In case of the 9-channel LX103, you will have to set the start address of the first unit to 1 (CH1~9), the second unit to 10 (1 + 9) (CH10~18), the third to 19 (10 + 9) (CH19~27), and so on. - Page 8 LX103 4-Channel Mode channel function from description dimmer 0 ~ 100% green dimmer 0 ~ 100% blue dimmer 0 ~ 100% master dimmer dimmer 0 ~ 100% 7-Channel Mode channel function from description dimmer 0 ~ 100% green dimmer 0 ~ 100%...
-
Page 9: Cleaning And Maintenance
LX103 sections channel function 12CH 18CH 36CH from description blue dimmer 0 ~ 100% dimmer 0 ~ 100% green dimmer 0 ~ 100% blue dimmer 0 ~ 100% dimmer 0 ~ 100% green dimmer 0 ~ 100% blue dimmer 0 ~ 100%... - Page 10 Velleman® Service and Quality Warranty Since its foundation in 1972, Velleman® acquired extensive experience in the electronics world and currently distributes its products in over 85 countries. All our products fulfil strict quality requirements and legal stipulations in the EU. In order to ensure the quality, our products regularly go through an extra quality check, both by an internal quality department and by specialized external organisations.
Need help?
Do you have a question about the LX103 and is the answer not in the manual?
Questions and answers