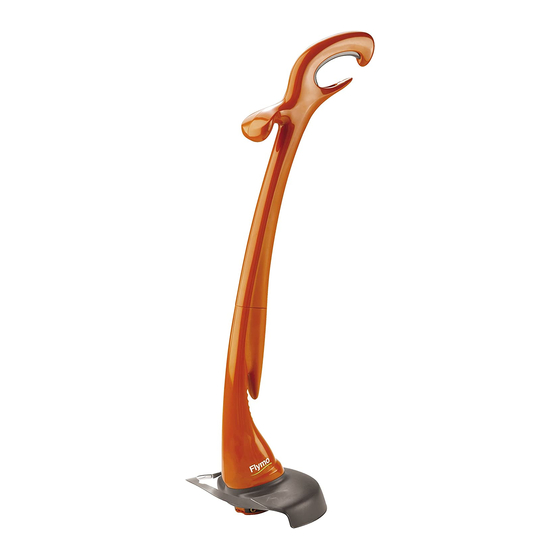
Summary of Contents for Flymo Speedi Trim
- Page 1 Speedi Trim Original Instructions For all customer enquiries or for replacement parts, contact:- ¤ 01325 300303 www.flymo.com customer.services@husqvarna.co.uk...
-
Page 2: Carton Contents
Carton Contents Switch Lever Steady Handle Upper Shaft Electric Cable with moulded on plug Lower Shaft Guard Instruction Manual Plant and Tree Guard IMPORTANT ! Please check the contents of the carton are correct BEFORE assembling your new product. IF ANY PARTS ARE MISSING CONTACT:- Husqvarna UK Ltd. - Page 3 General Preparation 1. This product is not intended for use by persons 1. While using your product always wear substan- (including children) with reduced physical, sen- tial footwear and long trousers. sory or mental capabilities, or lack of experience 2. Before using the machine and after any impact, and knowledge, unless they have been given su- check for signs of wear or damage and repair as pervision or instruction concerning the use of the...
-
Page 4: Assembly Instructions
Cables IMPORTANT sulated to EN60335 and under no circumstances Use only 1.00mm size cable up to 40 metres length should an earth be connected to any part of the maximum. product. Maximum rating: 2. Ensure the mains voltage suits your product. 1.00mm size cable, 10 amps 250 volts AC. -
Page 5: Starting And Stopping
Starting and Stopping WARNING Cutting head continues to rotate after the trimmer has been switched off. To start your trimmer 1. Squeeze the safety lock-off lever/switch lever (D). To stop your trimmer 1. Release the switch lever. How to Trim •... -
Page 6: Automatic Line Feed System
Automatic Line Feed System How the automatic line feed works (J) 1. When initially switching on the trimmer, a small length of line is fed out. 2. A ʻclatteringʼ noise will be heard when the nylon line hits the line cutter. DO NOT BE ALARMED this is quite normal. - Page 7 Automatic Line Feed System cont’ To fit spool and line complete: 1. Remove old spool. 2. Place new spool into spoolholder with cut out areas of the spool in line with eyelets as shown in figure M. 3. Release one line from cleat and feed line through Cut out area eyelet (M).
-
Page 8: Maintenance
Maintenance After you have finished using your trimmer follow the pro- cedure below: 1. Disconnect from the mains electricity supply. 2. Never clean your trimmer with water, cleaning fluids, or solvents, just remove debris with a suitable tool, a soft brush or dry cloth. 3. -
Page 9: Service Recommendations
Service Recommendations • Your product is uniquely identified by a silver and black product rating label. • We strongly recommend that your product is serviced at least every twelve months, more often in a professional application. Guarantee & Guarantee Policy If any part is found to be defective due to faulty manufacture Failures not covered by guarantee within the guarantee period, Husqvarna UK Ltd., through its Au-...


Need help?
Do you have a question about the Speedi Trim and is the answer not in the manual?
Questions and answers