Table of Contents
Advertisement
Quick Links
Advertisement
Table of Contents

Related Manuals for Flymo Minitrim ST MST21


Summary of Contents for Flymo Minitrim ST MST21
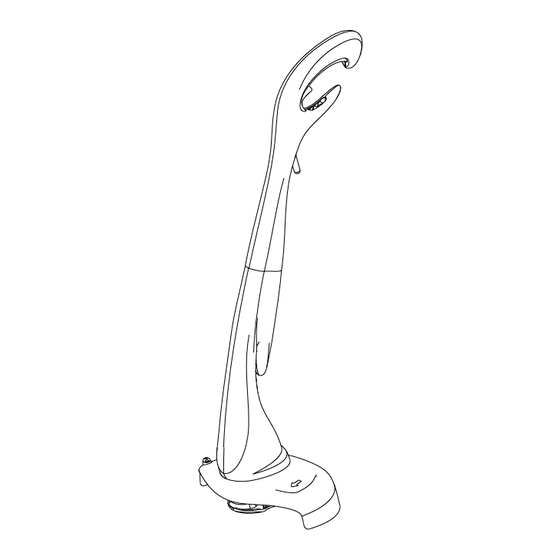
- Page 1 Minitrim ST ® Minitrim Auto ST Minitrim Auto XT Original Instructions...
-
Page 2: Carton Contents
Carton Contents Mini Trim ST Mini Trim Auto XT Mini Trim Auto ST Switch Lever Switch Lever Safety Lock-off Lever Safety Lock-off Lever Upper Shaft Upper Shaft Electric Cable with Electric Cable with moulded on plug moulded on plug Lower Instruction Lower Shaft... - Page 3 BLUE - NEUTRAL BROWN - LIVE 2.Flymo Extension Cables are available from your local The wire which is coloured BLUE must be connected to Husqvarna UK Ltd. Approved Service Centre.
-
Page 4: Starting And Stopping
Assembly Instructions Shaft Assembly (A) 1. Locate the lower shaft (A1) into the upper shaft (A2). 2. Grasp firmly and hold steady the lower shaft. Locate the upper shaft and snap together firmly. • The unit is correctly assembled when the gap be- tween the upper and lower shaft has been closed. -
Page 5: Manual Line Feed System
2. Use the trimmer around trees (H) and near plants. Manual Line Feed System To feed the nylon line 1. Press and hold the two latches (J). 2. Gently pull the line until it reaches the line cutter. 3. Release the two latches. Check that the spool is locked in position. -
Page 6: Automatic Line Feed System
Automatic Line Feed System How the automatic line feed works (N) 1. When initially switching on the trimmer, a small length of line is fed out. 2. A ‘clattering’ noise will be heard when the nylon line hits the line cutter. DO NOT BE ALARMED this is quite normal. -
Page 7: Replacement Parts
Fault Finding Chart (Automatic Line Feed only) WARNING Disconnect from the mains electricity supply before attempting any maintenance or adjustment. FAULT CHECK ACTION Is the automatic line feed working? Manually feed out line. LINE NOT FEEDING Is the line fed out and visible? Has Remove cap and spool, free line line been removed from cleat? and re-fit spool and cap. -
Page 8: Service Recommendations
Our policy of continuous improvement means that the specification of products may be altered from time to time without prior notice. Copyright © 2013 Flymo S.A. All rights reserved. Flymo® and other product and feature names are registered or unregistered trademarks of Flymo S.A.
Need help?
Do you have a question about the Minitrim ST MST21 and is the answer not in the manual?
Questions and answers
What replacement spool do I use with flymo mst22
The compatible replacement spool for the Flymo Minitrim ST MST21 is available from most Husqvarna UK Ltd. stockists. You can purchase it either as a complete spool and line or as nylon line only.
This answer is automatically generated