Table of Contents
Advertisement
Quick Links
Advertisement
Table of Contents

Subscribe to Our Youtube Channel
Related Manuals for Monogram ZDP48N4GWSS


Summary of Contents for Monogram ZDP48N4GWSS
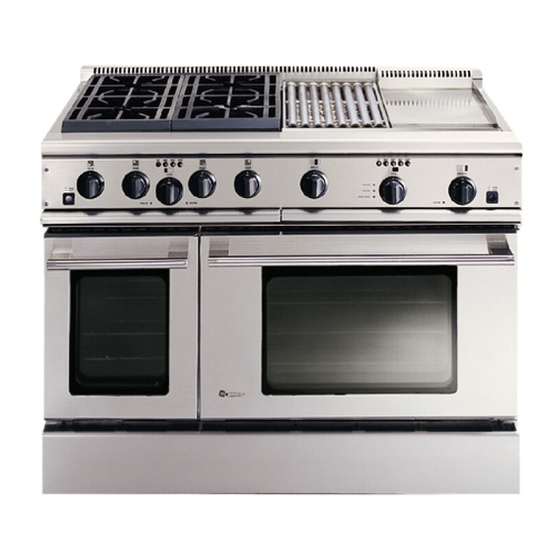
- Page 1 ® GE Monogram Installation Instructions Professional Ranges 48" Natural Gas Models ZDP48N4GWSS ZDP48N6RWSS ZDP48N6DWSS 48" LP Gas Models ZDP48L4GWSS ZDP48L6RWSS ZDP48L6DWSS 36" Natural Gas Models ZDP36N6WSS ZDP36N4RWSS ZDP36N5DWSS 36" LP Gas Models ZDP36L6WSS ZDP36L4RWSS ZDP36L4DWSS...
-
Page 2: Table Of Contents
CAUTION WARNING If you have questions concerning the installa- Installation of this range requires basic tion of this product, call the GE Answer electrical, carpentry and mechanical skills. Center® Consumer Information Service at Proper installation is the responsibility of the 800.626.2000, 24 hours a day, 7 days a week. -
Page 3: Design Information
Order the model ZDP36N6WSS Available for your installation situation. 6 gas burners 48" Natural Gas Models: ZDP36N4RWSS ZDP48N4GWSS 4 gas burners and grill 4 gas burners, grill and griddle ZDP36N4DWSS ZDP48N6RWSS 4 gas burners and griddle 6 gas burners and grill 36"... -
Page 4: Models Dimensions And Clearances
Design Information Professional Ranges Product Dimensions 21-1/4" & Clearances 12" 1-1/2" 35-1/4"-36-3/4" 28-1/4" 35-7/8" 36" Wide Range Models 21-1/4" 12" 1-1/2" 35-1/4"-36-3/4" 47-7/8" 28-1/4" 48" Wide Range Models... - Page 5 Design Information Professional Ranges Product 29-1/16" Dimensions 12" 3-1/4" & Clearances 12" Min. to Combustibles 36" Min. Without Backguard High 21-1/4" to Combustibles Shelf 36" Min. to Combustibles 1-1/2" 12" Low Back Island Trim 0" Clearance 0" Clearance 28-1/4" 31-1/2" 45-5/8"...
-
Page 6: Advance Planning
Design Information Professional Ranges Refer to “Dimensions and Clearances” for If the range is installed in an island: Advance appropriate placement and necessary clear- • Allow 12" min. clearance at the back to Planning ances when planning the installation. combustible materials. •... -
Page 7: Installation Preparation
Installation Preparation Professional Ranges • Gas-resistant pipe joint sealant • Saw Tools & • 5 foot, 5/8" AGA-certified flexible metal gas • Measuring tape Materials supply line. • Carpenter’s square –If required by local codes, use solid pipe • Pipe and fittings as required. Required: fittings. -
Page 8: Installation
Installation Professional Ranges Door Hinge Roller Before moving the range indoors: • Remove outer carton and packing material S tep from the shipping base. Remove Packaging Lock (Closed) Un-Lock Remove oven doors: • Open the door fully and hold down. Kick Panel •... -
Page 9: Step 2: Level The Range
Installation Professional Ranges Note: Rear range leveling legs are not acces- IMPORTANT: The range should always be sible after installation. installed at countertop height or higher. DO Step • Check to be sure the adjoining cabinets/ NOT INSTALL THE RANGE LOWER THAN countertops are level, front to back and left ADJACENT COUNTERTOP HEIGHT. -
Page 10: Step 5: Connect Electrical
Installation Professional Ranges Plug power cord into properly grounded receptacle. S tep Connect Electrical Step • Carefully, slide the range into position. Be careful not to entange power cord and gas flexible tubing. • Check to be sure the front of the range is Slide the level. -
Page 11: Step 8: Assemble & Adjust Burners
Installation Professional Ranges • Replace the burner bowls and burner caps. Igniter • Adjustments should not be required, unless Step vibration during transit or variations in local Burner gas supply make minor adjustments neces- Main Burner sary. Assemble Venturi (rear) &... - Page 12 NOTE: While performing installations described in this book, safety glasses or goggles should be worn. To obtain specific information concerning any ® Monogram product or service, call GE Answer Center consumer information service at 800.626.2000—any time, day or night. For Monogram local service in your area, call 1-800-444-1845.
Need help?
Do you have a question about the ZDP48N4GWSS and is the answer not in the manual?
Questions and answers