Table of Contents
Advertisement
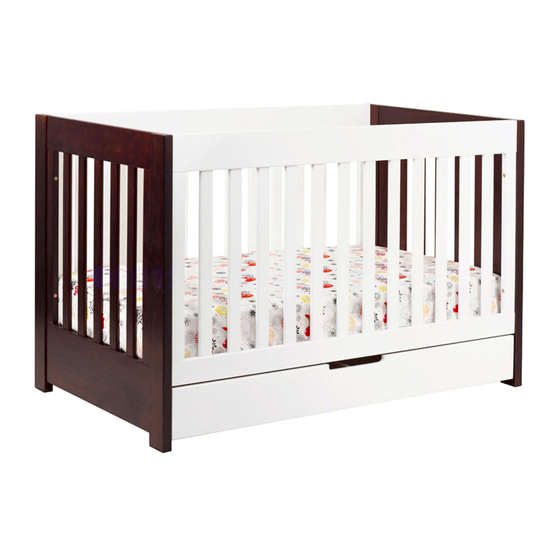
Mercer Crib (M6801)-
Assembly and Operation Manual
Congratulations on purchasing this product. This crib will provide many years of service if you adhere to the following guidelines
for assembly, maintenance, and operation. This crib is for residential use only. Any institutional use is strictly prohibited.
Please be sure to follow the instructions for proper assembly. Use a Phillips head screwdriver for assembling the crib in addition
to the Allen wrench included in the hardware box. Do not use power screwdrivers. All of our cribs are made from natural woods.
Please understand that natural woods have color variations which are the result of nature and not defects in workmanship.
DO NOT SUBSTITUTE PARTS. ALL MODELS HAVE THE SAME QUANTITY OF PARTS AND HARDWARE. YOUR MODEL
MAY LOOK DIFFERENT FROM THE ONE ILLUSTRATED DUE TO STYLISTIC VARIATIONS.
revised 09-2010
page 1
Advertisement
Table of Contents

Related Manuals for Babyletto Mercer Crib


Summary of Contents for Babyletto Mercer Crib
- Page 1 Mercer Crib (M6801)- Assembly and Operation Manual Congratulations on purchasing this product. This crib will provide many years of service if you adhere to the following guidelines for assembly, maintenance, and operation. This crib is for residential use only. Any institutional use is strictly prohibited.
- Page 2 CRIB PARTS A. End panel (2) B. Side panel (2) C. Spring frame D. Glide support (2) E. Post bracket (4) G. Left post (2) H. Right post (2) F. Guard rail I. Drawer center K. Left drawer side J. Right drawer side O.
- Page 3 HARDWARE Tools Needed (not included) S. 5/8” Pan head T. 1 1/4” Phillips U. 3/8” Phillips V. 3/4” Allen wood screw (12) head screw (12) head screw (10) head bolt (4) Phillips screwdriver W. 2 1/4 “ Allen ZZ. Allen wrench X.
- Page 4 STEP 3. Mount glide support (D) on each end panel (A), inserting the wood dowels into the pre-drilled holes. Secure using 1 1/4” Phillips head screws (T). Do not overtighten the screws. STEP 4. Attach the left bearing glide (O) to the left end panel assembly and right bearing glide (P) to the right end panel assembly using 3/8”...
- Page 5 STEP 6. Swing out the four hangers at the corners of the spring frame (C). Be careful to avoid scratching the crib finish. Attach the spring frame FLAT SIDE UP. Choose the proper level for the mattress, starting at the highest level and adjust it down as the child grows.
- Page 6 STEP 9. Position the drawer back (M) on the drawer assembly and secure it with woodscrews (T). STEP 10. Slide the bearing glide rails out fully as illustration STEP 10A shown. Position the drawer on tabs on the glide rails. Attach the drawer to the rails with four 3/8”...
- Page 7 Before placing your mattress in the crib, you can make your own mattress protector by cutting the cardboard packing insert to 27” x 51”. Place it on the spring frame under the mattress to extend the life of the mattress. KEEP THIS MANUAL IN A SAFE PLACE FOR FUTURE REFERENCE.
- Page 8 Ask your dealer or easier than before. You can register contact Babyletto for replacement parts and instructional your product on our website at literature if needed. DO NOT substitute parts.
- Page 9 Mercer Crib (M6801)- Toddler bed conversion assembly STEP 3. STEP 1. All of the parts and hardware you will need is Move the spring frame to the lowest level. supplied with the crib at the time of purchase. STEP 2.
Need help?
Do you have a question about the Mercer Crib and is the answer not in the manual?
Questions and answers