Table of Contents
Advertisement
Quick Links
Download this manual
See also:
Owner's Manual
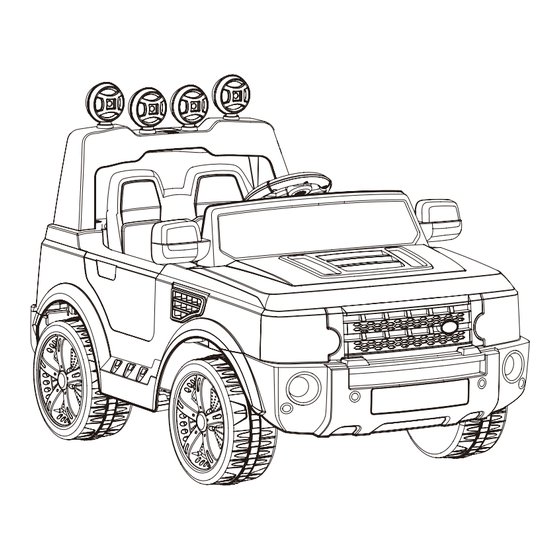
CHILDREN'S
ELECTRONIC TOY CAR
with remote control operation.
• Suitable for 3 years+
• Maximum user weight: 30kg
• Adult assembly required
OWNER'S MANUAL
Read and understand this entire manual before using!
Please keep this manual for future reference as it contains important
information.
Before first time use, charge the battery for at least 4-6 hours.
Advertisement
Table of Contents

Related Manuals for Jiajia JJ012A


Summary of Contents for Jiajia JJ012A
- Page 1 CHILDREN'S ELECTRONIC TOY CAR with remote control operation. • Suitable for 3 years+ • Maximum user weight: 30kg • Adult assembly required OWNER'S MANUAL Read and understand this entire manual before using! Please keep this manual for future reference as it contains important information.
-
Page 2: Table Of Contents
Table of Contents 1. About Your New Vehicle 2. Parts List 3. Parts Diagram 4. Assembly Steps 5. How To Operation Your Vehicle 6. Charging The Vehicle 7. Troubleshooting Guide 8. Maintaining Your Vehicle 9. Disposal Of Battery About Your New Vehicle Thank you for your purchasing our products, we wants your child to enjoy this product for years to come. -
Page 3: Parts List
Parts List Q’ty Q’ty REMARKS REMARKS PART PART PART PART Par t Par t PICTURE PICTURE (pcs) (pcs) NAME NAME Vehicle Seat body Light Window Dashboard Dashboard support marked Steering “R”, Gear the other shaft marked “L” Driving Wheel wheel Front Rear wheel... - Page 4 Parts List Q’ty REMARKS Q’ty REMARKS PART PART PART PART Par t PICTURE PICTURE (pcs) (pcs) NAME NAME Placed M5x16 Ø4x12 in the machine vehicle screw screw body Placed M5x20 Placed on the M5x50 on the machine steering machine rear axle wheel screw screw...
- Page 5 Parts List Assembly package Q’ty REMARKS Q’ty REMARKS PART PART PART PART Par t Par t PICTURE PICTURE (pcs) (pcs) NAME NAME Cap nut Spanner 1pcs Ø10 Ø12 For spare for spare wahser wahser Split Ø4x12 2pcs 1pcs for spare for spare screw...
-
Page 6: Parts Diagram
3. Parts Diagram Note: Some Parts Shown are assembled Ø4x12 screw *12 Ø4x12 screw *16 Vehicle body *1 on both sides of vehicle Gear box *1 Gear box *2 Dashboard *1 Spoiler *1 Driving wheel *1 Driving wheel *2 Ø12 washer *8 Ø12 washer *6 Window *1 Ø10 locknut *4... -
Page 7: Assembly Steps
Assembly Steps • Your new vehicle requires adult assembly. Please set aside at least 40 minutes for assembly. Children can be harmed by small parts, sharp edges and sharp points in the vehicle's unassembled state. Care should be taken in unpacking and assembly of the vehicle. -
Page 8: Wheel Assembly
Assembly Steps 3. Wheel assembly from the front ● Remove all the parts Wheel Ø10 Locknut Ø12 washer axle. Ø12 Ø ● Slide 12 washer*1 onto the front axle Cap nut Washer Bush ● Slide bush*1 onto the front axle. ●... - Page 9 Assembly Steps 6. Dashboard assembly ● Insert the tabs on the dashboard support into the holes in the vehicle body. Dashboard Ø4x12 screw ● Insert the tabs on dashboard into the holes in bonnet and make the steering Slots shaft passes through the hole in the (in vehicle body) dashboard .
-
Page 10: Battery Information
Assembly Steps BATTERY INFORMATION Batteries may leak fluids that can cause chemical burn injury or ruin your product. To avoid battery leakage: Do not mix old and new batteries or batteries of different types: alkaline, standard (carbon-zinc) or rechargeable (nickel-cadmium). Insert batteries as indicated inside the battery compartment. - Page 11 Assembly Steps 11. Motor Hood assembly ● Fit the motor hood on the motor. ● Fit the motor hood on the motor. Motor Ø4x12 ● Tighten the Ø4x12 screws*4 to secure ● Tighten the Ø4x12 screws*4 to secure hood screw ●...
-
Page 12: How To Operation Your Vehicle
How To Operate Your Vehicle WARNING! PREVENT INJURIES AND DEATHS: • NEVER LEAVE CHILD UNATTENDED. DIRECT ADULT SUPERVISION IS REQUIRED. Always keep child in view when child is in vehicle. • Never use in roadways, near cars, on or near steep inclines or steps, swimming pools or other bodies of water. - Page 13 How To Operate Your Vehicle Use Operation( Ensure the power switch has been turned on IMPORTANT! Conversion Power switch Always stop vehicle when changing the switch Sound button speed or direction to avoid damage to gear box and motor. Forward-backward NOTE! switch If you want to use the remote control...
- Page 14 Charging Your Vehicle handling. • Do not open the battery. Battery contains lead acid and other materials that are toxic and corrosive. • Do not open the charger. Exposed wiring and circuitry inside case may cause electric shock.• Only adults may handle or charge the battery. NEVER allow child to handle or charge the battery.
-
Page 15: Troubleshooting Guide
Troubleshooting Guide PROBLEM: The vehicle does not run ■ PROBLEM CAUSE: The battery may low on power. After each use, or once a month minimum, charge the battery for a full 10 hours. Do not leave the battery on the charger for more than 20 hours. POSSIBLE CAUSE: Thermal fuse has tripped. -
Page 16: Maintaining Your Vehicle
Troubleshooting Guide PROBLEM: The vehicle does not run very long. ■ POSSIBLE CAUSE: Battery may be undercharged. You may not be charging the battery long enough. After each use, or once a month minimum, charge the battery for 8 to 10 hours. Do not leave the battery on the charger for more than 20 hours. POSSIBLE CAUSE: Battery is old. -
Page 17: Disposal Of Battery
Disposal Of Battery Disposal Of Batter y ● Your sealed lead-acid battery must be recycled or disposed of in an environmentally sound manner. ● Do not dispose of your lead-acid battery in a fire. The battery may explode or leak. ●... - Page 18 Remote Control Electronic Toy Car Operation Instructions Adult operating required Conversion switch Sound button Forward-backward switch Foot pedal Power switch Audio input INDICATOR LIGHT LEFT JOY STICK RIGHT JOY STICK ON-OFF SWITCH HOW TO USE THE REMOTE CONTROLLER 1. Press the CONVERSION SWITCH on the vehicle to “Remote control” . 2.
Need help?
Do you have a question about the JJ012A and is the answer not in the manual?
Questions and answers