Table of Contents
Advertisement
P/N 632 0238 201 Rev.03
USA
Hyundai ImageQuest America
3101 North First Street San Jose, CA 95134
Hyundai tech support
Tel : +800-568-0061,408-232-8654
Fax : +408- 232-8146
e-mail : syuen@hyundaiqa.com
AVC USA. INC.
777 Mark Street, Wood Dale, IL 60191
Tel : 630-595-0123 / 800-568-0060
Fax : 630-595-2345 / 800-784-9422
e-mail : avctech@avcusa.com
NEW ZEALAND
TRANSTECH DISTRIBUTORS Ltd.
PO Box 12985 Penrose,
Auckland New Zealand
Tel : 09-571-0775
Fax : 09-571-0776
e-mail : LouisG@Transtech.co.nz
WWW : www.transtech.co.nz
AUSTRALIA
Thomas Electronics Australia Pty Ltd.
3 Sheridan Close
Milperra NSW 2214, Australia
Tel : +61 2 9773 7400
Fax : 61 2 9773 7177
Attn : Ms. Shiely Poniman
GERMANY
Hyundai ImageQuest Europe GmbH
Geheimrat Hummel Platz 2
65239, Hochheim, Germany
Tel : 06146 / 904 444
Fax : 06146 / 904 410
e-mail : service@hyundaiq.de
WWW : www.hyundaiq.com
JAPAN
Hyundai ImageQuest JAPAN
Shin-Hibiya Bldg, East 5F 1-3-6
Uchisaiwai-Cho, Chiyoda-ku,
Tokyo, Japan 100-0011
Tel : 03-5157-2286
Fax : 03-5157-2284
e-mail : pjkim@iqt.co.kr
C/S P.J.Kim
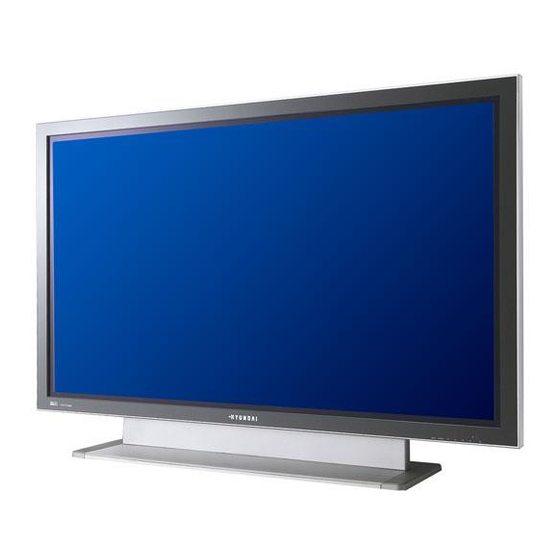
Hyundai
Plasma Display
HQP421SR/421HR/501HR
User's Guide
* The above image may look different from the real product.
Advertisement
Table of Contents


Need help?
Do you have a question about the HQP421HR and is the answer not in the manual?
Questions and answers