
Subscribe to Our Youtube Channel
Related Manuals for Zodiac Zippy


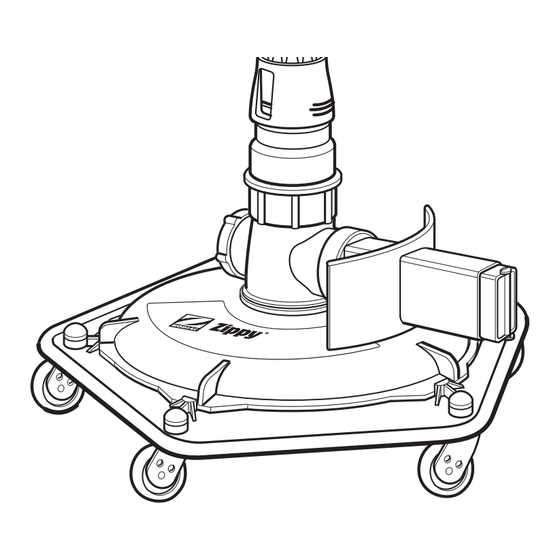
Summary of Contents for Zodiac Zippy
- Page 1 Owner’s Manual Automatic Aboveground Pool Cleaner W83309...
- Page 2 WARRANTY LASTS, SO THE ABOVE LIMITATION MAY NOT APPLY TO YOU. In no event shall Zodiac Pool Care, Inc. be liable in contract or in tort, or under any other legal theory, for lost profits or revenues, loss of use or similar economic loss, or for indirect, special, incidental, consequential or similar damages, even if it has been advised of the possibility of such claim.
-
Page 3: Table Of Contents
ZIPPY before having a qualified professional perform the necessary repairs. -
Page 4: Prepare Pool And Filtration System
® WALL ADAPTER INSTALLATION ZIPPY is designed to work with the return flow from your pool’s filtration system. Aboveground pools may utilize different types of return inlet fittings. To accommodate this, your ZIPPY comes with an adapter assembly which connects to a variety of different pool return inlet fittings. -
Page 5: Hose Assembly
FIGURE 3A FIGURE 3B NOTE: If your pool has more than one return inlet, you must plug the inlet(s) not being used by Zippy to insure sufficient flow rate. See your pool professional to purchase the appropriate parts. HOSE ASSEMBLY Step 1: Lay hoses in a straight line in the sun for 1 hour to remove hose memory. - Page 6 Step 6: Thread the head connector that is attached to the first hose section onto the cleaner head. Step 7: Submerge the ZIPPY head in the pool, tilt it on its side and wiggle it back and forth until ® the air is evacuated and bubbles cease. Then, lower the ZIPPY to the bottom of the pool.
-
Page 7: Adjusting The Flow
(Figure 2). ZIPPY should move about the pool, intermittently slowing down or stopping as it contacts wrinkles or walls. As it slows or stops, the jet nozzle should swing freely, propelling the ZIPPY towards a different direction. Star Control Assembly: Depending upon the size and conditions in your aboveground pool and the size of your pump, it may be necessary to increase or decrease the flow. -
Page 8: Cleaning The Zippy Filter
Step 3: Disconnect the Zippy head from the hose. Jet Nozzle Step 4: Drain the ZIPPY by turning it with the jet nozzle towards the pool surface. Step 5: Set the ZIPPY on a level surface such as the top rail of the pool or your pool deck. -
Page 9: Care And Maintenance
Assembly from the wall. Reinstall it in the pool a minimum of 4 hours later. VERY IMPORTANT! Backwashing Your Filter System It is important to disconnect the ZIPPY when backwashing your pool filter system. Turn the Wall Adapter counter-clockwise to remove it from the pool wall fitting. Reinstall after the backwashing process is complete. -
Page 10: Troubleshooting Guide
TROUBLESHOOTING GUIDE Should you experience a problem with your ZIPPY, please follow the troubleshooting guide as shown below prior to calling for service. If after reviewing the troubleshooting guide assistance is required, call 1-888-786-7797. Please have your serial number, along with the date of installation for the Technical Service Representative. -
Page 11: Parts Diagram
Zippy Body Bottom W83460 Zippy Wiper – Teal – 5 Required W67313 Zippy Throat – Grey W67513 Zippy Wheel Cap – Grey – 5 Required W83033 Zippy Washer Teflon – 5 Required W75813 Zippy Wheel Assembly – 5 Required W83135... - Page 12 ® LET US HELP WITH YOUR ZIPPY If you are having a coverage problem you cannot solve, mail or fax us the following information along with a sketch of your pool shape, including dished out or hopper areas if they exist, and indicating the location of skimmers, inlets, ladders, and the filter system.
Need help?
Do you have a question about the Zippy and is the answer not in the manual?
Questions and answers