Zodiac Baracuda G3 Installation Manual
Inground automatic pool cleaner
Hide thumbs
Also See for Baracuda G3:
- Owner's manual (31 pages) ,
- Owner's manual and quick installation instructions (20 pages) ,
- Quick start manual (2 pages)
Table of Contents
Advertisement
Advertisement
Table of Contents

Related Manuals for Zodiac Baracuda G3


Summary of Contents for Zodiac Baracuda G3
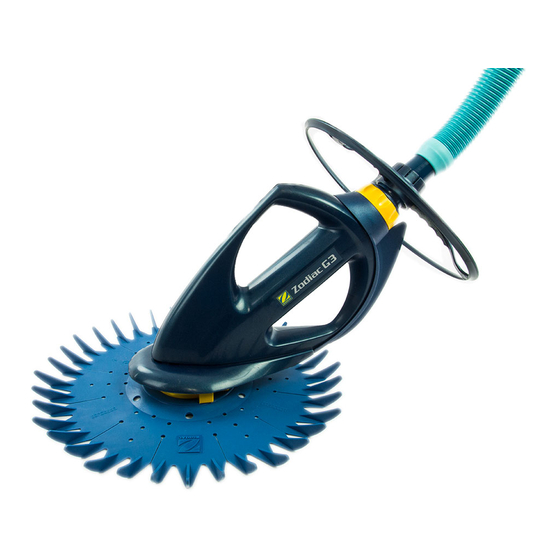
- Page 1 OWNER’S MANUAL The following parts are included with your Baracuda G3 (Model# W03000): (1) Universal (1) FlowKeeper™ Valve (1) Cleaner Head (1) Finned Disc (2) 45 Degree Elbows Valve Cuff (1) Pool Pulse™ (12) Hose Lengths (1) 4 " Connector...
- Page 2 This misuse will void all warranty on the unit. 6. In no event shall Zodiac Pool Care, Inc. be liable in contract or in tort, or under any other legal theory, for lost profits or revenues, loss of use or similar economic loss, or for indirect, special, incidental, consequential or similar damages, even if it has been advised of the possibility of such claim.
-
Page 3: Table Of Contents
• The Zodiac Automatic Pool Cleaner connects to the skimmer or dedicated vacuum line with the hose sections provided. Water flows through the diaphragm of the cleaner at a rate of 14 to 19 gallons per minute. -
Page 4: Pool Preparation
• Before installing the Zodiac Automatic Pool Cleaner, examine the interior of your pool carefully. If your vinyl liner is brittle or has stones, wrinkles, roots or metal corrosion in contact with the underside of the liner, or has damage to the base material or supporting walls, do not install the pool cleaner before having a qualified professional perform the necessary repairs. -
Page 5: Assembly
WHEEL DEFLECTOR INSTALLATION (Only used on some pool cleaners.) Some Zodiac Pool Cleaner models require a wheel deflector for proper performance. If your model includes one, slide the wheel deflector over the extension pipe and secure between the two lowest pipe ridges. Make sure the top clips of the wheel deflector are seated in the groove. -
Page 6: Balance
STEP 4 - BALANCE Zodiac Automatic Pool Cleaners require a specific number of hose weights to compensate for the buoyancy of the hose depending on the cleaner model. A properly balanced pool cleaner hose will create a 45-degree angle from the cleaner head and the bottom of the pool as shown below. -
Page 7: Installation For Pools With Skimmers
STEP 6 INSTALLATION FOR POOLS WITH SKIMMERS FLOWKEEPER VALVE In skimmer installations the Flowkeeper Valve MUST BE used. The pool pump provides more gallon per minute flow than your pool cleaner requires. The Flowkeeper provides a way to regulate the flow with a bypass so the pool pump and the pool cleaner run properly. -
Page 8: Achieving Proper Flow
POOL PULSE The Pool Pulse is a flow meter that measures the volume of water flowing through your Zodiac cleaner. It must be used to properly set the flow and can be used as a diagnostic tool when the cleaner isn't running properly. -
Page 9: Adjustments
MODEL# W83251 - Snap (1) hose weight onto the first hose section, one meter from the cleaner head. MODEL# W03000, W83215, and W83216 - An additional hose weight (#W83247) may be necessary to balance the Zodiac Pool Cleaner head. If the cleaner is not balanced correctly in the deep end of the pool (as shown on page 4), turn off the pump and add an additional hose weight approximately 5 to 8 feet away from the cleaner head. -
Page 10: Accessories
" Hose Connector Use when heavy debris or leaf situations exist. 5. W83247 Additional 37g Hose Weight May be required to properly balance the Zodiac cleaner head. ZODIAC POOL CARE, INC. 2028 N.W. 25th Avenue Pompano Beach, FL 33069 1-888-786-7797 www.zodiacpoolcare.com... -
Page 11: Care And Maintenance
REPLACING THE FOOT PAD Unthread and remove the cassette (Steps 1 & 2). Holding the Baracuda G3 as shown (Step 3), press down on the yellow clip while pulling the foot flange toward you. Pull off the old footpad and stretch on the new one. Insert the locking clip of the foot flange into the large opening (Step 4), push forward to lock into place (Step 5) insert the cassette and tighten (Step 6). -
Page 12: Parts List
Left G3 Main Body W69542 Right G3 Main Body W56124 Float - Baracuda G3 W41079 Weight - Baracuda G3 W69545 Retaining Collar - Baracuda G3 W69559 Cassette Chambers Upper and Lower W69698 Long Life Diaphragm W81600 Retaining Ring W56525 Inner Extension Pipe...
Need help?
Do you have a question about the Baracuda G3 and is the answer not in the manual?
Questions and answers