Table of Contents

Related Manuals for D-Link 1000BASE-TX to 1000BASE-SX/LX Media Converter


Summary of Contents for D-Link 1000BASE-TX to 1000BASE-SX/LX Media Converter
-
Page 1: Media Converter
1000BASE-TX to 1000BASE-SX/LX Media Converter User’s Guide RECYCLABLE 19071001TSC6002 Rev.1.00... - Page 2 TABLE ON TE N TS TABLE OF CONTENTS ..2 INTRODUCTION ....3 ......3 BOUT EDIA ONVERTER PRODUCT FEATURES ..4 INSTALLATION ....5 ..5 ELECTING A ITE FOR THE QUIPMENT ......5 ONNECTING TO OWER ......5 NSTALLING IN A HASSIS ONITORING THE...
-
Page 3: About Media Converter
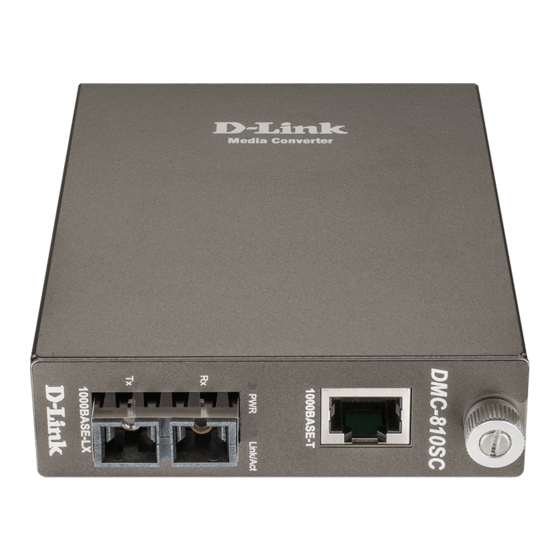
NTRODUCTION Thank you for choosing the 1000Base Gigabit Ethernet Media Converter, The Converter introduced here provides one channel media conversion between 1000BASE-TX and 1000BASE-FX. About Media Converter Media Converter is a network technology specified by IEEE 802.3ab and IEEE 802.3z 1000BASE-TX/FX standards. -
Page 4: P Roduct F Eatures
RODUCT EATURES Hot-swappable when used with a chassis One-channel media conversion between 1000BASE-TX and 1000BASE-FX Fiber media allows: multi-mode fiber and single-mode fiber using SC connector Link Pass Through function Auto negotiation of duplex mode on TX port ... -
Page 5: Installation
NSTALLATION This chapter gives step-by-step installation instructions for the Converter. Selecting a Site for the Equipment As with any electric device, you should place the equipment where it will not be subjected to extreme temperatures, humidity, or electromagnetic interference. Specifically, the site you select should meet the following requirements: The ambient temperature should be between 32 and 104 degrees Fahrenheit (0 to 40 degrees Celsius). -
Page 6: Monitoring The Converter Through Management Module
First, install the converter onto a carrier supplied with the chassis: Step 1- Unscrew and pull out the media converter board. Step 2- Plug in the media board to any of the vacant slot. Step 3- Fit the converter onto the carrier and use the screw to secure it. -
Page 7: Led Indicator
NOTE: To control the function in a working station, need to collocate together with optional Chassis System and Management Module. LED Indicator The LED indicators give you instant feedback on status of the converter: LEDs State Indication Lights on Power on Power (PWR) Lights off... - Page 8 The table below shows how LLCF function is working: Me d ia Me d ia C o nve rte r A C o nve rte r B LINK 3 LINK 2 Fib e r Fib e r T X RX T X RX C o p p e r C o p p e r...
- Page 9 Link Status Link 1 Link 2 Link 3 Link 4 Disconnect Cable 1 Cable 2 Cable 3 Cable 4 NOTE: If connecting two converters with LLR function in both end, it is recommended that the monitor end converter had to turn off the LLR function, and turn on the LLR function of the remote end converter.
-
Page 10: Specifications
PECIFICATIONS Standards: IEEE802.3ab 1000BASE-TX IEEE802.3z 1000BASE-SX/LX Data Transfer 1488000pps for 1000Mbps Rate: Duplex Mode: Full Duplex Mode LED indicators: PWR, LNK/ACT Cable 1000BASE-T -- 4 pair Cat. 5, EIA/TIA-568 100-ohm screened twisted-pair (STP), up to 100m 1000BASE-SX -- 62.5/125μm multi-mode fiber optic cable, up to 220m 50/125μm multi-mode fiber optic cable, up to 550m...
Need help?
Do you have a question about the 1000BASE-TX to 1000BASE-SX/LX Media Converter and is the answer not in the manual?
Questions and answers