Table of Contents
Advertisement
Quick Links
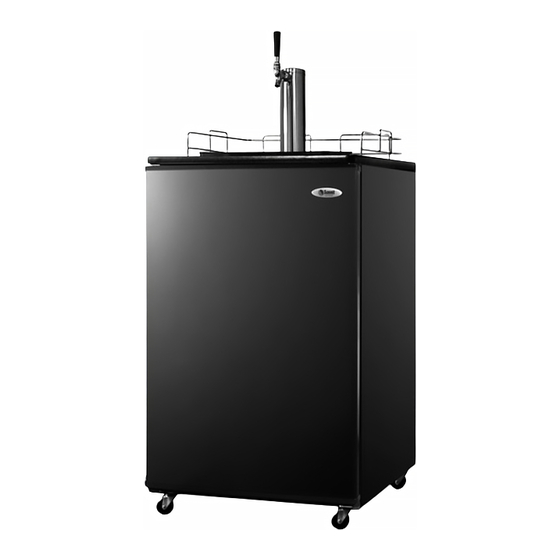
FULL-SIZE UNDER-COUNTER BEER DISPENSER
BEFORE USE, PLEASE READ AND FOLLOW ALL SAFETY RULES AND OPERATING INSTRUCTIONS.
Write Model and Serial Numbers here:
Model # _______________________
Serial # _______________________
Find these numbers on back of unit.
Model SBC490BI (All Versions)
Use and Care Guide
Felix Storch, Inc.
770 Garrison Avenue
Bronx, NY 10474
www.summitappliance.com
Advertisement
Table of Contents
Troubleshooting

Related Manuals for Summit SBC490BI


Summary of Contents for Summit SBC490BI
- Page 1 FULL-SIZE UNDER-COUNTER BEER DISPENSER Model SBC490BI (All Versions) Use and Care Guide BEFORE USE, PLEASE READ AND FOLLOW ALL SAFETY RULES AND OPERATING INSTRUCTIONS. Felix Storch, Inc. Write Model and Serial Numbers here: 770 Garrison Avenue Model # _______________________ Bronx, NY 10474 Serial # _______________________ www.summitappliance.com...
-
Page 2: Table Of Contents
TABLE OF CONTENTS Important Safeguards ..................2 Before Using for the First Time ................3 We Care About the Environment Tips for Saving Energy Disposing of a Worn-Out Appliance ..............4 Placing and Installation ................... 4 - 5 Choosing the Right Place ................4 Connection to Power Supply .............. -
Page 3: Important Safeguards
IMPORTANT SAFEGUARDS WARNING! To reduce the risk of fire, electric shock or injury when using your appliance, follow these basic precautions: 1. Read all instructions before using the appliance. 2. The appliance must be correctly connected to the power supply. 3. -
Page 4: Before Using For The First Time
BEFORE USING FOR THE FIRST TIME These instructions are important, and we request you read them before using this beer dispenser. They describe the appliance and the correct and safe way to use it. The instructions were prepared for various models so you may find descriptions of some accessories and functions that do not apply to yours. -
Page 5: Disposing Of A Worn-Out Appliance
DISPOSING OF A WORN-OUT APPLIANCE When your appliance finally wears out, dispose of it. Before you dispose of your old refrigerator or freezer: Take the door or doors off but leave the shelves and drawers in place so that children cannot easily climb inside. -
Page 6: Temperature Control
Required nominal voltage and frequency are indicated on the rating plate. The connection to the power supply and grounding has to be made according to current standards and regulations. The appliance resists temporary voltage fluctuations with a tolerance of -15 to 10%. -
Page 7: Installation
INSTALLATION Remove all packing materials and parts. Inspect to make sure all parts listed on page 8 are present. Keg Tapper and Beer Keg The Sankey type keg tapper supplied with the beer dispenser is the most widely used in the United States. However, other types of keg tappers can be used. Before installing a keg tapper, check with your beer distributor to make sure that the Sankey type keg tapper can be used. -
Page 8: Draft Arm Assembly
Once all four casters have been tightened evenly, stand the cabinet in an upright position. Note: Allow the beer dispenser to stand in an upright position for 8-10 hours before turning on. Draft Arm Assembly 1. Slide gasket over wing nut on bottom of draft arm assembly beer tubes. Slide gasket up beer tube to draft arm base. -
Page 9: Parts List
PARTS LIST Unpack and inspect the various parts of this unit Remove all packing materials and parts. Inspect to make sure all parts listed below are present. 1 Draft arm assembly (with washer) 1 CO cylinder 1 CO regulator 1 Keg tap (American Sankey type) 1 Cleaning kit Vinyl tubing 1 Stainless steel (removable) floor to protect the unit during keg insertion... -
Page 10: Understanding Beer Temperature
5. Hold the glass steady at a 45° angle. When it is 2/3 full, start straightening the glass. Proper foam should be a tight, creamy head and the collar on an average glass should be 3/4" to 1" high. Note: It is normal to see condensation forming on the faucet. It is caused by the difference in temperature between the cold beer and the inner surfaces of the faucet when beer is flowing through the line. -
Page 11: Converting The Beer Dispenser To An All-Refrigerator
CONVERTING THE BEER DISPENSER TO AN ALL-REFRIGERATOR For your convenience, this beer dispenser can be converted to an all-refrigerator application. Simply follow the steps below for a quick and easy conversion. Note: When using as a refrigerator, we do not recommend the use of casters, since stored items may fall off the shelves when the unit is in motion. -
Page 12: Converting The Beer Dispenser To A Built-In
CONVERTING THE BEER DISPENSER TO A BUILT-IN UNIT For your convenience, we offer beer dispensers that can be quickly built in under your counters. Simply follow the steps below for a quick and easy installation. Note: Not all models have built-in capability. Only models with letters BI are built- in compatible. -
Page 13: Instructions For Building-In
Instructions for Building-In Find the mid-point: From left to right the width is about 24". From back to front, the dimension is about 25". Therefore the mid-point is located wherever these coordinates cross each other. Use a pencil or marker to note this spot. Note: 12 inches from left to midpoint. -
Page 14: Maintenance And Cleaning
MAINTENANCE AND CLEANING Automatic Defrosting of the Refrigerator There is usually no need to defrost the refrigerator because the ice deposited on the inner back wall is automatically defrosted. Ice deposits on the inner back wall during compressor operation. Later on, when the compressor is not operating, the ice defrosts and water drains through the outlet in the inner back wall into the drain pan situated above the compressor where it evaporates. -
Page 15: Cleaning The Appliance
Cleaning the Appliance Disconnect the power supply before cleaning the appliance. Do not use coarse or abrasive cleaning agents as you can damage the surface of the appliance. Periodic cleaning of the beer dispenser is necessary. A complete cleaning kit is provided for your convenience. -
Page 16: Noise
Check the bottles, cans and other vessels that might touch each other and rattle. Summit Outdoor refrigerators contain a rear fan which runs only when the compressor is on, and some models have an internal air circulation fan which... -
Page 17: Troubleshooting
TROUBLESHOOTING Problem Cause Correction Drain a few ounces before drinking. Beer is cloudy: Excessively low The beer in the temperatures Raise the temperature setting of the unit. glass appears may cause hazy and not clear. hazy or cloudy beer, particularly when the beer lies in the cold coil for long... - Page 18 Beer has off taste: Improper Brush and clean the tap properly. It should be Often bitter and cleaning of the scoured using a detergent, then rinsed clean. bite-y; sometimes completely lacking Contaminated Beer tube should be examined. If contaminated, flavor and zest. It air line it should be replaced.
-
Page 19: Limited Warranty
LIMITED WARRANTY ONE-YEAR LIMITED WARRANTY Within the 48 contiguous United States, for one year from the date of purchase, when this appliance is operated and maintained according to instructions attached to or furnished with the product, warrantor will pay for factory-specified parts and repair labor to correct defects in materials or workmanship.
Need help?
Do you have a question about the SBC490BI and is the answer not in the manual?
Questions and answers