Advertisement
Quick Links
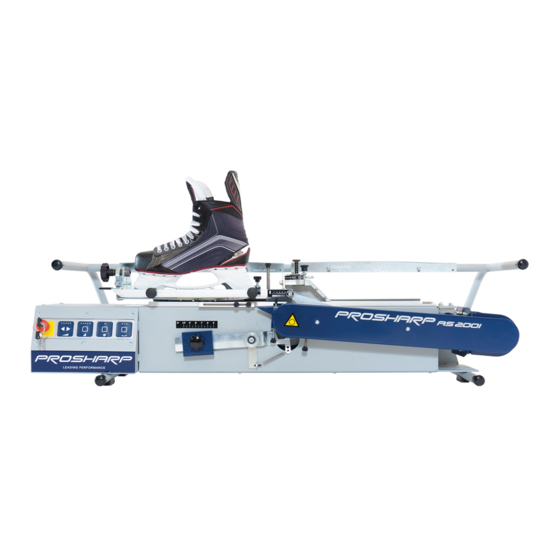
ProSharp AS 2001
ORIGINAL INSTRUCTIONS
Read the installation and operating instructions carefully before using the machine.
Usage that is not in accordance with the instruction manual and/or disregard safety
instruction, may cause injury or death, and damage the machine.
page 1
Advertisement

Related Manuals for Prosharp AS 2001


Summary of Contents for Prosharp AS 2001
- Page 1 ProSharp AS 2001 ORIGINAL INSTRUCTIONS Read the installation and operating instructions carefully before using the machine. Usage that is not in accordance with the instruction manual and/or disregard safety instruction, may cause injury or death, and damage the machine. page 1...
-
Page 2: Installation Instructions
Installation instructions 1. Unpacking and installation: Open the transportation box by unscrewing the locks on both sides of the transportation box. 2. Place the machine on a steady table on a height between 80-100 cm. 3. Cut all cable ties. 4. - Page 3 5. Keep other persons away. Do not let persons, especially children, not involved in the work touch the machine or the extension cord and keep them away from the work area. Make workshop kip proof with padlocks, master switches, or by removing starter keys. Do not overreach.
- Page 4 Control Panel Manual page 4...
- Page 5 Designation ProSharp AS 2001-Allpro is a skate sharpening machine and should be used only to sharpen ice skates. Safety Information and Recommendations Before using the machine check the grinding wheel for cracks. If there are cracks in the wheel (can be caused in transport), change the wheel to a new wheel before grinding.
- Page 6 People under 18 years of age may NOT use the machine! Never move the skate-holder by hand. Only use the arrows to move the skate-holder. Only non-flammable vacuum cleaners should be connected to the AS 2001. page 6...
- Page 7 The ProSharp AS 2001- Allpro delivery includes: 1 Skate Sharpening Machine ProSharp AS 2001- Allpro 1 Grinding wheel MA70 1 Dressing-tool NDT3 10 Contouring templates 1 Power cord 1 19mm wrench for grinding wheel change ...
-
Page 8: Maintenance Instructions
Time to change grinding-wheel (page 9). The number of pairs/wheel depends on how often you dress the wheel, type of steel etc. For best grinding result, use only balanced ProSharp grinding wheels MA54, MA70 or MA90. After 800-1000 pairs: Check the dressing-tool. The diamond must be pointed and even for best grinding result. - Page 9 Dressing of the grinding wheel with regular hollow 1. Make sure that the scale-knob is set at 3.0 2. Choose your hollow and move the skateholder by using the arrows on the control-panel 3. The hollow radius sticker on the skateholder indicates wich hollow you want to dress.
- Page 10 Notice: The amount of cycles required to sharpen your skates varies depending of the quality and condition of your skates. For more detailed instructions how to use the electronics and adjustments please take a look at our Instructional Videos at www.prosharp.com page 10...
- Page 11 Check the result and the skate is finished. For more detailed instructions how to sharpen Figure –and Bandy Skates, please take a look at our Instructional Videos at www.prosharp.com page 11...
- Page 12 Radius and Gliding surface profiling 1. Choose radius- or gliding surface template. 2. Mark on the skate the desired middle of the ice surface contact. 3. Put the skate into the skate-holder and make sure that the skate lies on both rolls.
- Page 13 8. Choose the desired blade profiling distance by using the “points” on the skate- holder. Push the “PROFILE” button twice and one light will go on and the skate-holder will drive between the two “one point marks” in the skate-holder. Press 3 times...
- Page 14 Change of the grinding wheel Changing of the wheel and all service work may only be done when the main power is switched off. But before switching the power off please read these instructions. Drive the skate-holder to the left by using the arrows at “SPEED” Now switch the power off.
- Page 15 Warranty The warranty applies for one year for materials and workmanship. The manufacturer is not responsible for defects or faults that arise from normal usage, negligent maintenance or other neglect, unauthorized tampering, improper use, service or repairs performed by others than those approved by the manufacturer, as well as variations in electrical voltage or other electrical disorders.
- Page 16 page 16...
Need help?
Do you have a question about the AS 2001 and is the answer not in the manual?
Questions and answers