Table of Contents
Advertisement
Quick Links
Advertisement
Table of Contents

Related Manuals for Fantom Magic WF 4000


Summary of Contents for Fantom Magic WF 4000
- Page 1 MAGIC WF 4000 WATER FILTER VACUUM CLEANER TYPE WF W 11 USER’S GUIDE...
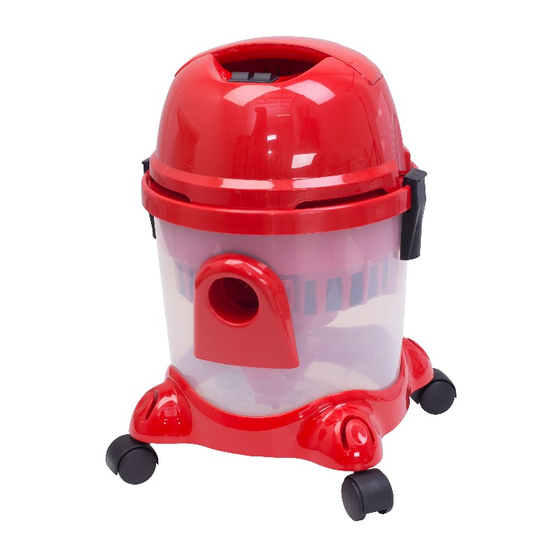
- Page 2 COMPONENT PARTS 1- Carrying Handle 2- ON-OFF Switch 3- Motor Bonnet 4- Buoy (float valve) 5- Sponge Filter 6- Inner Bonnet 7- Water Filter Exhaust 8- Locking Latch 9- Tank 10- Suction Mouth 11- Wheeled Base 12- 360° turnable wheels ACCESSORIES 1- Hose Handle 2- Air Discharging Hole...
- Page 3 PRECAUTIONS (READ BEFORE USING) PRECAUTIONS • Make sure that the voltage on the power name plate of the device corresponds to the voltage of your network. • Use your machine with the right currency. The plug has to be protected with min.10 amperes. •...
- Page 4 ASSEMBLY FOR WATER FILTRATION FUNCTION • Unlock the locking latches pulling outwards as shown in the figure. • Put the motor bonnet away through holding it from carrying handle. •Put water filter exhaust inside the tank as shown in the figure by pushing through the suction mouth.
- Page 5 DRY VACUUMING FUNCTION WITH PAPER DUSTBAG • Unlock the locking latches pulling outwards as shown in the figure. • Put the motor bonnet away through holding it from carrying handle. • Lock the paper dustbag to the clips which are on the back side of the suction mouth. •...
- Page 6 ASSEMBLY FOR WET VACUUMING FUNCTION • Unlock the locking latches pulling outwards as shown in the figure. • Put the motor bonnet away through holding it from carrying handle. • The tank should be clean while using wet vacuuming function. The paper dustbag, inner bonnet and water filter exhaust should certainly be removed out of the tank.
- Page 7 ASSEMBLY FOR ACCESSORIES • After connecting the tubes to each other and to the hose handle, attach the right choice of accessory to the extension tubes. • Instead of using two extension tubes, you can use your machine with only one tube or without any extension tubes by connecting the right choice of accessory for your wet vacuuming area directly to the hose handle.
- Page 8 TECHNICAL SPECIFICATIONS TYPE WF W 11 Nominal Voltage : 220-230 V AC Nominal Frequency : 50/60 Hz Power : 1400 W : IPX4...
Need help?
Do you have a question about the Magic WF 4000 and is the answer not in the manual?
Questions and answers