
Related Manuals for Fantom FM740


Summary of Contents for Fantom FM740
-
Page 1: Table Of Contents
INSTRUCTION MANUAL VACUUM CLEANER FM740 Contents IMPORTANT SAFETY INSTRUCTIONS NAMES OF EACH PART PREPARATIONS BEFORE USE USING THE VACUUM CLEANER USING THE ATTACHMENTS EMPTYING THE DUST COMPARTMENT CLEANING THE FILTERS CLEANING THE SECONDARY FILTERS CLEARING BLOCKAGES AND CLEANING THE AGITATOR ASSEMBLY... -
Page 2: Important Safety Instructions
4. Use only as described in this manual. Use only the manufacturer's recommended attachments. 5. Do not use with a damaged cord or plug. If the vacuum cleaner is not working as it should, or if it has been dropped, damaged, left outdoors or dropped into water, return to FANTOM at 178 West Service Rd., Champlain, NY 12919. -
Page 3: Save These Instructions
19. Do not pick up items such as pieces of waste paper or cloth which look as though they may cause the hose to become blocked. 20. Do not clean or store the vacuum cleaner in places where there are high temperatures. -
Page 4: Names Of Each Part
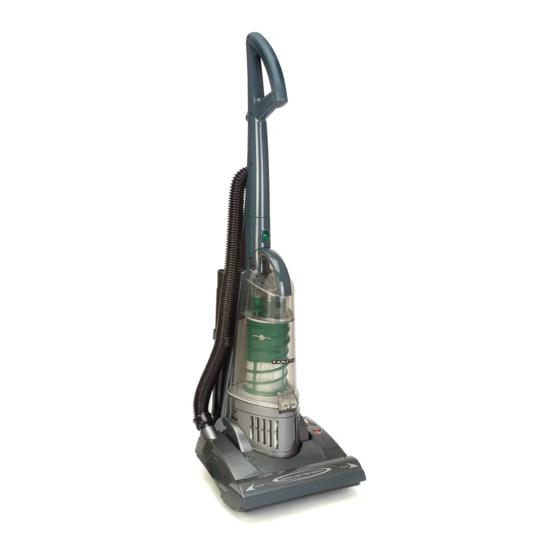
NAMES OF EACH PART FRONT Handle Release Button Carrying Handle Crevice Tool Dust Compartment Filter Cover WARNING: Operate vacuum cleaner only at the voltage specified on name plate. Cord Storage Hooks Suction Hose Hose Holder ON/OFF Switch Upholstery Tool & Dusting Brush Holder... -
Page 5: Preparations Before Use
PREPARATIONS BEFORE USE Caution: Do not connect the power cord plug to the wall outlet until assembly is completed. Attaching the handle Set the vacuum cleaner to the upright position. Attaching the suction hose & attachments Hose Holder Crevice Tool Upholstery Tool &... -
Page 6: Winding The Power Cord
PREPARATIONS BEFORE USE WINDING THE POWER CORD Hook the power cord over the clip which is located on the upper cord storage hook as shown. Plug Side Clip RELEASING THE POWER CORD Rotate the upper cord storage hook downward. Upper Cord Storage Hook INSERTING THE POWER CORD PLUG WARNING: To reduce the risk of electric shock, this... -
Page 7: Using The Vacuum Cleaner
Push the handle forward until it locks. EDGE CLEANING This vacuum cleaner is equipped with an "edge cleaning" function for cleaning carpet edges near baseboards and stationary furniture. ON/OFF Switch Handle Release Normal position This position is used for normal cleaning. -
Page 8: Using The Attachments
Caution: Before using the attachments, please make sure the hose is hooked on the holder mount. Remove the wands from the vacuum cleaner. Two wands are contained together. Pull out the second wand as shown. Caution: When removing the attachments,pull them in the directions shown in the illustration.Pulling them in the wrong... -
Page 9: Emptying The Dust Compartment
EMPTYING THE DUST COMPARTMENT Caution: Be sure to turn the ON/OFF switch to the "OFF" position and disconnect the power cord from the wall outlet before cleaning. Empty the dust compartment when contents reach the MAX mark. MAX mark Press the release lever to open the trapdoor. -
Page 10: Cleaning The Filters
CLEANING THE FILTERS Remove the dust compartment.(refer to page 8) Set the dust compartment to the parallel position. Open the trapdoor, then push the release button B and pull out the main filter. The main filter and prefilter will be removed at the same time. -
Page 11: Cleaning The Secondary Filters
Gently clean the sub-filter with water. Make sure that it is completely dry and then re-install it into the vacuum cleaner. Replace the air inlet cover and the dust compartment. Caution : Do not wash the air outlet filter and sub-filter in a washing machine, and do not use any other equipment such as a hair dryer to dry it. -
Page 12: Cleaning The Agitator Assembly
If the hose still appears to be blocked: Set the vacuum cleaner to the parallel position and turn it over. Remove the lower hose joint from the lower suction inlet as shown above. -
Page 13: Replacement Instructions
Caution: Be sure to turn the ON/OFF switch to the"OFF" position and disconnect the power cord from the wall outlet before replacing any of the parts below. REPLACING THE HEADLIGHT LAMP Set the vacuum cleaner to the parallel position. Loosen the screws to remove the lens. When removing the headlight lamp, be careful not to pull on the headlight lamp wiring. - Page 14 REPL A CEMENT INSTRUCTIONS Caut ion: Be sure to turn the ON/OFF switch to the "OFF " position and disconnect the power cord from the wall outlet before replacing any of the parts below. REPL AC ING THE FL AT BE LT Remove the bottom plate.
- Page 15 REPL A CEMENT INSTRUCTIONS Caut ion: Be sure to turn the ON/OFF switch to the "OFF" position and disconnect the power cord from the wall outlet before replacing any of the parts below. REPL AC ING THE AG ITATOR Remove the bottom plate. (refer to page 15) Lift out the agitator assembly,and then remove the agitator assembly as shown.
-
Page 16: Reattaching The Bottom Plate
REPLACEMENT INSTRUCTIONS REMOVING THE BOTTOM PLATE Set the vacuum cleaner to the parallel position and turn it over. Slide the latch in the direction shown. Remove the bottom plate by pulling the tabs as illustrated. REATTACHING THE BOTTOM PLATE Insert the projection on the... -
Page 17: Troubleshooting
TROUBLESHOOTING If there is a problem with the vacuum cleaner, carry out the following checks to find the cause. If the problem still persists after the checks have been made, do not use the vacuum cleaner to prevent the possibility of an accident occurring. Turn the ON/OFF switch to the "OFF"...
Need help?
Do you have a question about the FM740 and is the answer not in the manual?
Questions and answers