Table of Contents
Advertisement
Advertisement
Table of Contents

Subscribe to Our Youtube Channel
Summary of Contents for York Fitness Active 125
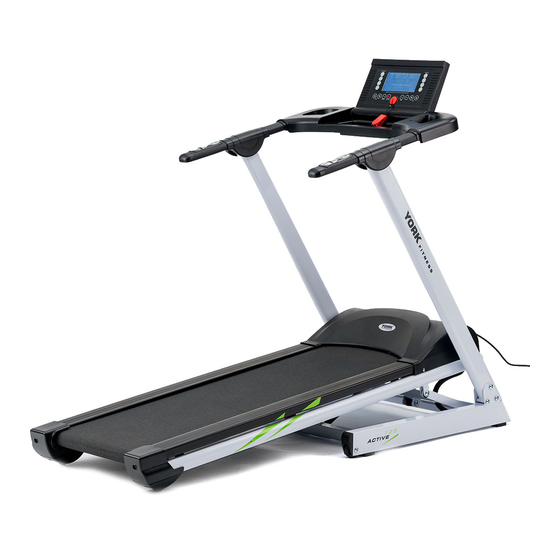
- Page 1 Owner’s Manual Active 125 Treadmill Item #51115 May 21, 2013 www.yorkfitness.com...
-
Page 2: Table Of Contents
Table of contents Congratulations on CONTENTS purchasing your exercise equipment from Safety information Customer support Assembly instructions Operational instructions You have chosen a high quality, safe and innovative piece of equipment as your Troubleshooting training partner and we are certain it will keep you motivated on the way to achieving your personal fitness goals. -
Page 3: Safety Information
• Due to our continuous policy of product • The safety level of this equipment can only be development, York Fitness reserves the right to maintained only if it is regularly examined for wear change specifications without notice. and tear. -
Page 4: Customer Support
IMPORTANT!! - Please retain your sales receipt, York Fitness Customer Care may request proof of purchase to validate eligibility for warranty service. Warranty cover starts from the date shown on the proof of purchase. -
Page 5: Assembly Instructions
Assembly instructions Care & Maintenance • This equipment should not be placed outdoors, in a garage or an outbuilding. Keep the equipment in a dry place with as little temperature variation as possible. • We recommend placing a mat beneath the equipment to protect both the equipment and your flooring. •... - Page 6 Assembly instructions STEP - 2 STEP - 3 K-5 x 2 M8 x 15 K-7 x 4 D16 x D8.5 x 1.5T K-6 x 4 M8 x 55 x 20L K-2 x 1 (6 * 80) K-4 x 2 D15.4 x D8.2 x 2T K-4 x 4 D15.4 x D8.2 x 2T K-3 x 1 (14 * 17 * 75)
- Page 7 K6 x 4 K7 x 4 K4 x 4 K5 x 2 K4 x 2 www.yorkfitness.com...
-
Page 8: Final Check
Assembly instructions Final Check Your treadmill is now assembled. Please make the following final checks: • Make sure all screws / bolts are tightened. • Make sure the equipment is on a flat, level surface. Power Up POWER CORD • Plug one end of power cable into the treadmill as shown. -
Page 9: Operational Instructions
operational instructions Console QU I CK IN CL IN E QUI C K SP EE D IMPORTANT • Place your feet either side of the running belt on the side rail when starting the treadmill. Incline must be set at lowest level before folding treadmill into storage position. Pro. - Page 10 operational instructions Key Function: FUnCTIon DeSCrIPTIon STArT • Start the treadmill. SToP/PAUSe • Pause or Stop the treadmill. • Press and hold “STOP/PAUSE” key for 2 seconds to back to idle mode. • When the parameter is set, this key to return to the previous option set Pro.
-
Page 11: Safety Key
Running Belt Lubrication Reminder Achieve maintenance mileage, LCD will show“LUBRICATE DECK”, press STOP/PAUSE key to by pass then entry idle mode. Reboot three times to clear the maintenance tips. Safety Key Remove the “Safety Key” to stop the treadmill immediately if you feel any discomfort or in the event of any emergency. - Page 12 operational instructions Speed Profile Incline Profile www.yorkfitness.com...
-
Page 13: Program Mode
Program Mode Press PRO. key to select preset program(P 1~P 12) and press MODE key to confirm. Press Speed UP / DOWN key to set Time. And press MODE key to confirm. Press START key to accept current default values and begin workout. - Default TIME = 20 minutes - Default SPEED = Speed Profile - Default INCLINE = Incline Profile... -
Page 14: Troubleshooting
This should clear the treadmill of incidental error and prepare it for normal operation. If there is still a problem call your local York distributor for advice. - Page 15 notes www.yorkfitness.com...
-
Page 16: Care & Maintenance
If you need more lubricant, we recommend you use the Lube-N-Walk Treadmill Lubrication Kit, it can be obtained from local York distributors - see the Contact Us details at the front of this manual or visit www.yorkfitness.com. - Page 17 Adjusting Running Mat Alignment The alignment of the mat has been pre-set at the factory, however, the mat can be caused to run out-of-line by a user’s running style (eg, more weight on one foot), or if it is placed on an uneven surface - so it may need adjusting from time to time.
-
Page 18: Fitness Guide
Fitness guide Starting Your Workout Finishing Your Workout Begin each workout with a Warm Up session - a few Turn the treadmill to the lowest speed and incline minutes of stretching to help prevent strains, pulls settings. and cramps. Using the handrails for support place your feet on the side rails (either side of the running mat). -
Page 19: How Long Should I Exercise For
How Long Should I Exercise For? That really depends on your current level of fitness. If you’re just starting out on a new exercise program, you should start gradually and build up - do not try to do too much too quickly. 30 minutes, 3 times a week should be enough. -
Page 20: Exploded Drawing
exploded drawing www.yorkfitness.com... -
Page 21: Part List
REF. Fac. REF. DEscRiptiOn Qty. yORK REF. Fac. REF. DEscRiptiOn Qty. 51115A00 MAIN FRAME SET 51115E22 COMPUTER WIRE L=400 51115A01 MAIN FRAME 51115F00 CONSOLE SET 51115A02 GROUND WIRE 51115F01 SUNDRIES BOX 51115A03 WHEEL Φ62×Φ8.0×T22 51115F02 CONSOLE HOUSING(UP) 51115A04 CONTROLLER... - Page 22 www.yorkfitness.com...


Need help?
Do you have a question about the Active 125 and is the answer not in the manual?
Questions and answers