Advertisement
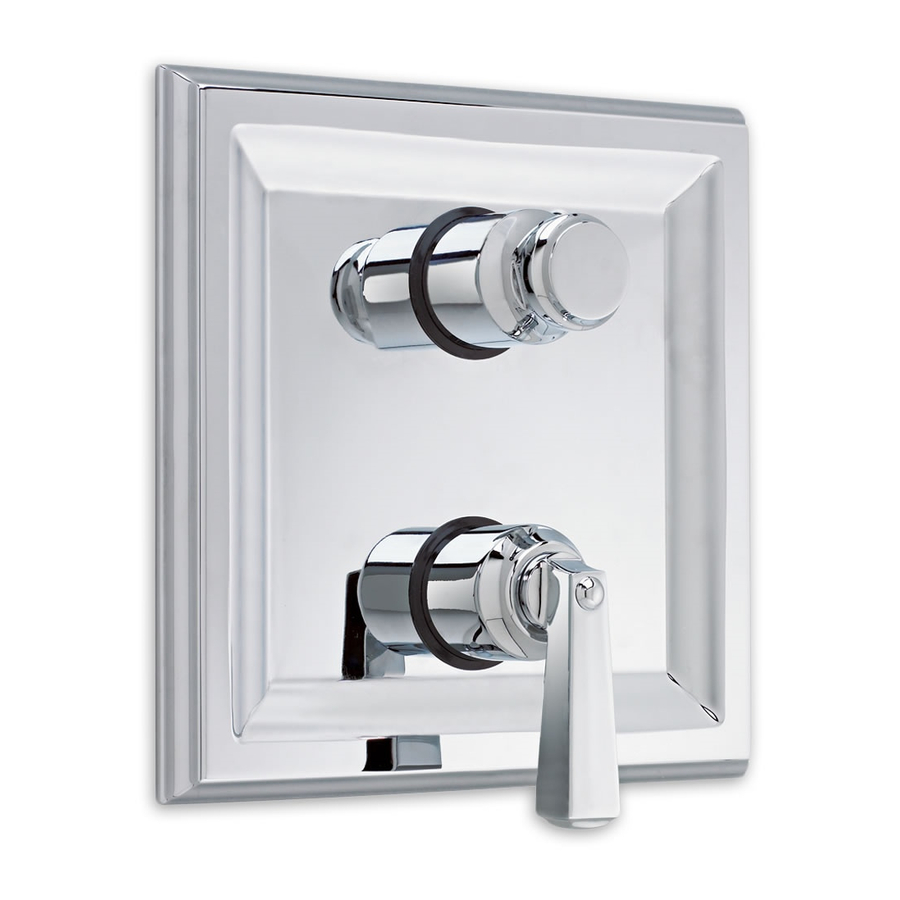
TOWNSQUARE
CENTRAL THERMOSTAT
WITH VOLUME CONTROL
TRIM KIT
Thank you for selecting American-Standard...the benchmark
of fine quality for over 100 years.
To ensure that your installation proceeds smoothly--please
read these instructions carefully before you begin.
ROUGHING-IN DIMENSIONS
230mm
(9)
R520
1/2" NPT INLETS
or
R540
3/4" NPT INLETS
Recommended Tools
CARE INSTRUCTIONS:
To keep your new faucet looking new, please follow
these simple care instructions:
DO:
Simply rinse the faucet clean with clear water.
Dry the faucet with a soft cotton cloth.
DO NOT:
Do not use any abrasive cleaners, cloths, or
paper towels.
Do not use any cleaning agents containing
acids, polish abrasives, or harsh cleaners or
soaps.
Regular and routine cleaning will reduce the need for
heavy cleaning and polishing. If heavy cleaning is
required, the following procedures are recommended:
Installation
Instructions
230mm
(9)
NOTE: FITTING
150mm
MUST BE INSTALLED
(6)
WITH VOLUME CONTROL
ON TOP.
Flat Blade Screwdriver
T555740
Certified to comply with ANSI A112.18.1M
ASSE 1016
186mm
(7-3/8)
25mm
(1)
Phillips Screwdriver
Remove as much surface dirt and film using clear
water and soft cotton cloth (as described above).
Use any of the following to remove tough surface
film and build-up:
Mild liquid detergents
Clear ammonia free liquid glass cleaners
Non-acidic, non-abrasive gentle liquid or fully
dissolved powder cleansers mixed according to
manufacturers directions.
Non-abrasive liquid polishers
Once clean, rinse faucet again with clear water to
thoroughly remove cleaner or polish and blot dry with
a soft cotton cloth.
Failure to follow these care instructions may
damage the Faucet's finish.
M 9 6 8 6 5 9
190mm
(7-1/2)
FINISHED
WALL
100mm
(3-7/8)
48mm to 68mm
(2 to 2-5/8)
Advertisement
Table of Contents

Related Manuals for American Standard Town Square T555740


Summary of Contents for American Standard Town Square T555740
- Page 1 TOWNSQUARE CENTRAL THERMOSTAT WITH VOLUME CONTROL TRIM KIT Thank you for selecting American-Standard...the benchmark of fine quality for over 100 years. To ensure that your installation proceeds smoothly--please read these instructions carefully before you begin. ROUGHING-IN DIMENSIONS 230mm R520 1/2" NPT INLETS R540 3/4"...
-
Page 2: Trim Installation
TRIM INSTALLATION Remove PLASTER GUARD (1) if attached. Push CAPS (2 & 2a) as shown onto CONTROL VALVES (3). Push ESCUTCHEON (4) over CAPS (2, 2a) and flush against finished wall. Attach with the two SCREWS (5) provided. INSTALL HANDLES Align HANDLE BASE (1) and push onto KNOB MOUNT (2). - Page 3 TEMPERATURE ADJUSTMENT Pull out index CAP (1) and remove HANDLE SCREW (2). Pull off HANDLE ASSEMBLY (3). Check that arrow marking B points to the 3 o'clock position. If not, push the BLACK CLAMP on the SECURING RING to the right, pull off KNOB MOUNT (4) and reinstall KNOB MOUNT (4) with arrow "B" 3 o'clock position. See Figure 1. SET HOT LIMIT STOP The maximum mixed water temperature is set at 109˚F at the factory.
- Page 4 A907090-YYY0A Replace the "YYY" with appropriate finish code CHROME BLACKENED BRONZE (PVD) SATIN NICKEL (PVD) HOT LINE FOR HELP For toll-free information and answers to your questions, call: 1-800 442-1902 Weekdays 8:00 a.m. to 8:00 p.m. EST IN CANADA 1-800-387-0369 (TORONTO 1-905-306-1093) Weekdays 8:00 a.m.
-
Page 5: Roughing-In Dimensions
CENTRAL THERMOSTAT WITH VOLUME CONTROL Thank you for selecting American-Standard...the benchmark of fine quality for over 100 years. To ensure that your installation proceeds smoothly--please read these instructions carefully before you begin. ROUGHING-IN DIMENSIONS CONNECTIONS ARE: 1/2" NPT 3-15/16 1/2" NPT INLET THERMOSTATIC BATH/ THERMOSTATIC SHOWER INSTALLATION... -
Page 6: Temperature Adjustment
ROUGHING-IN THE VALVE Prepare water supplies per ROUGHING-IN DIMENSIONS. Make sure the finished wall is between the minimum and maximum rough dimension. Install VALVE at indicated height and depth. Make sure the "TOP" marking on the PLASTER GUARD is up. Connect the hot and cold water supplies. - Page 7 953960-0070A THERMOSTAT CARTRIDGE 953951-0070A CHECK STOP (HOT RED) 9 6 3 4 3 4 - Y Y Y 0 A D E E P R O U G H K I T ( S O L D S E PA R AT E LY ) HOT LINE FOR HELP For toll-free information and answers to your questions, call: 1-800 442-1902...
- Page 8 3/4" CENTRAL THERMOSTAT WITH VOLUME CONTROL Thank you for selecting American-Standard...the benchmark of fine quality for over 100 years. To ensure that your installation proceeds smoothly--please read these instructions carefully before you begin. ROUGHING-IN DIMENSIONS CONNECTIONS ARE: 3/4" NPT 3-15/16 3/4"...
- Page 9 ROUGHING-IN THE VALVE Prepare water supplies per ROUGHING-IN DIMENSIONS. Make sure the finished wall is between the minimum and maximum rough dimension. Install VALVE at indicated height and depth. Make sure the "TOP" marking on the PLASTER GUARD is up. Connect the hot and cold water supplies.
- Page 10 A953972-0070A CHECK STOP (HOT RED) 9 6 3 4 3 4 - Y Y Y 0 A D E E P R O U G H K I T ( S O L D S E PA R AT E LY ) HOT LINE FOR HELP For toll-free information and answers to your questions, call: 1-800 442-1902...
Need help?
Do you have a question about the Town Square T555740 and is the answer not in the manual?
Questions and answers