Table of Contents
Advertisement
Quick Links
Advertisement
Table of Contents

Subscribe to Our Youtube Channel
Related Manuals for Laney IRT-X


Summary of Contents for Laney IRT-X
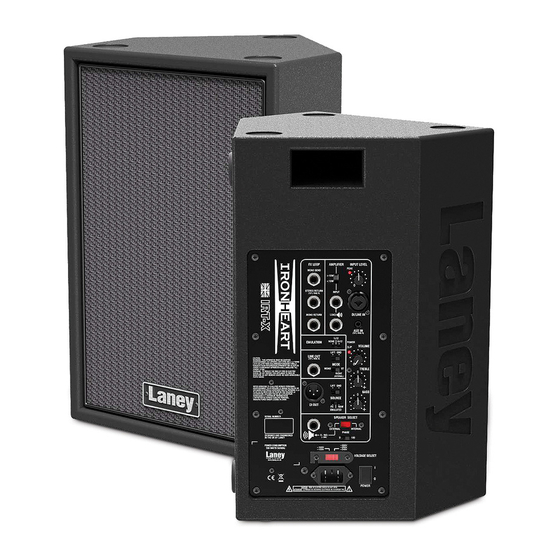
- Page 1 IRT-X...
- Page 3 At the same time we believe we have not lost sight of the reason Laney was founded in the first place - a dedication to building great sounding amplification for working musicians.
- Page 4 IRT-X is connected BETWEEN the amplifiers output section Speaker and it's speaker. This does not alter the amps sound in any way but the IRT-X works in conjunction with the amplifiers output section and speaker to produce your guitar tone but with...
- Page 5 FX UNIT IRT-X IRT-X AS AN IRT-X EXTENSION CABINET TO A COMBO WITH USE WITH FX & BACKING AN IRT-STUDIO So how are you going to use yours?..IRT-X AS A PERSONAL WEDGE MONITOR...
- Page 6 IRT-X USE WITH ACOUSTIC AN AMPLIFIER FX UNIT IRT-X 2 IRT-X 1 IRT-X ..Your set-up, Your way, USE AS A WET - DRY - WET the possibilities are endless! SET UP WITH FX & BACKING...
- Page 7 Unlike most guitar speakers, which are commonly, rolled off above The IRT-X can be scaled up to fit even the biggest rigs, with 2 IRT-X's 4Khz the IRT-X houses a high quality flat response 8” Driver and a YOU can run true W/D/W rigs with amazing sonic implications –it's like...
- Page 8 OPERATION Connecting the IRT-X utilising the ERL feature. LINE OUT Use this socket to connect to an additional IRT-X (TIP L RING R) Simply remove your amps on-board speaker jack and run in Stereo Mode to give you a massive...
- Page 9 5. Active Treble control allowing boost or cut of the high frequency response of the pre-amplifier. 6. MASTER VOLUME: Controls the overall level of the IRT-X 7. CLIP LED: Illuminates just before the amplifier begins to clip and distort. Adjust the level controls and signal level from your source so this illuminates only briefly on peaks in the music.
- Page 10 IRT-X Input Socket to the internal speaker socket on your amplifier. Connect a lead from the Load Socket on the IRT-X to your internal speaker lead. 2. If your amp has 2 speaker out sockets then there is no need to remove the on- board speaker–...
- Page 11 DI OUT EMULATION EMULATED SPEAKER SELECT OPTION LIFT GND EXTERNAL INTERNAL PHASE 8 - 16Ù LINE OUT (~30V) See page 11 (TIP L RING R) IRT-X IRT-X FX UNIT AS AN EXTENSION CABINET TO A COMBO WITH FX & BACKING IRT-X...
- Page 12 INTERNAL EXTERNAL INTERNAL PHASE PHASE 8 - 16Ù 8 - 16Ù (~30V) (~30V) OPTION See page 11 IRT-X 2 IRT-X 1 Set mode switch LIFT GND LINE OUT to Stereo (TIP L RING R) MODE MONO RIGHT (INTERNAL) FX UNIT...
- Page 13 Connecting an IRT- Studio – use BASS SOURCE DI OUT the on board balanced XLR Di out EMULATED SPEAKER SELECT on your IRT-STUDIO to connect to the IRT-X EXTERNAL INTERNAL PHASE using the combi XLR/Jack feature. 8 - 16Ù (~30V)
- Page 14 (TIP L RING R) (TIP L RING R) MODE MODE MONO TREBLE MONO TREBLE of the IRT-X’s & the A1+ is required. If connected RIGHT RIGHT (INTERNAL) (INTERNAL) 1x12 from the Line Out socket, then the A1+ has LIFT LIFT...
- Page 15 This device may not cause harmful interference This device must accept any interference received, that may cause undesired operation. Warning: Changes or modification to the equipment not approved by Laney can void the user's authority to use the equipment. Note: This equipment has been tested and found to comply with the limits for Class B digital device, pursuant to Part 15 of the FCC Rules.
- Page 16 Power Requirements: ~115V (~85V-132V) & ~230V (~170V-264V)(User selectable via panel switch) Typical power consumption: 100W at 50-60Hz. Amplifier power output: 200W into 4R @1%THD. Amplifier topology: High performance Class D with SMPS. Loudspeakers: 1x8” Custom high power bass driver. 1” compression driver tweeter. Crossover: 2 way passive with tweeter protection.
-
Page 17: Block Diagram
BLOCK DIAGRAM LINE DIRECT SOURCE DIRECT EMULATED DIRECT OUT COMBI INPUT INPUT LEVEL Peak LIFT EMLATION EMULATION BYPASS 1 X 12 INSERT SEND 4 X 12 ATTENUATION >10W <10W AMPLIFIER INPUT INTERNAL HF DRIVER LOAD OUT 200W CLASS D POWER AMPLIFIER SPEAKER SELECT PASSIVE 2 WAY... - Page 18 WARNING: When using electrical products, basic cautions should always be followed, including the following: 1. Read these instructions. 2. Keep these instructions safe. 3. Heed all warnings. 4. Follow all instructions. 5. Do not use this apparatus near water. 6. Clean only with a dry cloth. 7.
- Page 20 OPERATING INSTRUCTIONS - ISSUE 1.1...
Need help?
Do you have a question about the IRT-X and is the answer not in the manual?
Questions and answers