
Related Manuals for Graco Modes Click Connect


Summary of Contents for Graco Modes Click Connect
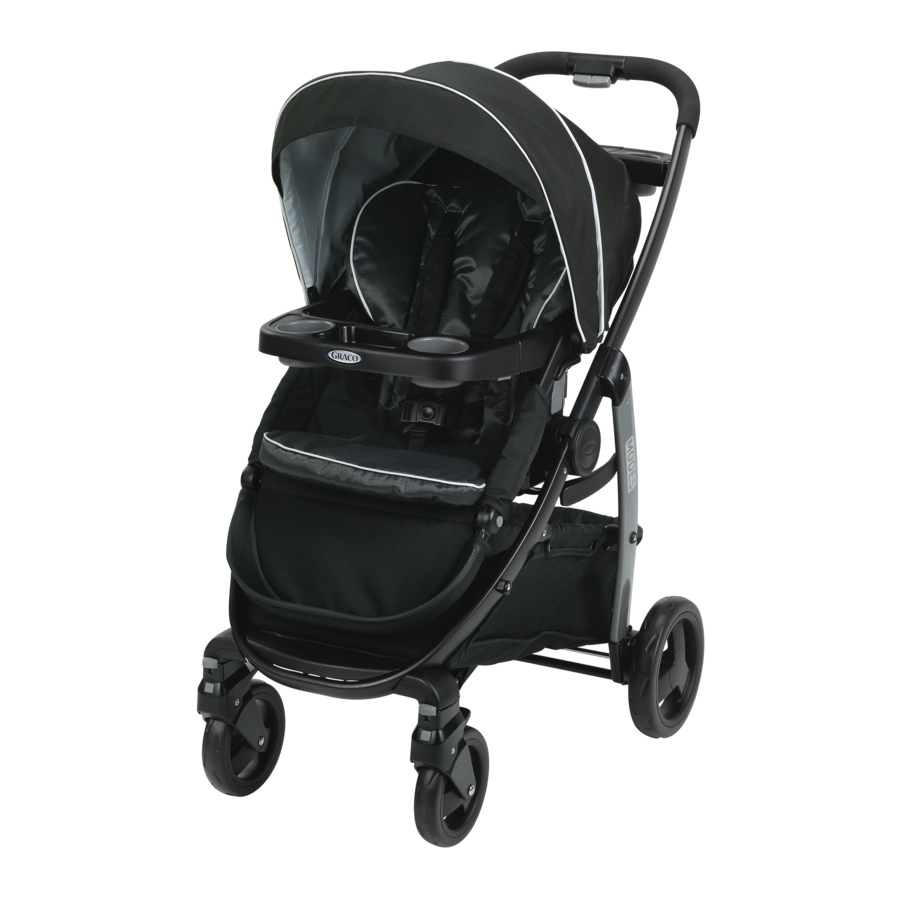
- Page 1 Multi-Stage Lightweight Stroller Cochecito liviano para varias edades Graco Modes ® Click Connect MANUAL DEL USARIO PD212022B © 2012 Graco® 11/2012...
- Page 2 Always use handle (other than approved seat belt or infant carseat Graco stroller bags). Never place harness. After fastening buckles, anything on the canopy. adjust belts to get a snug fit TO PREVENT A HAZARDOUS, around your child.
- Page 3 READ THE MANUAL provided CAREGIVER MUST always help child get into and out of the with your Graco carseat before stroller. using it with your stroller. FALL HAZARD: Always check CAREGIVER MUST always ensure the brakes are engaged that infant carseat is securely when placing child into stroller.
- Page 4 (si no permitir que el niño se acerque son las bolsas para cochecito al mismo. aprobadas por Graco). No ponga NUNCA USE EL COCHECITO nunca nada sobre la capota. EN ESCALERAS o escaleras PARA PREVENIR UNA mecánicas.
- Page 5 EL COCHECITO DEBE USARSE solamente a la velocidad del LEA EL MANUAL incluido con caminar. El producto no debe su asiento de automóvil Graco usarse para correr, patinar, etc. antes de usarlo con su cochecito. NUNCA LEVANTE NI PELIGRO DE CAÍDA: Verifique...
- Page 6 El uso inadecuado de este cochecito con un asiento de automóvil podría resultar en lesiones serias o la muerte. Vea el manual del propietario del asiento de automóvil para bebé Graco para determinar el tamaño máximo del niño.
- Page 7 Check that you have all the parts Verifique que tiene todas las for this model BEFORE piezas de este modelo ANTES de assembling your product. armar su producto. Si falta alguna If any parts are missing, pieza, llame a Servicio al Cliente. call Customer Service.
- Page 8 To Open Stroller Cómo abrir el cochecito Before assembly be sure to place stroller on top of a piece of cardboard or other protective cover to prevent damage to floor surface. Antes de armarlo, tenga la seguridad de poner el cochecito arriba de un pedazo de cartón u otro tipo de protección para prevenir el daño a la superficie del piso.
- Page 9 Brake levers point toward rear of stroller. Check that rear axle is securely attached by pulling on brake assembly. Las palancas del freno deben apuntar hacia la parte trasera del cochecito. Verifique que el eje trasero esté bien conectado tirando del SNAP! equipo de frenos.
- Page 10 SNAP! ¡CLIC! SNAP! ¡CLIC! Attach wheel as shown. Repeat on other side. Sujete la rueda como se indica. Repita el procedimiento del otro lado.
- Page 11 Push straight side of pin through axle hole. Pin will separate around the axle. Curved end of pin MUST face out as shown. Repeat on other end. Empuje el lado recto de la clavija por el agujero del eje. La clavija se separará...
-
Page 12: Front Wheels
Front Wheels Ruedas Delanteras SNAP! ¡CLIC! CHECK that wheels are securely attached by pulling on front wheels. VERIFIQUE que las ruedas estén instaladas correctamente tirando de las ruedas delanteras. - Page 13 To Attach Toddler Seat Cómo sujetar el asiento para niño pequeño To attach seat, place seat on mounts as shown until they lock into place on both sides of the stroller. Seat may be placed on stroller in either direction. See warnings for additional information.
-
Page 14: Montage
WARNING Always secure your child with the seat belt. The tray is not a restraint device. DO NOT lift the stroller by the child’s tray. Use care when snapping the tray on the stroller with a child in the stroller. ADVERTENCIA Asegure siempre a su niño con el cinturón de seguridad. -
Page 15: Removal
To remove tray, squeeze button on tray and lift. up. Para sacar la bandeja, oprima el botón de la bandeja y levántela. To remove armrest, push button as shown and remove. Para sacar el apoyabrazo, pulse el botón como se indica. - Page 16 Fasten hook and loop tape on the rear of canopy as shown. MAKE SURE canopy is always fastened with the hook and loop tape when used with infant carseat or when toddler seat is in use. Sujete la cinta de ganchos y nudos en la parte de atrás de la capota como se indica.
- Page 17 To open canopy. Para abrir la capota. To close canopy. Para cerrar la capota.
- Page 18 To open canopy window. Para abrir la ventana de la capota. To close canopy window. Para cerrar la ventana de la capota. To open or close canopy visor. Para abrir o cerrar la visera de la capota.
- Page 19 Use slide adjuster at shoulder and waist for tighter adjustment. To change shoulder harness slots, see page 21. Use el ajustador deslizable del hombro y la cintura para ajustarlo más apretadamente. Para cambiar las ranuras del arnés del hombro, consulte la página 21.
- Page 20 To convert to 3-pt buckle. Cómo convertirlo en una hebilla de 3 puntos. Use slide adjuster at waist for tighter adjustment. Use el ajustador deslizable del hombro y la cintura para ajustarlo más apretadamente.
- Page 21 To Change Shoulder Harness Slots Shoulder harness anchor-larger child Anclaje del arnés del hombro – niño más grande Shoulder harness anchor—smaller child Anclaje del arnés del hombro – niño pequeño Slide adjuster Ajustador deslizable To change shoulder harness slots, unfasten zipper on rear of seat as shown.
- Page 22 To Recline Seat WARNING When making adjustments to the stroller seat, make sure child’s head, arms, and legs are clear of moving seat parts and stroller frame. WARNING Child may slip into leg openings and strangle. NEVER use in full recline position unless footrest is in the reclined carriage position.
- Page 23 Recline the toddler seat to the desired position. There are 4 recline positions. Recline el asiento para niños pequeños a la posición deseada. Hay 4 posiciones de reclinación. To raise: Push seat up. Cómo elevarlo: Empuje el asiento hacia arriba.
- Page 24 To raise footrest, lift up as shown. Para levantar el apoyapié, levántelo hacia arriba como se indica. To lower, push buttons as shown. Para bajarlo, oprima los botones como se indica. To allow more room for child’s feet, push footrest down. Para permitir más espacio para los pies del niño, empuje el apoyapié...
- Page 25 Reclined Carriage Position del cochecito WARNING and strangle. unless footrest is in the reclined carriage position. in the full recline position. strangulation, always attach side flaps when footrest is fully raised. ADVERTENCIA apoyapié esté en la posición del cochecito reclinado. laterales cuando el apoyapie está...
- Page 26 Unfasten flap from the side of seat as shown. Destrabe la aleta del costado del asiento como se indica. Unfasten hook and loop straps from underneath the footrest as shown. Destrabe las correas de gancho y nudo desde abajo del apoyapié...
- Page 27 Re-fasten straps to the footrest as shown. Vuelva a sujetar las correas al apoyapié como se indica. Assembly is complete as shown. El ensamblado está completo como se indica.
- Page 28 Brakes WARNING SNAP! ¡CLIC! Always apply the brake. CHECK that brakes are on by trying to push stroller. ADVERTENCIA Use siempre los frenos. VERIFIQUE que los frenos estén activados tratando de empujar el cochecito. SNAP! ¡CLIC! Front swivel wheels lock for use on uneven surfaces such as grass, SNAP! stones or gravel.
- Page 29 cochecito con el asiento para niño pequeño Before folding, remove car seat if installed, unlock brakes and unlock swivel wheels. To fold, slide button then squeeze handle. Antes de plegarlo, saque el asiento de automóvil si está instalado, destrabe los frenos y las ruedas giratorias.
- Page 30 asiento para niño pequeño Squeeze buttons on both sides of the seat and pull up as shown. Oprima los botones de ambos costados del asiento y tire hacia arriba como se indica.
- Page 31 To Fold Stroller Frame Cómo plegar el Before folding, remove car seat if installed, unlock brakes and unlock swivel wheels. To fold, slide button then squeeze handle. Antes de plegarlo, saque el asiento de automóvil si está instalado, destrabe los frenos y las ruedas giratorias.
- Page 32 ASSURA infant car seats.)Improper use of this stroller with other manufacturers’ carseats may result in serious injury or death. Read the manual provided with your Graco carseat before using it with your stroller. Always secure your child with the carseat harness when using the carseat in the stroller.
- Page 33 Open flaps inside seating area to expose Click Connect™ mounts. Abra las aletas en el interior del lugar para sentarse para ver los soportes Click Connect™. Mount Soporte Insert carseat into stroller and push down on car seat until the latches snap into the Click Connect™...
- Page 34 To remove car seat: squeeze release handle at back of car seat, and lift car seat out of the stroller. Para sacar el asiento de automóvil: apriete la manija de liberación de atrás del asiento de automóvil y levante el asiento de automóvil fuera del cochecito.
- Page 35 To Attach Infant Carseat to Stroller Frame Insert carseat into stroller and push down on car seat until the latches snap into the Click Connect™ mounts. Ponga el asiento para automóvil en el cochecito y empuje el asiento para automóvil hacia abajo hasta que se Mount trabe en los soportes...
-
Page 36: Care And Maintenance
FROM TIME TO TIME CHECK YOUR STROLLER for loose screws, worn parts, torn material or stitching. Replace or repair the parts as needed. Use only Graco replacement parts. EXCESSIVE EXPOSURE TO SUN OR HEAT could cause fading or warping of parts. -
Page 37: Cuidado Y Mantenimiento
Reemplace o repare las piezas según sea necesario. Use solamente piezas de repuesto Graco. EL CONTACTO EXCESIVO CON EL SOL O EL CALOR podría causar descoloramiento o torcedura de las piezas. - Page 40 We currently do not accept product registrations from those living outside the United States of America. Para registrar su producto Graco dentro de los EE.UU., visítenos en línea en www.gracobaby.com/productregistration o envíe la tarjeta de registro provista con su producto.
Need help?
Do you have a question about the Modes Click Connect and is the answer not in the manual?
Questions and answers