Table of Contents
Advertisement
How to get the best from
Your Range
Contents
Aluminum Foil
7, 17, 19–21
Anti-Tip Device
Appliance Registration
Before You Call for Service 41, 42
Thermostat Adjustment—
Do It Yourself
Care and Cleaning
Clock and Timer
Consumer Services
Important Phone Numbers
Features
Installation Instructions
Flooring Under Range
Leveling
LP
Model and Serial Numbers
Oven
Baking
Broiling, Broiling Guide
Control Settings
Door Removal
4, 31, 40
Light; Bulb Replacement 14, 26
2
Oven Bottom
Oven Vents
Roasting, Roasting Guide 19, 20
18
Shelves
23–29
Power Outage
10
Safety Instructions
43
Surface Cooking
43
Burners
8, 9
Control Settings
30–40
Cooktop Comparison
32
Cookware Tips
39
Flame Size
40
Lighting Instructions
2
Warranty
14–22
16, 17
21, 22
GE Answer Center
14
800.626.2000
Use and Care
27
& Installation
25
15, 29
7, 15–19, 27
14
2–7
11–13
11–13
12
11
13
13
11, 12
Back Cover
®
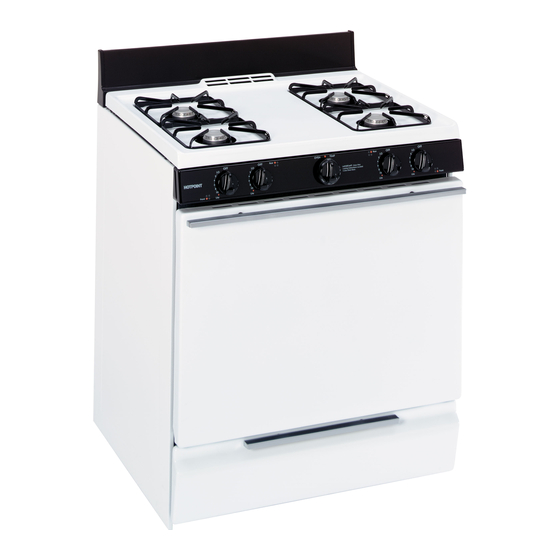
of Models
RGB501
RGB508
RGB524
RGB525
RGB526
RGB528
RGB530
RGB532
RGB533
RGB535
RGB628
Advertisement
Table of Contents


Need help?
Do you have a question about the RGB501 and is the answer not in the manual?
Questions and answers