Table of Contents
Advertisement
Quick Links
Heating/Cooling
15 to 30 Vac Thermostat
Congratulations on the purchase of your new thermostat!
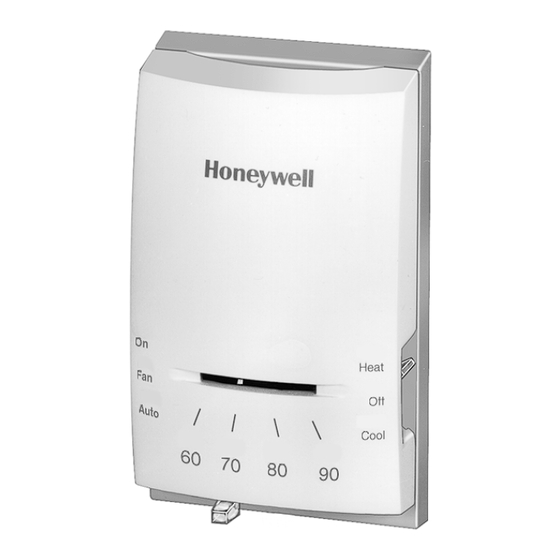
YOUR NEW CT41A THERMOSTAT
Your new CT41A Thermostat replaces most 15 to 30V,
4-wire, heating/cooling system thermostats. The CT41A
is suitable for gas or oil heat or electric air conditioning
systems.
Direct questions about this thermostat to our Web site at
www.honeywell.com/yourhome or call the customer
information line at 1-800-468-1502.
TYPICAL LOCATION OF A MERCURY
SWITCH IN A THERMOSTAT
® U.S. Registered Trademark
Copyright © 2003 Honeywell International Inc •
Heating/Cooling Thermostat
MERCURY
SWITCH
M10614
• All Rights
INSTALLATION INSTRUCTIONS
MERCURY NOTICE
If this control is replacing a control that contains
mercury in a sealed tube, do not place your old
control in the trash. Dispose of it properly.
Contact your local waste management authority
for instructions regarding recycling and the
proper disposal of an old control.
1 PREPARE FOR INSTALLATION
If you are unsure about wiring procedures, please call a
qualified service technician for assistance.
To correctly install your new thermostat, follow these
step-by-step instructions. It is recommended that, as
you read, understand, and complete each step, you
place a check mark in each box provided.
See Your New CT41A Thermostat section above to
determine the thermostat suitability for compatibility
with your home system. If not, return it to the retailer.
Acquire the required installation tools and supplies, as
needed. See Fig. 1.
SCREWDRIVER
WIRE CUTTER/STRIPPER IF NEEDED TO STRIP WIRES
LEVEL, IF NEEDED TO LEVEL
THERMOSTAT FOR APPEARANCE
Fig. 1. Required installation tools/supplies.
CT41A
HAND OR POWER
DRILL WITH 3/16 INCH
DRILL BIT, IF NEEDED TO
DRILL HOLES IN WALL
M20551
69-0788-2
Advertisement
Table of Contents

Related Manuals for Honeywell CT41A


Summary of Contents for Honeywell CT41A
-
Page 1: Prepare For Installation
15 to 30 Vac Thermostat Congratulations on the purchase of your new thermostat! YOUR NEW CT41A THERMOSTAT Your new CT41A Thermostat replaces most 15 to 30V, 4-wire, heating/cooling system thermostats. The CT41A is suitable for gas or oil heat or electric air conditioning systems. -
Page 2: Remove Old Thermostat
3 WIRE AND MOUNT THERMOSTAT Connect wires from the wall to the matching terminals on the back of the thermostat. See Fig. 4. Tighten the screws. NOTE: If terminal designations on old thermostat do not Old Thermostat... - Page 3 See Fig. 2 for hole location. Place a bubble level or plumb line against the thermostat to find the level position. See Fig. 5. Start a screw in the center of the bottom mounting hole. (Move the temperature setting lever, if necessary, to uncover the mounting hole.)
-
Page 4: Check Out Thermostat
Place the System and Fan switches at the desired settings for operation. 6 TROUBLESHOOTING (TABLE 2) Your Honeywell thermostat requires little or no attention. Most problems can be resolved according to Table 2. NOTE: If your system is heating-only or air conditioning-only, disregard sections not applicable to your system. - Page 5 Blown fuse or tripped circuit breaker. Compressor switch (located outdoors) is turned off. Incorrect connections to thermostat. Other. CT41A HEATING/COOLING THERMOSTAT Problem Move System switch to Heat position. Replace fuse or reset circuit breaker. Turn furnace power switch to On.
- Page 6 CT41A HEATING/COOLING THERMOSTAT 7 RECALIBRATE THERMOMETER If the thermostat setpoint and the thermometer reading do not agree, the thermometer may need recalibration. Follow this procedure: Remove thermostat cover. Set the cover on a table near an accurate thermometer. After allowing five or ten minutes for stabilization, compare the readings.
-
Page 7: Limited One-Year Warranty
Honeywell warrants this product, excluding battery, to be free from defects in the workmanship or materials, under normal use and service, for a period of one (1) year from the date of purchase by the consumer. If, at any time during the warranty period, the product is defective or malfunctions, Honeywell shall repair or replace it (at Honeywell’s option) within a reasonable period of time. - Page 8 CT41A HEATING/COOLING THERMOSTAT Automation and Control Solutions Honeywell International Inc. Honeywell Limited-Honeywell Limitée 1985 Douglas Drive North 35 Dynamic Drive Golden Valley, MN 55422 Scarborough, Ontario M1V 4Z9 69-0788—2 G.H. Rev. 10-03 Printed in U.S.A. on recycled paper containing at least 10% post-consumer paper fibers.
Need help?
Do you have a question about the CT41A and is the answer not in the manual?
Questions and answers