
Related Manuals for WAGNER Project 115


Summary of Contents for WAGNER Project 115
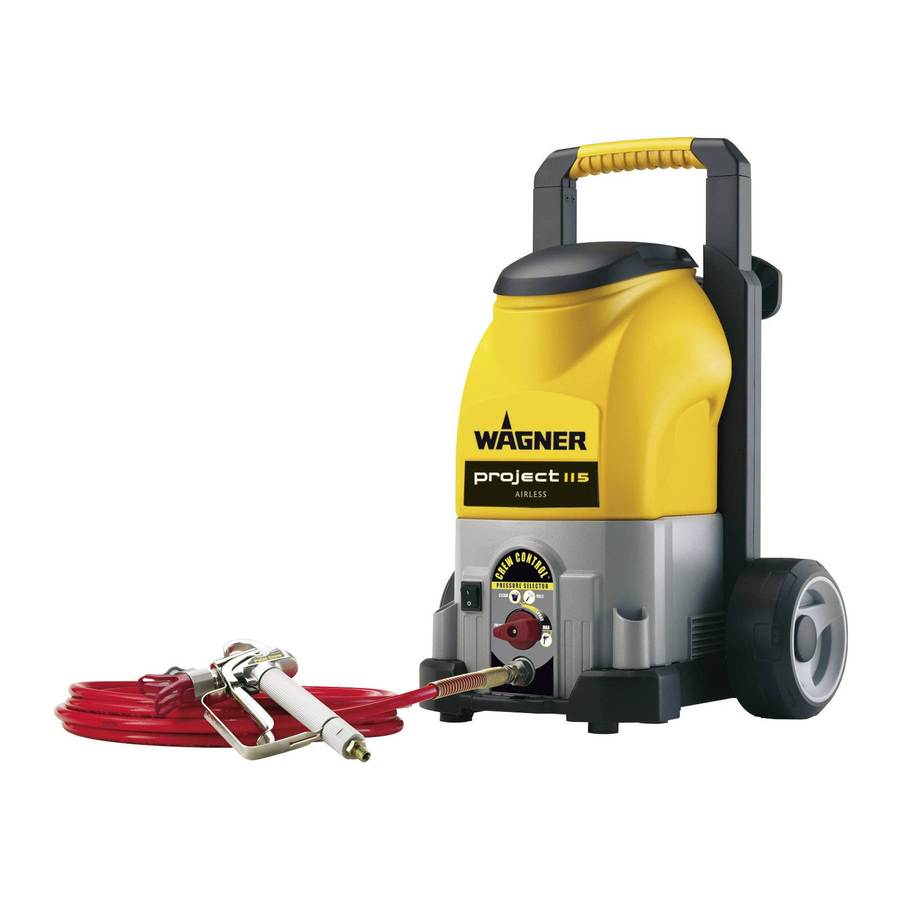
- Page 1 Project 115 Airless Sprayer Betriebsanleitung • Owner’s Manual Manuel d’utilisateur • Gebruikshandleiding ..2 ..18 ..10...
- Page 2 CLEAN CLEAN ROLL ROLL PRIME PRIME PRIME PRIME...
- Page 3 PRIME PRIME PRIME PRIME 25 - 30 cm 25 - 35 cm 25 - 30 cm 25 - 30 cm...
- Page 6 The operating instructions state that the following points must always be observed before starting up: 1. Faulty units must not be used. 2. Secure WAGNER spray gun using the safety catch on the trigger. 3. Ensure that the unit is properly earthed. The connection must take place through a correctly earthed two-pole and earth socket outlet.
-
Page 7: Explosion Protection
197 kΩ/m (60 kΩ/ft.). Danger etc. in the vicinity. For reasons of function, safety and durability use only original WAGNER high-pressure hoses. Danger of injury through the spray jet Electrostatic charging (formation of sparks or flame) -
Page 8: Suction Installations
Project 115 - Safety Information Cleaning units with solvents When working outdoors: Vapors containing solvents may not be allowed to When cleaning the unit with solvents, the solvent blow toward the unit. should never be sprayed or pumped back into a Note the direction of the wind. container with a small opening (bunghole). -
Page 9: Purging And Priming
Project 115 Assembly Figure 8 - Removing / Emptying the Hopper Make sure your floors and furnishings are protected Figure 2 - Assembling the Wheels with drop cloths to avoid property damage. 1. Slide the spacer (a), the wheel (b) and the push nut (c) over the end of the axle in the order shown. - Page 10 Project 115 Figure 11 - Priming the Spray Hose If you expect to be away from your spray project for more than 1 hour, follow the Short Term Cleanup 1. Unlock the spray gun and turn the PRIME/SPRAY knob to procedure described in the Cleanup section of this PRIME. manual. The spray tip should not be attached to your spray gun when purging your spray hose.
- Page 11 Project 115 Cleanup 12. Let the pump circulate the cleaning solution out the return tube for 2-3 minutes. Turn the pump OFF. If you are using water-soluble materials, use warm suds 13. Remove and thoroughly rinse the hopper once more. to clean the spray device. If you are using solvent- 14. Replace the hopper for storage.
-
Page 12: Cleaning The Inlet Valve
Project 115 Parts Lists Figure 20 - Cleaning the Inlet Valve (Kit part number 0418714) Figure 22 - Spray Gun/Spray Hose Cleaning or servicing the inlet valve may be required if Item Part # Description Quantity the unit has priming problems. Priming problems may 1 0418717 Gun assembly (without nozzle ) ....1 be prevented by properly cleaning the sprayer and following the long-term storage steps. - Page 13 Project 115 Problem Cause Solution A. The sprayer does not start. 1. The sprayer is not plugged in. 1. Plug the sprayer in. 2. The ON/OFF switch is set to OFF. 2. Turn the ON/OFF switch to ON. 3. The sprayer shuts off while still under 3. Motor will cycle ON and OFF while spraying as it needs pressure. pressure. This is normal. Resume painting. No voltage is coming from the wall plug. 4. Properly test the power supply voltage. The extension cord is damaged or has too low Replace the extension cord.
-
Page 14: Important Notes On Product Liability
Einsatz aus. Die Garantieleistung behalten wir maintenance work and loss and damage due to faulty uns ausdrücklich vor. Die Garantie erlischt, wenn das Gerät maintenance work are not covered by the guarantee. Under von anderen Personen als dem WAGNER Service - Personal any guarantee claim, there must be proof of purchase of the geöffnet wurde. Transportschäden, Wartungsarbeiten sowie tool through submission of the original receipt. Wherever Schäden und Störungen durch mangelhafte Wartungsarbeiten... -
Page 15: Note Importante Sur La Responsabilité De Produit
Avec les accessoires et les pièces de rechange d’origine 2 jaar garantie WAGNER, vous avez la garantie que toutes les réglementations de sécurité sont bien respectées. De garantie bedraagt 2 jaar, gerekend vanaf de dag van verkoop (kassabon). - Page 16 Uw oude Wagner-apparaat wordt door ons resp. Wagner or one of our dealers will take back your used Wagner onze handelsvertegenwoordigingen teruggenomen en op waste electrical or electronic equipment and will dispose of it de betreffende inzamelpunten gedeponeerd.
-
Page 17: Déclaration De Conformité
Konformitätserklärung Déclaration de conformité Hiermit erklären wir, dass die Bauart von Par la présente, nous déclarons, que le type de WAGNER Project 115 WAGNER Project 115 folgenden einschlägigen Bestimmungen entspricht: Correspond aux dispositions pertinentes suivantes: 73/23 EWG, 89/336 EWG, 92/31 EWG, 93/68 EWG, 98/37 EWG. 73/23 EWG, 89/336 EWG, 92/31 EWG, 93/68 EWG, 98/37 EWG. - Page 18 Hinweis • Notes • Remarques • Opmerking...
- Page 19 Hinweis • Notes • Remarques • Opmerking...
- Page 20 15500 Praha 5 Hotline 0180/1000 227 +420/2/57 95 04 12 +420/2/57 95 10 52 +49/75 44 /505-0 +49/75 44/505-200 Wagner Spraytech Belgie J. Wagner Spraytech Ibérica S.A. Ctra. N-340, Km 1245,4 Veilinglaan 58 08750 Molins de Rei (Barcelona) 1861 Meise-Wolvertem ...
Need help?
Do you have a question about the Project 115 and is the answer not in the manual?
Questions and answers