Table of Contents
Advertisement
Advertisement
Table of Contents

Related Manuals for Sanyo FVM4612


Summary of Contents for Sanyo FVM4612
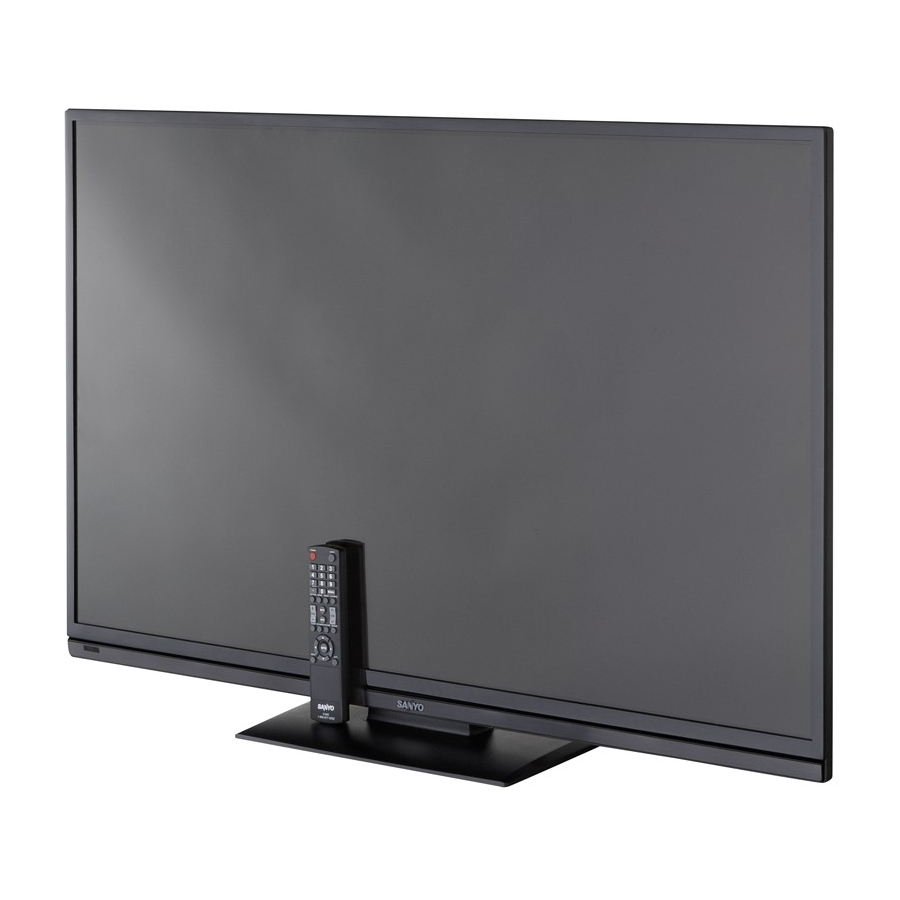
- Page 1 46" LED FVM4612 1080p HDTV LCD TV Need help? www.sanyoctv.com 1-800-877-5032...
-
Page 2: Important Safety Instructions
Thank you for choosing SANYO. Please read all instructions to obtain maximum benefit of your product. THIS SYMBOL INDICATES THAT DANGEROUS CAUTION VOLTAGE CONSTITUTING A RISK OF ELECTRIC RISK OF ELECTRIC SHOCK SHOCK IS PRESENT WITH THIS UNIT. DO NOT OPEN CAUTION: TO REDUCE THE RISK OF ELECTRIC SHOCK, DO THIS SYMBOL INDICATES THAT THERE ARE NOT REMOVE COVER (OR BACK). NO USER-SERVICEABLE IMPORTANT OPERATING AND MAINTENANCE PARTS INSIDE. REFER SERVICING TO QUALIFIED SERVICE INSTRUCTIONS IN THE OWNER’S MANUAL WITH PERSONNEL. THIS UNIT. WARNING: TO REDUCE THE RISK OF FIRE OR ELECTRIC SHOCK, DO NOT EXPOSE THIS APPLIANCE TO RAIN OR MOISTURE. Important Safety Instructions 1. -
Page 3: Fcc Information
- C onsult the dealer or an experienced radio/TV by Intertek Testing Services technician for help. Taiwan Ltd. It is designed and manufactured to meet rigid U.L. FCC Warning safety standards against risk of fire, casualty and electrical Changes or modifications not expressly approved by hazards. the party responsible for compliance with the FCC Rules could void the user’s authority to operate this equipment. RECYCLING OF SANYO TELEVISIONS: Cables SANYO television customers should contact MRM Recycling at 888-769-0149 or visit their website at www.mrmrecycling.com regarding Connections to this device must be made with shielded SANYO’s waste management plan. cables with metallic RF/EMI connector hoods to maintain compliance with FCC Rules and Regulations. Protecting the Screen Canadian Notice CAUTION: The screen can be damaged if it is not CAN ICES-3 (B)/NMB-3(B) maintained properly. Standard Television Receiving Apparatus-Appareil •... -
Page 4: Table Of Contents
Contents Important Safety Instructions ....2 Problems and Solutions ......18 FCC Information ........3 Specifications ........19 FCC Warning..........3 Supported Timing Table ......20 Cables ............3 Canadian Notice ........3 ® ENERGY STAR User Information..3 Trademarks ..........3 Protecting the Screen ......3 Handling Precautions ......3 Installation ..........5 Accessories ..........5 Positioning the TV ........ -
Page 5: Installation
Installation Accessories Positioning the TV • (1) Stand Base • Always use a firm and flat surface when positioning your HDTV. • (4) M4x10 Screws • Do not position the HDTV in a confined • (1) Remote Control area. • (1) Power Cord • Allow adequate space for proper ventilation. • (1) User Manual • Do not position the HDTV where it is easily • (1) Return to Policy reachable by small children and may present risk of injury. The American Academy of Pediatrics discourages media use by children younger than two years. For more information, visit www.aap.org. Caution Installing Stand • Handling by two people is recommended when installing. • When holding (moving or lifting) the LCD TV, hold the display’s body. Do not handle the LCD TV by holding the attached accessory parts (speakers), otherwise it may result in damage. -
Page 6: Installing Stand
Installing Stand Wall Mounting (Optional) 1. Place the LCD TV on a flat surface place Before mounting the LCD TV on wall, remove where maintained with soft materials (such the 4 screws that were originally threaded into as a blanket) to protect the display screen. the wall mounting inserts on the back of your LCD TV. • VESA standard interface: 400 x 400mm • Screw type: M6x20 2. Secure the stand-base to the LCD TV with 4 screws (M4x10) found in the accessory bag. NOTE: 1. Wall mounting kit is not supplied. 2. Wall mounting kit shall be able to sustain at least 3 times of set weight. We suggest that you keep your LCD TV at least 2.36 inches (60 mm) away from the wall to prevent cable interference and to make room for a better heat dissipation. wall 60mm WARNING: • To prevent injury, this apparatus must be securely attached to the floor/wall in accordance with the installation instructions. • This LCD TV could fall over if it is pushed, pulled or knocked down. It would be safer to use a screw to secure the LCD TV to desktop. -
Page 7: Getting Started
Getting Started Install Batteries in the Remote Operating Range of the Remote Control Control 1. Open the battery cover of the remote control Point the top of the remote control toward by pressing down and pulling it. the TV’s sensor within a distance of less than 6m/20ft, and a horizontal/vertical angle of less than 30 degrees. The remote control may not function properly if the TV's sensor is under direct sunlight or strong illumination, or when there is obstacle in the path of signal transmission. 2. Insert two new AAA size batteries for the remote control. Make sure to match the and signs on the batteries with marks inside the remote control. Antenna Connection for Off-air 3. Close the battery cover until it clicks shut. Signals. The tuner in this LCD TV can receive digital and analog off-air signals from an antenna, or analog or clear QAM cable channels from a direct Cable TV connection. -
Page 8: Controls And Jacks
Controls and Jacks 1. VOL : Turn up( ) or turn down( ) 11. ANTENNA/DTV/TV: Connect an RF the audio volume. In the OSD Menu mode, antenna or Analog Cable system. move right( ) or move left( ) the menu 12. USB PORT: Used for accessing JPEG selection. photo files. 2. CH : Select the next( ) or the previous( ) channel. In the OSD Menu mode, move up( ) or move down( ) the menu selection. 3. MENU: Enter or exit the menu screen. 4. INPUT: Select the input source. 5. POWER: Turn the TV On or Off (standby). 6. HDMI (HDMI1/DVI, HDMI2, HDMI3): Connect your HDMI devices. -
Page 9: Wireless Remote Control
Wireless Remote Control 6. VOLUME UP / DOWN (VOL / ) - Press to decrease or increase the audio volume. 7. MUTE - Press to mute or restore the sound. 8. SLEEP - Press to set Off Timer function among Off, 5, 10, 15, 30, 60, 90, 120, 180, or 240 minutes. NOTE: The Off Timer will be canceled when the LCD TV is turned off or when a power failure occurs. 9. PIX SHAPE - Press to choose aspect ratio: Normal, Zoom, Wide, Cinema, or Auto. Available options depend on the signal and the aspect ratio of the broadcast. 10. MENU - Press to display on-screen menu. 11. INPUT - Press to select the input source to view. 12. RECALL - In TV mode: Press to switch between the last and current TV channel. In none-TV mode: Press to switch between the last and current none-TV input-source 13. FAVORITE - Accesses the Favorites channel. 14. -
Page 10: Connection
Connection Component (YPbPr) Connection Connect Digital devices such as a HD Cable The cables in these following connection Box, HD Satellite Receiver, DVD Player, and examples are used for illustration only, and are Game System. not supplied in the package. HDMI to HDMI Connection Connect compatible Digital devices such as HD Cable Box, HD Satellite Receiver, DVD Player, and Game System. HDMI-High-Definition Multimedia Interface. This is a digital AV interface that accepts uncompressed video signals for the best picture quality possible. It supports HDCP copy protection and allows transmission of copy- protected digital content. The signal can also include PCM audio, when available. SATELLITE RECEIVER YPbPr DVD PLAYER 1. Connect a COMPONENT cable to the Green, Blue, and Red video jacks on the LCD TV and to your digital device as shown. 2. Connect an AUDIO cable to the matching SATELLITE RECEIVER White and Red audio jacks as shown. 3. Press the [INPUT] button to select DVD PLAYER [Component] as the input signal. -
Page 11: Video Connection (Shared With Component-Y)
Video Connection (Shared With PC Connection Component-Y) DVI to HDMI Connection Composite connectors are included on your LCD TV to provide continued compatibility with older analog devices such as a VCR. Audio Out Video 1. Use an adapter (not supplied) to connect a DVI device to an HDMI input jack. ANALOG DEVICE Audio L/R 2. Press the [INPUT] button to select [HDMI1] as the input signal. NOTE: 1. Connect an AV cable to the jack on the LCD • Only HDMI1 input supports this function. TV and to your analog AV equipment as D-Sub Connection shown. 2. Press the [INPUT] button to select [AV] as the input signal. Digital Audio Connection D-Sub DIGITAL AUDIO CABLE (Not supplied) -
Page 12: Usb Connection
USB Connection Initial Setup Your LCD TV features a JPEG Photo Viewer For the first time after powering on your LCD that allows watching digital still pictures from TV, the Setup Wizard appears. your USB disk plugged to the USB slot at the 1. Select the language used for the OSD (On- side panel. Screen-Display) Menu. Setup Wizard (1/6) Please select language English French Spanish 1. Plug your USB disk to the USB slot at the Cancel side panel. 2. Press the [INPUT] button to select [USB] as Move ENTER Select the input signal (see page 17 for detail). Power Connection 2. Select either Home or Shop mode. 1. Plug in AC power cord (120V AC, 60Hz) Setup Wizard (2/6) 2. Press the [POWER] button, (Follow the on- screen instructions). - Page 13 3. Select the tuning band: Antenna for To cancel the process, press [ENTER] external antenna, Cable for cable system, button on the remote control. or through your Set Top Box. Setup Wizard (5/6) Setup Wizard (3/6) Searching. Please wait Please select TV RF tuning band Searching CH Channel 4 Antenna Digital Channels Found Analog Channels Found Cable Set Top Box Cancel Previous Cancel ENTER Select...
-
Page 14: Osd Menu Operation
OSD Menu Operation To enter the OSD (On-Screen Display): ‰ Advanced Video Select advanced video settings. 1. Press [MENU] button on the remote control to display the OSD nenu. • Color Temperature: Selects a choice of Cool (blue), Normal, or Warm (red) 2. Use the cursor buttons (▲▼◄►) to color. highlight your selection. • Noise Reduction: Set to reduce video 3. Press [ENTER] button to confirm your noise. selection. • Tint: Adjust the hue (red, green, blue) of 4. Press [EXIT] button to exit from any menu the picture. layer instantly. • Sharpness: Set to enhance the picture Video Menu detail. • Adaptive Contrast: Set to automatically adjust the picture detail and brightness. -
Page 15: Audio Menu
Audio Menu Channels Menu Sound Mode Standard Auto Channel Scan Video Video Balance Signal Strength Audio Audio Advanced Audio Add/Skip Channels Channels Reset Audio Settings Channels Favorite Channels Channel Labels Setup Setup Audio Only Auto Aspect Photos Photos Adjust settings to affect sound quality Adjust channel options ENTER Select... -
Page 16: Setup Menu
Setup Menu ‰ Closed Caption Adjust the Closed Caption settings. The options are: CC Mode, Analog Captions, Menu Language English Video Digital Captions, Digital CC Settings. Parental Conrtrols Audio ‰ Sleep Timer Closed Caption Channels Sleep Timer Select how long the TV will take to Input Labels automatically turn itself off. The options are: Setup PC Options Off, 5, 10, 15, 30, 60, 90, 120, 180, and 240 System Info Photos minutes. ‰... -
Page 17: Photos Menu
Photos Menu To control while in photo slideshow: • Press ENTER to play or pause slideshow. Photos Video • Press MENU to stop the slideshow and return to photo browser. Audio Data Format for USB Photo Viewer Channels Data format JPEG, JPG, JPE Setup Max. folder layer Photos Max. number of photos 700 Max. number of favorite View files from a USB flash drive that is connected to the TV photos ENTER... -
Page 18: Problems And Solutions
Problems and Solutions No Cable channels above number If you are having problems with your LCD TV, • Check ANT/Cable setup menu, ANT in item check this trouble shooting chart to find one or should set to Cable. more possible solutions. Remote Control will not operate TV Before returning your LCD TV, please visit our • Check batteries. website at http://www.sanyoctv.com or call us • Check if the TV is plugged in. toll free at 1-800-877-5032 We can Help! Cabinet makes popping sound No picture, sound (Digital Picture) • This is a normal condition during warm - up • Check the antenna / external connections. and cool down of the plastic cabinet parts. -
Page 19: Specifications
Specifications Panel Type • LCD Panel Size • 46" Maximum Visible Range • 1018.08(H)× 572.67(V) Refresh Rate • 60 Hz Picture Resolution • Full HD (1920x1080) Viewing Angle • 178°(H), 178°(V) Brightness • 350 cd/m Contrast Ratio • 3000:1 (Typical) Voltage • AC120V~ 60 Hz Power Consumption • 98 Watts Color System •... -
Page 20: Supported Timing Table
Supported Timing Table Horizontal Vertical Freq. Nominal Pixel Resolution PC HDMI-DVI Component Freq. (KHz) (Hz) Clock (MHz) 640x480@60Hz ● ● 31.469 59.940 25.175 720x400@70Hz ● ● 31.469 70.087 28.322 800x600@60Hz ● ● 37.879 60.317 40.000 1024x768@60Hz ● ● 48.363 60.004 65.000 1280x720@60Hz ●... - Page 21 MERCHANTABILITY OR FITNESS FOR A PARTICULAR PURPOSE. OBLIGATIONS For one year from the date of purchase, Sanyo Manufacturing Corporation warrants this product to be free from defects in material and workmanship under normal use and conditions. During the first 90 days under this warranty for any manufacturing defect or malfunction Sanyo Manufacturing Corporation will provide a new TV via exchange at the retailer.
- Page 22 Sanyo Manufacturing Corp. 3333 Sanyo Road, Forrest City, AR 72335 Printed in China, 2013 www.sanyoctv.com Need help? 1-800-877-5032...
Need help?
Do you have a question about the FVM4612 and is the answer not in the manual?
Questions and answers
how do I turn off the narrator for the visually impaired?