
Subscribe to Our Youtube Channel
Related Manuals for Russell Hobbs 14835


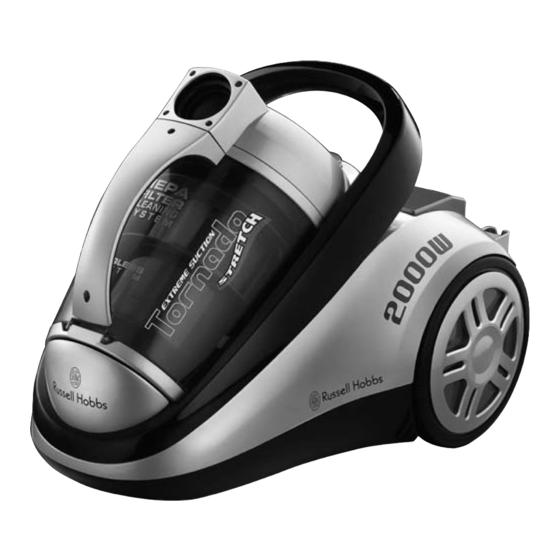
Summary of Contents for Russell Hobbs 14835
- Page 1 instructions, troubleshooting guide, and guarantee Problems? Don’t take it back to the shop, they won’t be able to fix it. Ring the helpline 0845 658 9700 it’s a local rate number...
-
Page 2: Important Safeguards
Read the instructions before use, and keep them safe. Pass them on if you pass the cleaner on. important safeguards Follow basic safety precautions, including the ones below. It’s quite a list, but most of them are simple common sense. 1 The cleaner must only be used by or under the supervision of a responsible adult. -
Page 3: Before Using For The First Time
6 If you use the cleaner outdoors (e.g. cleaning the car), connect it to the electricity supply via a residual current device (RCD), with a rated residual operating current not exceeding 30mA. 7 Don’t leave the cleaner unattended when plugged in. 8 Keep an eye on the cable, so it doesn’t catch on anything, or trip anyone. -
Page 4: Suction Control
crevice tool as the name implies, down the sides of upholstery, in awkward spaces, nooks, and crannies nothing else can reach small brush use it to remove pet hair, lint, and dust from blinds, curtains, and upholstery; to brush/clean awkward corners a) the small brush is part of the crevice tool b) to use it, turn it a bit more than 90°... -
Page 5: Cleaning The Filters
32 Press the bin release button, and hold it down. 33 Grip the bin handle, and pull the bin up and out of the cleaner. 34 When the bin is clear of the cleaner, you may let the bin release button go. 35 Lower the bin into your dustbin so the bottom of the bin is below the rim –... - Page 6 the mesh filter 58 Wash the filter assembly and mesh filter in warm soapy water. 59 Leave it to air dry – don’t refit it till it’s completely dry. 60 Unscrew the top of the filter unit from the HEPA filter. the HEPA filter 61 This filters the returning airflow.
- Page 7 blockages No matter how careful you are, sooner or later you’ll block the cleaner. don’t panic! If the cleaner starts to get noisy and you start to lose suction, don’t worry, it’s not the end of the world, you’ve probably just blocked it up. 1 Switch the cleaner off and unplug it.
-
Page 8: Spare Parts
connection The product doesn’t need an earth. It has a 13A BS1362 fuse in a 13A BS1363 plug. To replace the plug, fit the blue wire to N, and the brown wire to L. Fit the cord grip. If in doubt, call an electrician. Don’t use a non-rewireable/moulded plug unless the fuse cover is in place.
Need help?
Do you have a question about the 14835 and is the answer not in the manual?
Questions and answers