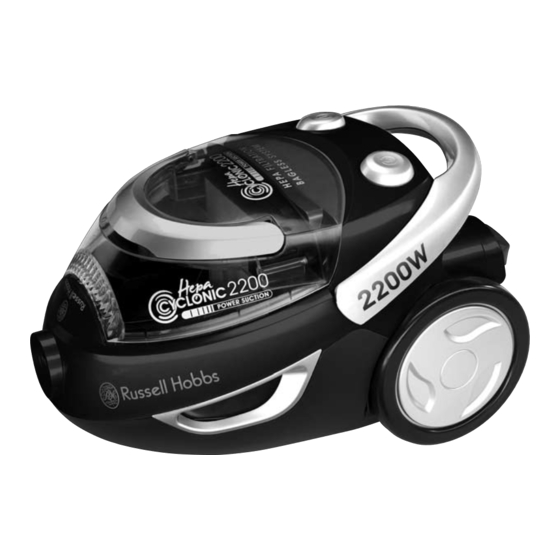
Summary of Contents for Russell Hobbs 14045
- Page 1 instructions, troubleshooting guide, and guarantee Problems? Don’t take it back to the shop, they won’t be able to fix it. Ring the helpline 0845 658 9700 it’s a local rate number...
-
Page 3: Important Safeguards
Read the instructions before using your vacuum cleaner, and keep them safe. If you pass the cleaner on, pass on the instructions too. important safeguards Follow basic safety precautions, including the ones below. It’s quite a list, but most of them are simple common sense. -
Page 4: Before Using For The First Time
before using for the first time Remove the packaging, but keep it till you’re sure the cleaner is working properly. filters It’s vital you keep the filters clean. If the filters get blocked, you’ll lose suction rapidly. We’ve made them easy to remove, and easy to clean – the rest is down to you. count the bits In the box you’ll find a big brush, turbo brush, hose (with nozzle), extendable tube and crevice tool/small brush. -
Page 5: Suction Control
crevice tool as the name implies, down the sides of upholstery, in awkward spaces, nooks, and crannies nothing else can reach. small brush use it to remove pet hair, lint, and dust from blinds, curtains, and upholstery; to brush/clean awkward corners. 15 The small brush is part of the crevice tool. -
Page 6: Hepa Filter
removing and emptying the bin 30 You don’t have to empty the bin after each use, but it’s a very good idea. Your cleaner will happily work till it’s chock full, but you’ll be wasting energy swirling yesterday’s dust around. Energy that could be better used sucking up today’s dust. 31 Switch off, unplug, and leave it for a minute, to let the dust settle. - Page 7 52 To refit it, replace it in the bin, and turn it about a centimetre clockwise to lock it in place. 53 Close the bin bottom and lock it with the latch. 54 Lower the bin into the cleaner. 55 Lower the bin handle – this’ll lock the bin into the cleaner. outlet filter 56 Push the lock down, then lift the cover off the cleaner.
-
Page 8: Spare Parts
6 If there is a blockage use a blunt object such as a finger, or blunt end of a ball-point pen to dislodge it, don’t use anything sharp. 7 Check all the filters. 8 If you haven’t cleared the blockage by now, try again. 9 Still not clear? –...


Need help?
Do you have a question about the 14045 and is the answer not in the manual?
Questions and answers