Hunter Internet Thermostat Installation Manual
Hide thumbs
Also See for Internet Thermostat:
- Owner's manual (2 pages) ,
- Owner's manual (33 pages) ,
- Installation manual and user's manual (49 pages)
Table of Contents
Advertisement
Quick Links
Advertisement
Table of Contents

Related Manuals for Hunter Internet Thermostat


Summary of Contents for Hunter Internet Thermostat
- Page 1 Internet Thermostat Installation Guide...
- Page 2 Getting Started You will need a Phillips head screwdriver to complete this installation. Tip: You may need a precision screwdriver (smaller tip) to detach wires from your old thermostat. 1. Power OFF Your HVAC System Unit Go to your circuit breaker panel and turn off power to your compressor and furnace.
- Page 3 Alternatively, you may want to take a picture of the wires on your old thermostat for reference. If you have any wire codes that do not match the Hunter labels, you may have a system that does not conform to industry standard. Call our Technical Support at 1-888-830-1326.
- Page 4 Wire Identification Pre-Installed RH, R Reversing valve for the heat Jumper Clip Power wire for heating pump; allows compressor to supply air conditioning* Alternate reversing valve for the heat pump; allows Power wire for air conditioning compressor to supply heat* - Second stage of heat Y, Y1 - Emergency heat...
- Page 5 3. Mounting Your Wall Plate Separate the wall plate. Insert the wires. Pull the wall plate straight off Pass your labeled wires through the back of your thermostat. the opening of the wall plate. Install the top screw. Level the wall plate. Partially tighten one Install the bottom screw.
- Page 6 4. Reconnecting Your Wires Raise the appropriate terminal levers. Lift the levers on the terminals that match the labels on your wires. If one of the terminals you need has a shield in front of it, use your finger to break the tab away. Insert your wires and lower the levers.
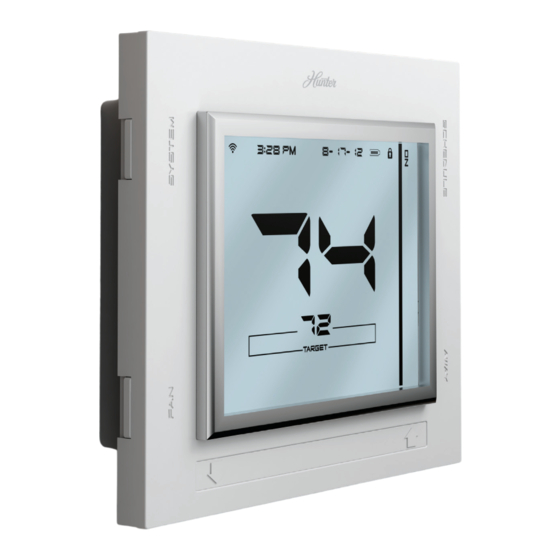
- Page 7 5. Mounting Your Thermostat Set your system switches. Based on the type of furnace you have: - Select Gas/Oil or Electric - Select Heat Pump or Conventional If you are not sure what system you have, contact your HVAC manufacturer. Write down your 15-digit security Install your AA batteries.
- Page 8 When the gateway light turns green, your thermostat will automatically connect to the internet. Tip: Lift gateway antenna to improve connectivity. 8. Register my.HunterFan.com 9. Control Control from any smartphone, tablet, laptop or desktop computer. Form# 44123-01 20120814 ©2012 Hunter Fan Co.
Need help?
Do you have a question about the Internet Thermostat and is the answer not in the manual?
Questions and answers