Table of Contents
Advertisement
Quick Links
Download this manual
See also:
Installation Manual
Advertisement
Table of Contents

Related Manuals for Bosch AutoDome


Summary of Contents for Bosch AutoDome
- Page 1 AutoDome Easy Mount Instruction Manual...
- Page 2 AutoDome, Bilinx, Bosch, the Bosch logo, DiBos, FastAddress and VIDOS are registered trademarks of Bosch Security Systems, inc. Due to the nature of this material, this document refers to numerous hardware and software products by their trade names, In most, if not all cases, these designations are claimed as trademarks or registered trademarks by their respective companies in the United States of America.
-
Page 4: Important Safeguards
| AutoDome Easy Mount Preface This guide describes how to install the AutoDome Easy mount. Audience This guide is intended for qualified installation and service personnel who are familiar with the applicable national and local electrical codes. Important Safeguards Read Instructions - All the safety and operating instructions should be read before the unit is operated. -
Page 5: Customer Support And Service
For additional information, see www.boschsecurity.com Related Publications Refer to the latest Bosch Security Systems, Inc. Databook for the most up-to-date datasheets. To obtain a copy of the Databook, please contact your local Bosch representative. You can also visit the Bosch Security Systems World Wide Web site at: http://www.boschsecurity.com to view a cur- rent listings of our publications. -
Page 6: Table Of Contents
| Table of Contents AutoDome Easy Mount Table of Contents Unpacking Parts List Installation Installing the Wall Mount Installing the Pipe Mount Maintenance Dimensional Outline Wall Mount Dimensions Pendant Pipe Mount Dimensions Bosch Security Systems Instruction Manual F01U064856 | 1.0 | 2006.07... -
Page 7: Unpacking
Verify that all the parts listed in the Parts List below are included. If any items are missing, notify your Bosch Security Systems Sales or Customer Service Representative. The original packing carton is the safest container in which to transport the unit and must be used if returning the unit for service. -
Page 8: Installation
| Installation AutoDome Easy Mount Installation This installation should be made by qualified service personnel and conform to the National Electrical Code and applicable local codes. Installing the Wall Mount Determine a secure location for the wall mount. Use the mount as a template to mark the location of the mount holes. - Page 9 AutoDome Easy Mount Installation | en Attach the mounting plate (supplied with Dome) to the dome mounting cap with the sup- plied three (3) screws. Ensure that the mounting plate’s “front” end, as labeled on the plate, is screwed into the threaded stud furthest away from the wall as seen in Figure 2.2.
- Page 10 13. Attach the camera to the mounting plate by turning the dome camera to the right approx- imately 15 degrees and locking into place as seen in Figure 2.4. Fig. 2.4 Attaching the AutoDome Easy to the mounting plate 14. Secure the safety locking screw with the locking torx wrench (T-10) supplied with the AutoDome Easy.
-
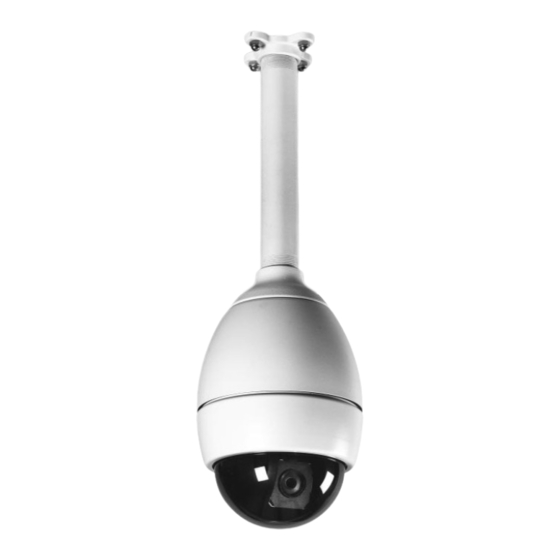
Page 11: Installing The Pipe Mount
NOTICE! The fasteners and mounting surface must be capable of supporting a maximum load of 11.33 Kg (25 pounds). Fig. 2.5 Attaching the pendant pipe mount to the ceiling CAUTION! Select a rigid mounting location to prevent excessive vibration to the AutoDome Easy Camera. Bosch Security Systems Instruction Manual F01U064856 | 1.0 | 2007.03... - Page 12 | Installation AutoDome Easy Mount Attach the mounting plate (supplied with Dome) to the dome mounting cap with the sup- plied three (3) screws. Ensure that the mounting plate’s front end, as labeled on the plate, is screwed to the first front thread as seen in Figure 2.6.
-
Page 13: Maintenance
12. Attach the camera to the mounting plate by turning the dome camera to the right approx- imately 15 degrees and locking into place as seen in Figure 2.8. Fig. 2.8 Attaching the AutoDome Easy to the mounting plate 13. Secure the safety locking screw with the locking torx wrench (T-10) supplied with the AutoDome Easy. -
Page 14: Dimensional Outline
| Dimensional Outline AutoDome Easy Mount Dimensional Outline The following illustrations depict the dimensional outlines for the wall mount and for the pen- dant pipe mounts. Wall Mount Dimensions Pendant Pipe Mount Dimensions F01U064856 | 1.0 | 2007.03 Instruction Manual... - Page 16 +31 40 2577 200 Singapore 577180 Phone +1 800 289 0096 Fax: +31 40 2577 202 Phone +65 6319 3450 +1 585 223 9180 nl.securitysystems@bosch.com +65 63139 3499 www.boschsecurity.us www.boschsecurity.nl www.boschsecurity.com www.boschsecurity.com © Bosch Security Systems, Inc., 2007; F01U064856 | 1.0 | 2007.03...
Need help?
Do you have a question about the AutoDome and is the answer not in the manual?
Questions and answers