Table of Contents
Advertisement
Quick Links
A0280IVZ.fm
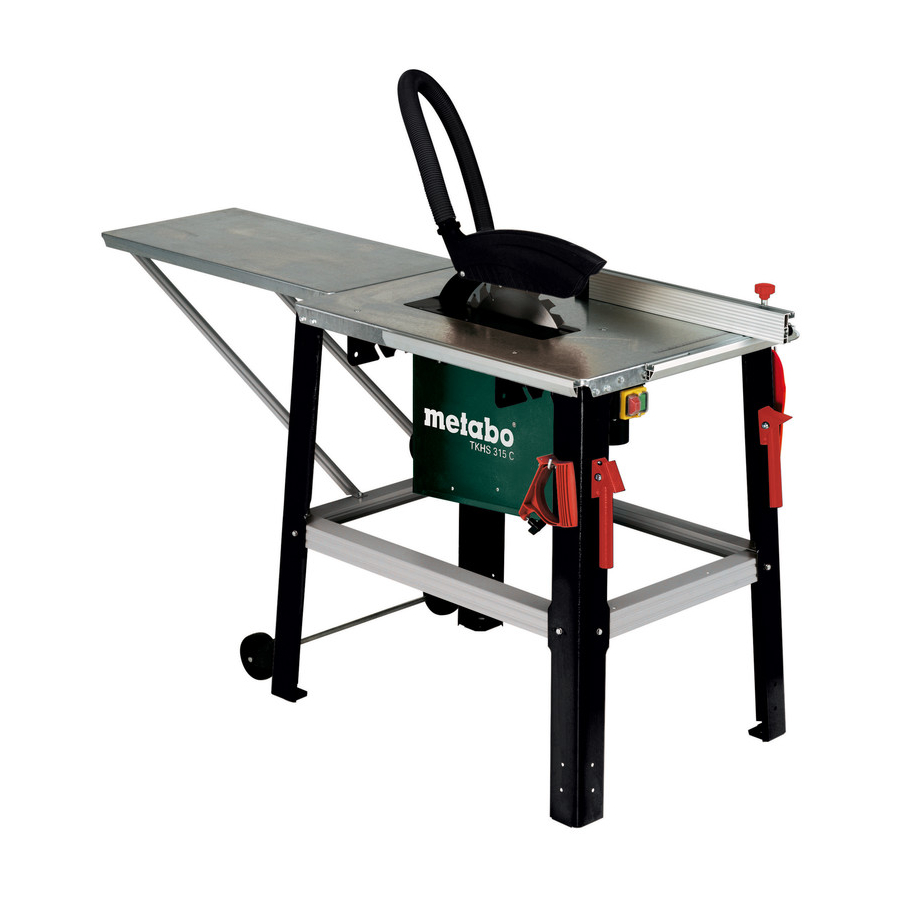
TKHS 315 C
Betriebsanleitung . . . . . . . . . . . . . . . . . . . . .3
Operating Instruction . . . . . . . . . . . . . . . . .15
Instructions d'utilisation . . . . . . . . . . . . . . .27
Manuale d'istruzioni . . . . . . . . . . . . . . . . . .40
Manual de uso . . . . . . . . . . . . . . . . . . . . . .53
Advertisement
Table of Contents

Summary of Contents for Elektra Beckum TKHS 315 C
- Page 1 A0280IVZ.fm TKHS 315 C Betriebsanleitung .....3 Operating Instruction ....15 Instructions d'utilisation .
- Page 2 által végzett vizsgálat szerint megegyezik az alábbi építési το**** mintapéldánnyal *** a **** TKHS 315 C *EN 1870-1, EN 55014-1, EN 55014-2, EN 61000-3-2, EN 61000-3-3, DIN EN 62079 ** 98/37/EG, 89/336/EWG, 73/23/EWG, 93/68/EWG *** AL 02 10 13037 035 TÜV Product Service, Sylvesterallee 2, D - 22525 Hamburg...
-
Page 3: Table Of Contents
XA0039E1.fm Operating Instruction ENGLISH ENGLISH 1. Scope of delivery Plate, table rear extension Transport handle (2x) – Operating instructions and spare parts list Blade guard Leg (4x) – Hardware bag Suction hose Stanchion, short (2x) Hose carrier Stanchion, long (2x) Universal fence Wrench for saw blade change table panel, c/w with motor... -
Page 4: Blade Guard
ENGLISH 2. Machine overview Table rear extension ON/OFF switch Suction hose Transport handles Blade guard Accessory holder for saw blade change wrenches Universal fence – can be used as rip fence Motor carrier unit – angle of (installed on front) inclination steplessly adjustable or mitre fence from 90°... -
Page 5: Please Read First
ENGLISH The equipment manufacturer is not General safety instruc- Table of contents liable for any damage resulting from tions neglect of these operating instruc- Scope of delivery ...... 15 When using this tool observe the fol- tions. Machine overview ..... 16 lowing safety instructions,... -
Page 6: Symbols On The Machine
ENGLISH Always keep sufficient distance to cords, by a qualified specialist. Have dam- the saw blade. Use suitable feeding aged switches replaced by a service cables or aids, if necessary. Keep sufficient centre. Do not operate tool if the wires, or to which any of the distance driven components... -
Page 7: Guide Extrusion
ENGLISH Push stick 6. Operating elements The push stick (41) serves as an exten- sion of the hand and protects against ON/OFF switch accidental contact with the saw blade. To start = press green switch button (43). Always use the push stick if the distance between saw blade and rip fence is less To stop = press red switch button than 120 mm. -
Page 8: Hose Carrier
ENGLISH (55) Small edge: for cutting thin stock; when the saw blade is tilted. (56) Wide edge: for cutting thick stock 7. Assembly Danger! Modifications of the saw or the Caution! use of parts not tested and approved Make sure the cable does not by the equipment manufacturer can run over sharp edges and is not bent. - Page 9 ENGLISH Guide extrusion installation (81) to the rear edge of the saw Wheel set installation table as illustrated. Item Description Qty. Item Description Qty. Hexagon head screw Wheel set M6 x 16 Hexagon head screw Guide extrusion, M6 x 16 short Washer 6.4 Guide extrusion, long...
-
Page 10: Mains Connection
ENGLISH Accessory holder installation Position power supply cable so it Avoid typical operator mistakes: does not interfere with the work Do not attempt to stop the saw Item Description Qty. and is not damaged. blade by pushing the workpiece Hexagon nut M6 Protect power supply cable from against its side. -
Page 11: Universal Fence
ENGLISH Set required saw blade tilt. Arrest the set bevel angle by tight- ening the handwheels. Sawing with the rip fence Slide universal fence into the guide extrusion at the front of the saw. Adopting the fence extrusion to the workpiece height: Set and arrest the saw blade tilt. -
Page 12: Tips And Tricks
ENGLISH Loosen arbor bolt (105) with span- 9. Tips and tricks Danger! ner (L.H. thread!). Hold outer blade Do not extend arbor bolt tighten- collar (106) with open jaw wrench to Before cutting a workpiece to size ing wrench. counter. make trial cuts on pieces of scrap. -
Page 13: Repairs
ENGLISH These instructions are printed on paper 11. Repairs produced with elemental chlorine-free bleaching process. Danger! Repairs to electric tools must be carried out by qualified electri- 15. Trouble Shooting cians only! Danger! Electric tools in need of repair can be Before carrying out any fault sent to the service centre of your coun- service or maintenance work, always:... -
Page 14: Technical Specifications
ENGLISH 16. Technical specifications TKHS 315 C TKHS 315 C Saudi Arabia Voltage 230 V / 1~50 Hz 230 V / 1~60 Hz Nominal current Fuse protection min. 1 - 16 (time-lag) 1 - 16 (time-lag) Protection class IP 54... - Page 15 U3a0280.fm 091 005 8860 091 005 8967 091 003 1260 091 101 8691 091 005 8851 091 000 0250 091 000 0195 091 001 2282 091 005 3353 091 005 3361 091 005 3345...


Need help?
Do you have a question about the TKHS 315 C and is the answer not in the manual?
Questions and answers