BodyCraft F603 Assemble Manual
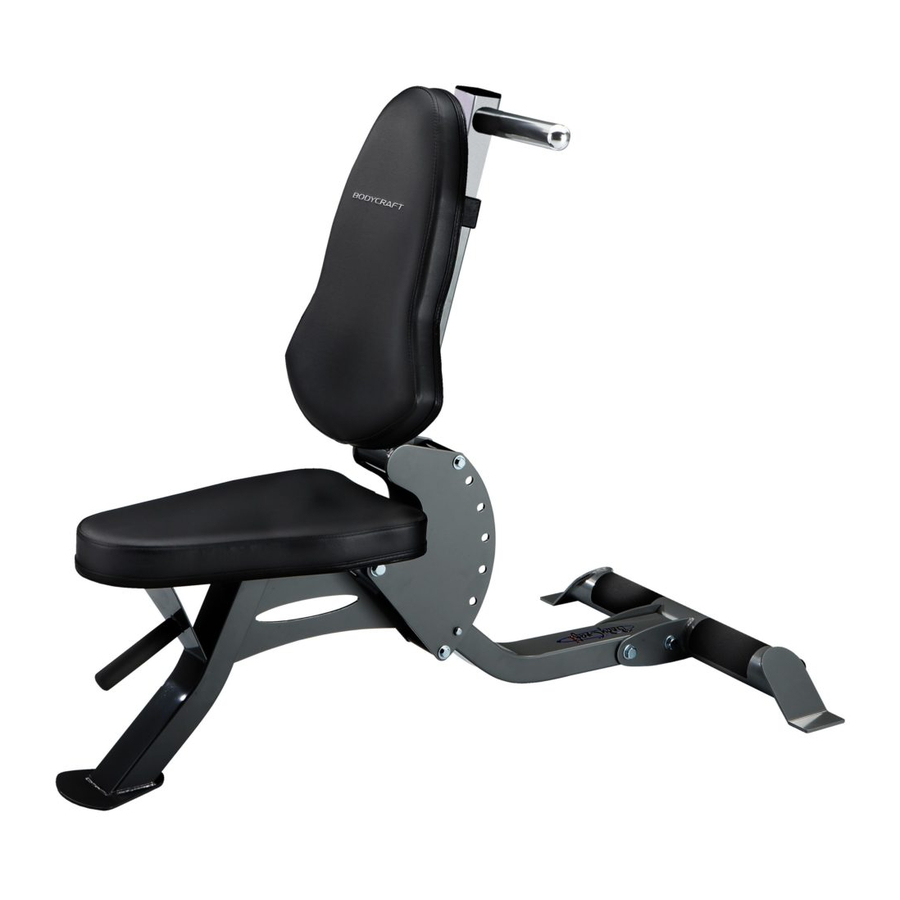
Flat incline bench
Hide thumbs
Also See for F603:
- Assembly instructions manual (28 pages) ,
- Assembly manual (7 pages) ,
- Brochure (2 pages)
Advertisement
FLAT/INCLINE BENCH ASSEMBLY MANUAL
MODEL F603
QUESTION?
As a quality home gym supplier we are committed to your complete satisfaction. If you have
questions, or find missing or damaged parts, we will guarantee your complete satisfaction through
our authorized dealer service centers or our home office customer service department. Please call
your local dealer for assistance or BodyCraft at 800-990-5556 (9:00 AM - 5:00 PM). Our trained
technicians will provide immediate assistance to you, free of charge.
Bodycraft is a division of Recreation Supply Inc.
P.O. BOX 181
Sunbury, OH 43074
MA712
Advertisement
Table of Contents

Related Manuals for BodyCraft F603


Summary of Contents for BodyCraft F603
- Page 1 Please call your local dealer for assistance or BodyCraft at 800-990-5556 (9:00 AM - 5:00 PM). Our trained technicians will provide immediate assistance to you, free of charge.
-
Page 2: Before You Begin
3. Inspect and tighten all parts before every use. Replace any worn parts immediately. Failure to do so may result in serious injury. 4. Keep children away from the BODYCRAFT F603 BENCH at all times. 5. Keep your hands away from moving parts other than the designated handles. - Page 3 OVERVIEW...
-
Page 4: Parts List
PARTS LIST NO. DESCRIPTION QTY. REAR FRAME BASE FRAME BACK SUPPORT FRAME BACK ADJ. SLIDER HANDLE BAR BACK PAD SEAT PAD SHEET NONSLIP HAND GRIP SLEEVE WHEEL RECT. PLASTIC BUSHION 45 X 75mm END RECT. PLUG STEEL BUSHION SPRING KNOB LONGER POP PIN 1/2"... - Page 5 STEP 1. Attach the Rear Frame (1) to Base Frame (2) using two 1/2" X 4" Hex Bolts (18), four 1/2" Washers (22) and two 1/2" Nylon Nuts (24).
- Page 6 STEP 1. Attach the Back Support Frame(3) to the Base Frame (2) using one 1/2" X 4-1/2" Hex Bolt (17), two 1/2" Washers (22), and one 1/2" Nylon Nut (24). Tighten this bolt and loosen just enough for the Back Support Frame (3) to rotate freely.
- Page 7 STEP 1. Attach the Back Pad (6) to the Back Adj. Slider (4) using four 3/8" X 1"' Hex Threaded Bolts (20), and four Washers (23). Slide the Back Adj. Slider (4) onto the Back Support Frame (3) and lock it into place at your desired height using the Spring Knob (15).
Need help?
Do you have a question about the F603 and is the answer not in the manual?
Questions and answers