Advertisement
Quick Links
Download this manual
See also:
Instruction Booklet
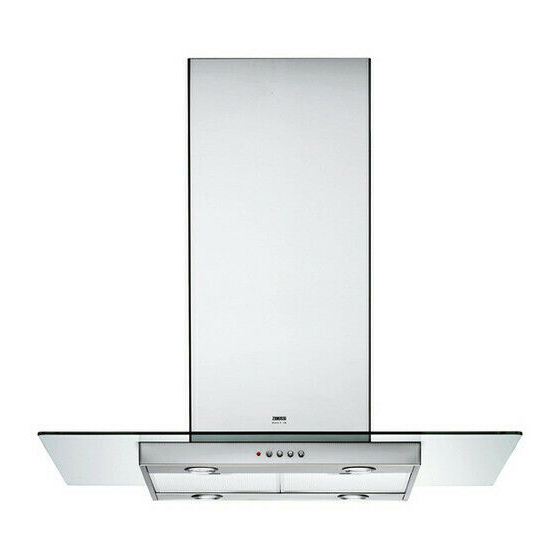
Cappa
Cooker hood
Hotte de cuisine
Dunstabzugshaube
Dampkap
ZHC 951
MANUALE DI INSTALLAZIONE, USO E MANUTENZIONE
INSTALLATION, USE AND MAINTENANCE HANDBOOK
MANUEL D'INSTRUCTIONS POUR L'INSTALLATION, L'EMPLOI ET L'ENTRETIEN
HANDBUCH FÜR INSTALLATION, BEDIENUNG UND WARTUNG
INSTRUCTIES VOOR MONTAGE, GEBRUIK EN ONDERHOUD
Advertisement

Summary of Contents for Zanussi ZHC 951
- Page 1 Cappa Cooker hood Hotte de cuisine Dunstabzugshaube Dampkap ZHC 951 MANUALE DI INSTALLAZIONE, USO E MANUTENZIONE INSTALLATION, USE AND MAINTENANCE HANDBOOK MANUEL D’INSTRUCTIONS POUR L’INSTALLATION, L’EMPLOI ET L’ENTRETIEN HANDBUCH FÜR INSTALLATION, BEDIENUNG UND WARTUNG INSTRUCTIES VOOR MONTAGE, GEBRUIK EN ONDERHOUD...
- Page 2 Dear Customer, If you follow the recommendations contained in this Instruction Manual, your appliance will give you constant high performance and will remain efficient for many years to come.
- Page 3 • The manufacturer will not be held liable for any damages resulting from incorrect or improper installation. • The minimum safety distance between the cooker top and the extractor hood is 650 mm. • Check that the mains voltage corresponds to that indicated on the rating plate fixed to the inside of the hood.
- Page 5 7.1a 14.1 7.1b...
- Page 6 • Use a plumb line to mark the centre of the hob on the ceiling/support shelf. • Place the drilling template 21 provided on the ceiling/support shelf, making sure that the template is in the correct position by lining up the axes of the template with those of the hob. •...
- Page 7 Upper frame • Align the power supply cable feed hole • Fix the upper frame to the ceiling or shelf using: • For concrete ceilings, use the appropriate plugs for the screw size (not provided). • For hollow brick ceilings of wall thickness of approximately 20 mm: use 4 plugs 11 and 4 screws 12h (5,2 x 70), provided.
- Page 8 • Position the upper chimney section and fix the upper part to the frame using the 2 screws 12c (2,9 x 9,5) provided. • Similarly, position the lower chimney section and fix the lower part to the frame using the 2 screws 12c (2,9 x 9,5) provided.
- Page 9 Light Switches the lighting system on and off. Motor running led. Motor Switches the extractor motor on and off at low speed. Used to provide a contin- uos and silent air change in the presence of light cooking vapours. Speed Medium speed, suitable for most operating conditions given the optimum treated air flox/noise level ratio.
- Page 10 • The filters must be cleaned every 2 months of operation, or more frequently for particularly heavy usage, and can be washed in a dishwasher. • Remove the filters one at a time by pushing them towards the back of the group and pulling down at the same time.


Need help?
Do you have a question about the ZHC 951 and is the answer not in the manual?
Questions and answers