Zanussi ZHC 950 Installation And Use Manual
Hide thumbs
Also See for ZHC 950:
- Instruction booklet (21 pages) ,
- Installation, use and maintenance handbook (60 pages)
Advertisement
Quick Links
Download this manual
See also:
Instruction Booklet
Cappa
Cooker hood
Hotte de cuisine
Dunstabzugshaube
Dampkap
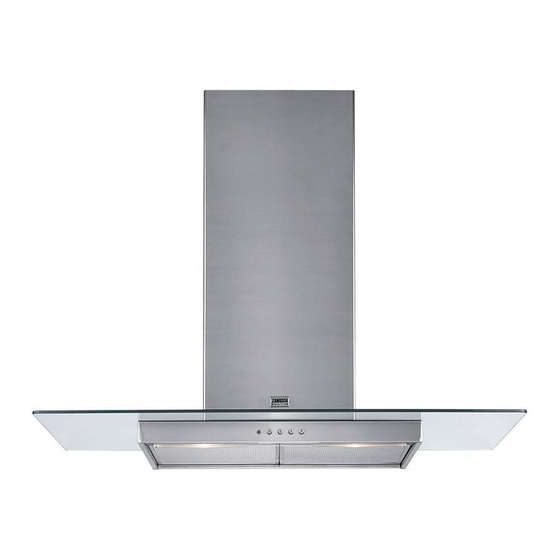
ZHC 950
MANUALE DI INSTALLAZIONE, USO E MANUTENZIONE
INSTALLATION, USE AND MAINTENANCE HANDBOOK
MANUEL D'INSTRUCTIONS POUR L'INSTALLATION, L'EMPLOI ET L'ENTRETIEN
HANDBUCH FÜR INSTALLATION, BEDIENUNG UND WARTUNG
INSTRUCTIES VOOR MONTAGE, GEBRUIK EN ONDERHOUD
Advertisement

Related Manuals for Zanussi ZHC 950


Summary of Contents for Zanussi ZHC 950
- Page 1 Cappa Cooker hood Hotte de cuisine Dunstabzugshaube Dampkap ZHC 950 MANUALE DI INSTALLAZIONE, USO E MANUTENZIONE INSTALLATION, USE AND MAINTENANCE HANDBOOK MANUEL D’INSTRUCTIONS POUR L’INSTALLATION, L’EMPLOI ET L’ENTRETIEN HANDBUCH FÜR INSTALLATION, BEDIENUNG UND WARTUNG INSTRUCTIES VOOR MONTAGE, GEBRUIK EN ONDERHOUD...
- Page 2 Dear Customer, If you follow the recommendations contained in this Instruction Manual, your appliance will give you constant high performance and will remain efficient for many years to come.
- Page 3 • The manufacturer will not be held liable for any damages resulting from incorrect or improper installation. • The minimum safety distance between the cooker top and the extractor hood is 650 mm. • Check that the mains voltage corresponds to that indicated on the rating plate fixed to the inside of the hood.
- Page 5 Wall marking: • Draw a vertical line on the supporting wall up to the ceiling, or as high as practical, at the centre of the area in which the hood will be installed. • Draw a horizontal line at 650 mm above the hob. •...
- Page 6 • Before attaching the hood body, tighten the two screws Vr located on the hood body mounting points. • Hook the hood body onto the screws 12a • Fully tighten support screws 12a • Adjust screws Vr to level the hood body. When installing the ducted version, connect the hood to the chimney using either a flexible or rigid pipe ø...
- Page 7 Upper exhaust flue • Slightly widen the two sides of the upper flue and hook them behind the brackets 7.2.1, making sure that they are well seated. • Secure the sides to the brackets using the 4 screws 12c (2,9 x 9,5) supplied. •...
- Page 8 • The filters must be cleaned every 2 months of operation, or more frequently for particularly heavy usage, and can be washed in a dishwasher. • Remove the filters one at a time by pushing them towards the back of the group and pulling down at the same time.
- Page 9 40 W incandescent light. • Remove the screw fixing the Lighting support. • Pull the Lighting support down. • Extract the lamp and replace with another of the same type. • Replace the lighting support in reverse order.
Need help?
Do you have a question about the ZHC 950 and is the answer not in the manual?
Questions and answers