Advertisement
Cappa
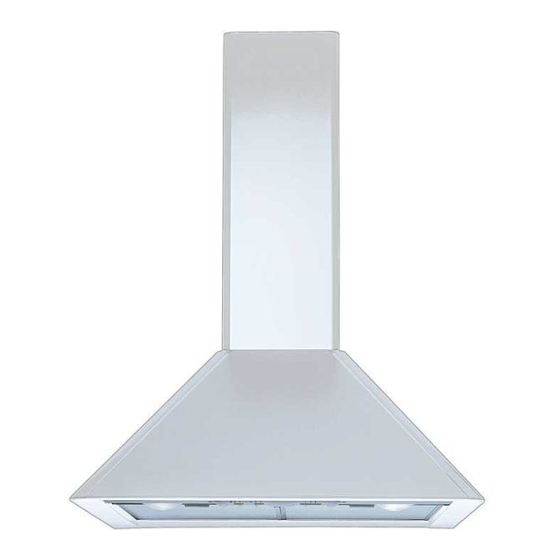
Cooker hood
Hotte de cuisine
Dunstabzugshaube
Dampkap
ZHC 615-915
MANUALE DI INSTALLAZIONE, USO E MANUTENZIONE
INSTALLATION, USE AND MAINTENANCE HANDBOOK
MANUEL D'INSTRUCTIONS POUR L'INSTALLATION, L'EMPLOI ET L'ENTRETIEN
HANDBUCH FÜR INSTALLATION, BEDIENUNG UND WARTUNG
INSTRUCTIES VOOR MONTAGE, GEBRUIK EN ONDERHOUD
Advertisement
Table of Contents

Related Manuals for Zanussi ZHC 615


Summary of Contents for Zanussi ZHC 615
- Page 1 Cappa Cooker hood Hotte de cuisine Dunstabzugshaube Dampkap ZHC 615-915 MANUALE DI INSTALLAZIONE, USO E MANUTENZIONE INSTALLATION, USE AND MAINTENANCE HANDBOOK MANUEL D’INSTRUCTIONS POUR L’INSTALLATION, L’EMPLOI ET L’ENTRETIEN HANDBUCH FÜR INSTALLATION, BEDIENUNG UND WARTUNG INSTRUCTIES VOOR MONTAGE, GEBRUIK EN ONDERHOUD...
-
Page 5: Part 1 A Installation Instructions
Part 1 INSTALLATION INSTRUCTIONS 1 - GENERAL INFORMATION This canopy hood is designed to be fixed to any rigid vertical surface, over a gas or electric hotplate and can be used either in the extraction mode (ducted to the outside) or in the recirculation mode (internal recycling). -
Page 6: Installation
type. If other types of flue or appliance are fitted en-sure that there is an adequate supply of air into the room. When the cooker hood is used in conjunction with other appliances supplied with energy other than electric, the negative pressure in the room must not exceed 0,04 mbar to prevent fumes being drawn back into the room by the cooker hood. - Page 7 b) Pilot drill the wall using an 8 mm drill and fix the splashback using the 8 mm rawl plugs and screws supplied. c) If the fixing holes in the bottom of the splashback are not to be used to secure the splashback to the wall the installer should ensure that the bottom edge is tucked down behind the rear of the worktop.
-
Page 8: Operation
d) Chimney hood with grilles: once the chimney stack has been installed, fit the two venting grilles into the apertures located on either side of the lower chimney section. The grilles are marked with two arrows and should be fitted with one arrow pointing upwards and the other toward the front. -
Page 9: Maintenance
3 - MAINTENANCE Regular maintenance and cleaning will ensure good performance and reliability, while extending the working life of the hood. Special attention should be paid to the grease filters and to the charcoal filters when the hood is used in the recirculation mode. 3.1 - Metal grease filters 1 - Cleaning The metal grease filter should be cleaned every two months with normal usage and can be... - Page 10 a) Remove the metal clips T. The glass diffuser is kept in position by the retaining lugs Z. b) Pull the glass diffuser slightly to one side until it disconnects from the lug on the other side (arrow 1), then pull slightly downwards (arrow 2) and slide in the opposite direction (arrow 3) until the glass diffuser can be removed.
- Page 11 243_A02...
Need help?
Do you have a question about the ZHC 615 and is the answer not in the manual?
Questions and answers