Table of Contents
Advertisement
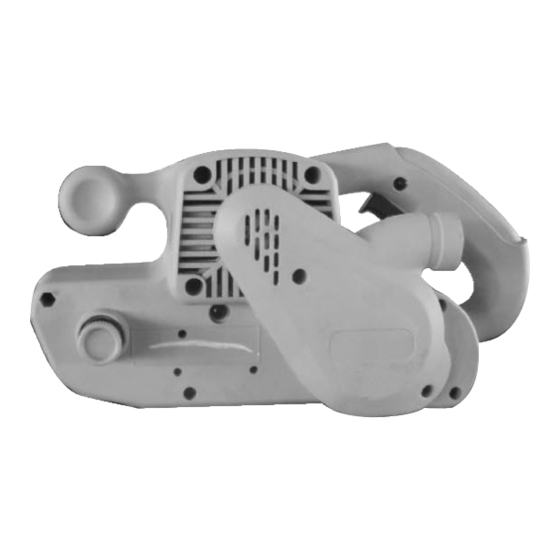
BELT SANDER
3" x 21"
Model 90045
ASSEMBLY AND OPERATING INSTRUCTIONS
®
3491 Mission Oaks Blvd., Camarillo, CA 93011
Visit our Web site at: http://www.harborfreight.com
®
®
Copyright
2003 by Harbor Freight Tools
. All rights reserved. No portion of this
manual or any artwork contained herein may be reproduced in any shape or form
without the express written consent of Harbor Freight Tools.
For technical questions, please call 1-800-444-3353.
Advertisement
Table of Contents

Summary of Contents for Chicago Electric 90045
-
Page 1: Belt Sander
2003 by Harbor Freight Tools . All rights reserved. No portion of this manual or any artwork contained herein may be reproduced in any shape or form without the express written consent of Harbor Freight Tools. For technical questions, please call 1-800-444-3353. -
Page 2: Product Specifications
Do not operate power tools in explosive atmospheres, such as in the presence of flammable liquids, gases, or dust. Power tools create sparks which may ignite the dust or fumes. SKU 90045 For technical questions, please call 1-800-444-3353. PRODUCT SPECIFICATIONS 120 V / 60 Hz / 7.5 Input Amps / 900 Watts. -
Page 3: Electrical Safety
Do not use a power tool while tired or under the influ- ence of drugs, alcohol, or medication. A moment of inattention while operat- ing power tools may result in serious personal injury. SKU 90045 For technical questions, please call 1-800-444-3353. ELECTRICAL SAFETY... - Page 4 Do not use a damaged tool. Tag damaged tools “Do not use” until repaired. SKU 90045 For technical questions, please call 1-800-444-3353. TOOL USE AND CARE...
-
Page 5: Specific Safety Rules
Maintain labels and nameplates on the Belt Sander. These carry important information. If unreadable or missing, contact Harbor Freight Tools for a replace- ment. Keep this product and all other tools away from children and animals. Do not allow spectators around the work area. - Page 6 Always remove all adjusting keys and wrenches from the Belt Sander be- fore starting. Do not pull or carry the Belt Sander by its Power Cord (14), or pull the Cord around sharp corners or edges. Do not unplug the Belt Sander by pulling on the Cord.
-
Page 7: Grounded Tools: Tools With Three Prong Plugs
The green wire in the cord must be the only wire connected to the tool’s grounding system and must never be attached to an electrically “live” terminal. (See Figure A.) SKU 90045 For technical questions, please call 1-800-444-3353. GROUNDING... -
Page 8: Double Insulated Tools: Tools With Two Prong Plugs
(See Figure B.) Double insulated tools may be used in either of the 120 volt outlets shown in the following illustration. (See Figure B.) SKU 90045 For technical questions, please call 1-800-444-3353. do not require grounding. They have a FIGURE B... -
Page 9: Extension Cords
12.1 – 16.0 16.1 – 20.0 * Based on limiting the line voltage drop to five volts at 150% of the rated amperes. FIGURE C SKU 90045 For technical questions, please call 1-800-444-3353. EXTENSION CORDS (120 VOLT) EXTENSION CORD LENGTH... -
Page 10: Assembly Instructions
When unpacking, check to make sure all the parts shown on the Parts List on page 14 are included. If any parts are missing or broken, please call Harbor Freight Tools at the number shown on the cover of this manual as soon as possible. - Page 11 The machined parts near the Tension Adjuster (29) may be sharp. Wear work gloves when adjusting the tension. Grip the Belt Sander firmly with both hands. Lift the tool and squeeze the Power Switch (66). As the Sanding Belt (46) turns, observe the Sanding Belt to see if it is turning on-center and not moving to the right or left.
-
Page 12: Operating Instructions
Plug the Power Cord (14) into the nearest 120 volt, grounded, electrical outlet. Firmly grip the Belt Sander with both hands. Then, squeeze the Power Switch (66) to turn on the tool. If desired, use the Switch Lock to run the Belt Sander in its continuous mode. -
Page 13: Inspection, Maintenance, And Cleaning
Do not force the Belt Sander to remove material faster than it is designed to cut. Push and pull the Sanding Belt (46) gradually along the surface of the workpiece. Once the sanding job is completed, turn off the Belt Sander and wait until the Sanding Belt (46) stops turning. -
Page 14: Please Read The Following Carefully
Column Pin (3) Retainer (10) Nameplate NOTE: Some parts are listed and shown for illustration purposes only, and are not available individually as replacement parts. SKU 90045 For technical questions, please call 1-800-444-3353. PARTS LIST Part # Description Carbon Brush Holder... -
Page 15: Assembly Diagram
ASSEMBLY DIAGRAM REV 12/04 SKU 90045 For technical questions, please call 1-800-444-3353. Page 15...


Need help?
Do you have a question about the 90045 and is the answer not in the manual?
Questions and answers
Looking for replacement drive belt. Xl 110is to large. Any idea of a part number or source.
The replacement part number for a Chicago Electric 90045 drive belt is 6985472135127. It is available from sources such as Amazon Canada.
This answer is automatically generated