Hoover Washing Machine Instructions For Use Manual
Hide thumbs
Also See for Washing Machine:
- Instructions for use manual (17 pages) ,
- Instructions for use manual (17 pages) ,
- Instruction book (40 pages)
Table of Contents
Advertisement
Advertisement
Table of Contents

Related Manuals for Hoover Washing Machine


Summary of Contents for Hoover Washing Machine
- Page 1 ® Washing machine Instructions for use...
-
Page 2: Table Of Contents
IT IS CORRECTLY INSTALLED AND THAT THE TRANSIT plug. SCREWS ARE REMOVED AS SHOWN IN PAGE 27. When disposing of an old washing machine, please ensure that the door lock is rendered inoperable to prevent children shutting themselves in the appliance. -
Page 3: General Delivery Notes
- Wait for the “STOP” indicator light to flash B) Turn off the tap C) Hoover equips all its appliances with earthing. Ensure that the mains supply is earthed, and if it is not, seek assistance from a qualified person. -
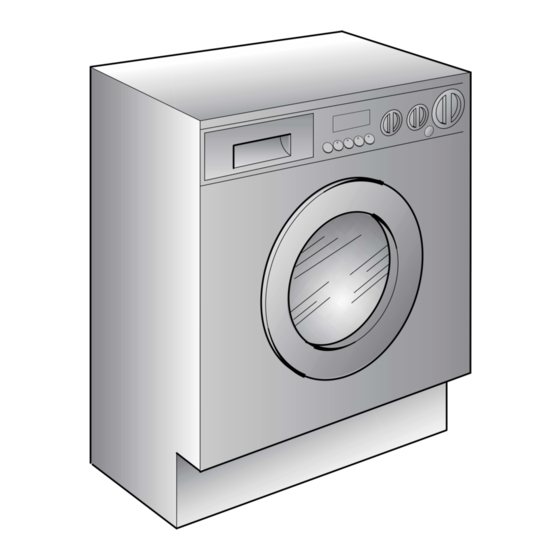
Page 4: Description Of Controls
Description of controls Door open button Fig. 1 Important: a special safety device prevents the door from opening at the end of the wash/spin cycle. at the end of the spin phase wait up to 2 minutes before opening the door. DOOR SECURITY indicator light The “Door Security”... -
Page 5: Programme Table
The option buttons should be selected before pressing CREASE GUARD button the "Start/Pause" button. Press the button to select or deselect this function. The Crease Guard function minimizes creases as much as possible with a uniquely designed anti-crease system that is tailored to specific fabrics. START DELAY BUTTON MIXED FABRICS - the water is gradually cooled throughout the final two rinses with no Appliance start time can be set with this button, delaying the star by 3, 6 or 9 hours. - Page 6 TIME TO END indicator light Once a programme is selected the programme selector remains stationary on the selected In order to manage your time better, this washing machine features an indicator light system programme till cycle ends. that keeps you constantly informed on the remaining cycle time.
-
Page 7: Table Of Programmes
TABLE OF PROGRAMMES PROGRAMMES SELECTOR TEMP. PROGRAM FOR WEIGHT CHARGE DETERGENT °C Resistant fabrics Cotton, linen 90°C Up to: 90° Please read these notes Cotton, mixed 60°C Up to: 60° resistant When washing heavily soiled laundry it is recommended the load is reduced to 3 kg maximum. -
Page 8: Programme Selector
Programme “FAST SPIN” carries out a maximum spin. Programme selector For the various types of fabrics and various degrees of dirt the washing machine has different DRAIN ONLY programme bands according to: wash cycle, temperature and length of cycle (see table of This programme drains out the water. -
Page 9: Automatic Variable Capacity
Manufacturer. The washing machine is fitted with an automatic reduction in consumption system (known as Automatic Variable Capacity). This system enables the machine to use the amount of water needed to wash and rinse the laundry in relation to the particular load. -
Page 10: Detergents, Washing Aids And Amounts To Use
Dosages Detergents, washing aids and amounts to use Only use detergents which are suitable for use in a washing machine. You will obtain the best results from your wash with the minimum use of chemical products Choice of detergent and the best care for your laundry if you take into consideration the degree of soiling as well General purpose detergents as the type of detergent to choose. -
Page 11: Main Wash
To prevent any possible waste of energy, water or detergent we recommend that you put a follow the wash care advice on the garment label for the most suitable care and full load in your washing machine, not exceed the recommended maximum load size. treatment of the laundry... -
Page 12: Cleaning And Routine Maintenance
Preparing the laundry A) Select the laundry. Do not use alcohol-based scourers and / or thinners on the outside of your washing machine, Loading the laundry just a wipe with a damp cloth will suffice. The washing machine needs very little maintenance: B) Open the porthole. -
Page 13: Investigating Malfunctions
D. Any faults arising from non-domestic use or unusual or abnormal use of the machine. 6. Machine vibrates a lot Washing machine not completely level. Adjust the special adjustable feet. E. Any faults arising from operation at an incorrect voltage. -
Page 14: Technical Data
SETTING UP + INSTALLATION Remove the polystyrene base and place the machine near its permanent position (diagram 1). Carefully cut through the hose retaining clip at the rear of the appliance (diagram 2). Remove the 4 fixing screws marked (A) and remove the 4 spacers marked (B) (diagram 3). -
Page 15: Electrical Connections
The Manufacturers will not be responsible for any possible damage to the machine caused by not For the washing machine to function properly the terminal end of the discharge hose (mouth) following the rules relating to releasing the mechanism. must be at a minimum of 50 cm and a maximum of 85 cm from the ground. - Page 16 The manufacturer declines all responsibility in the event of any printing mistakes in this booklet. The manufacturer also reserves the right to make appropriate modifications to its products without changing the essential characteristics.
- Page 17 ® This appliance is marked according to the European directive 2002/96/EC on Waste Electrical and Electronic Equipment (WEEE). By ensuring this product is disposed of correctly, you will help prevent potential negative consequences for the environment and human health, which could otherwise be caused by inappropriate waste handling of this product.
Need help?
Do you have a question about the Washing Machine and is the answer not in the manual?
Questions and answers