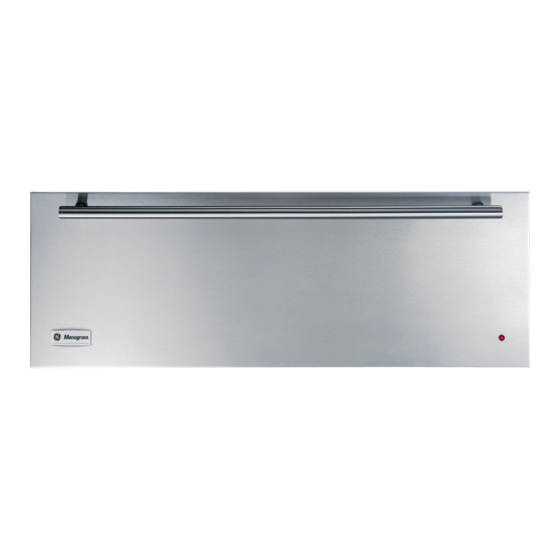
GE Monogram ZKD910 Installation Instructions Manual
27" and 30" warming drawers
Hide thumbs
Also See for Monogram ZKD910:
- Owner's manual (16 pages) ,
- Installation instructions manual (16 pages) ,
- Installation instructions manual (12 pages)
Table of Contents
Advertisement
Quick Links
Download this manual
See also:
Owner's Manual
Advertisement
Table of Contents

Related Manuals for GE Monogram ZKD910


Summary of Contents for GE Monogram ZKD910
- Page 1 Installation Instructions 27" and 30" Warming Drawers Models: ZKD910 ZTD910 131-i0700-i I 10-08 JR...
- Page 2 Safety Information BEFORE YOU BEGIN -&WARNING Read these instructions completelg and carefullg. Thisopplioncemust be properlygrounded. • IMPORTANT- Save these instructions See "Grounding the Applionce." for Iocol inspector's use. ForMonogrom locol serviceinyour oreo, 1.800.444.1845. • IM PORTANT-Observe all g overning For Monogrom Service in Conodo, codes ond ordinances.
-
Page 3: Table Of Contents
ZTD9 i0 into a wall or wall oven cabinetrg, or below a countertop. 27" Wide Model: ZKD910 FRONT PANEL ACCESSORIES JXPN2: Z×D27B, Z×D3OB: This kit provides for the installation of a custom Warming drawer pan kit. This kit includes supports front panel on 27"... -
Page 4: Product Dimensions
22" 26" 30" ZTDgI0w/ZXD30P 23-I/4" 27-I/2" 30" ZKD910 22" 26" 26-3/4" ADVANCE PLANNING • Electrical power cord is located on the right side • The drawer may be installed below o countertop, of the warming oven. Locate the outlet within reach a cooktop, o single or double oven and side bg side of the 56"... -
Page 5: Grounding The Appliance
Design Information GROUNDING THE APPLIANCE Please read carefully. FORPERSONAL SAFETYTHISAPPLIANCEMUST BE PROPERLY GROUNDED. Do not use an extension cord or adapter plug with this appliance. Follow National electrical codes or prevailing local codes and ordinances. Recessed Receptacle 7" This warming drawer must be supplied with 120V, 60Hz, Max,FromRear and connected to an individual, properly grounded branch onRight S ide... -
Page 6: Installation Preparation
Installation Preparation TOOLS REgUIRED MATERIALS REQUIRED {provided) 4 WoodScrews HandSaw SafetyGlasses MATERIALS REQUIRED (not provided) Drill and MeasuringTape 1/16" Bit Level 2x2or 2x4 2x2or 2x4 WoodBlock Lumberfor PhillipsScrewdriver for Anti-Tip Runners Security Adhesiveor other hardwarefor installing runnersor shelf to supportwarmerdrawer Runners must be level, rigidly mounted and capable of supporting 150 pounds. -
Page 7: Installation Options
Installation Preparation INSTALLATION OPTIONS Installation Below Installation Below a Double Oven a Single Oven 23-1/2" Min. t ..Inside 2x2 or 2x4 Anti-Tip 2x2 or 2x4 Anti-Tip BlockAgainst Rear Block AgainstRear _Wall, g" FromFloor Wall, g" FromFloor to Bottomof Block to Bottom of Block Allow 5/8"... -
Page 8: Installation Below A Countertop
Countertop Height Solid Barrier Dimensions ZTD910 28-I/2" ZKD910 26-I/2" 23-1/2" Min. *NOTE:When installingthe warmingdrawerbelowa cooktop, a solidbarriermustbe installedat least1"from the lowestpointof the bottomof cool<top burnerboxto the top Install a SolidBarrier and of cutout.Useanysolidmaterial s uchas1/4" thickplywood. A llow at least1/4" air gap a 1/4"... -
Page 9: Provide Cabinet Support
installation PROVIDE CABINET SUPPORT 2"x4"or 2"x4" or EquivalentRunners Equivalent R unners 23-1/2" 23-1/2" 4_25"_ _22"_ 30" 27" IMPORTANT:When installedbelowa singleor doubleoven,checkto besure . The support must be level and rigidlg mounted, thatany ovensupports abovethe cutoutdo not obstruct t he 23-1/2"required depth flush with the bottom edge of the cutout. - Page 10 WARMING DRAWER CUSTOM Installation PANEL ACCESSORY KIT Z×D27B AND Z×D30B Instructions For installation of 27" and 30" wide warming drawer custom panel and custom handle. BEFORE YOU BEGIN STEP I PREPARE DRAWER Read these instructions completely and carefully. FOR PANEL INSTALLATION •...
- Page 11 Installation [STEP 4 I SECURE CUSTOM PANEL [ STEP 6 I INSTALL LAMP JEWEL TO METAL MOUNTING PANEL Turn the assemblg appearance side up. • Use plastic to wood adhesive to secure the lamp • Lag the custom panel, appearance side down, jewel to the front of the wood panel.
-
Page 12: Professional Style Panel
Installation PROFESSIONAL STYLE PANEL ACCESSORY KIT Instructions ZXD30P BEFORE YOU BEGIN STEP 2 REMOVE ORIGINAL Read theseinstructions completelg and carefullg. DRAWER FRONT IMPORTANT- • • Remove the three screws from the bottom Save these instructions for local inspector's use. Observe all governing of the drawer edge. - Page 13 Notes...
- Page 14 Notes...
- Page 15 Notes...
- Page 16 For Monogram ® local service in your area, call 1.800.444.1845. NOTE: Product improvement is a continuing endeavor at General Electric. Therefore, materials, appearance and specifications are subject to change without notice. GE Consumer & Industrial Appliances 31-t0700-1] General Electric Company...
Need help?
Do you have a question about the Monogram ZKD910 and is the answer not in the manual?
Questions and answers