
Related Manuals for Broil King D3-1


Summary of Contents for Broil King D3-1
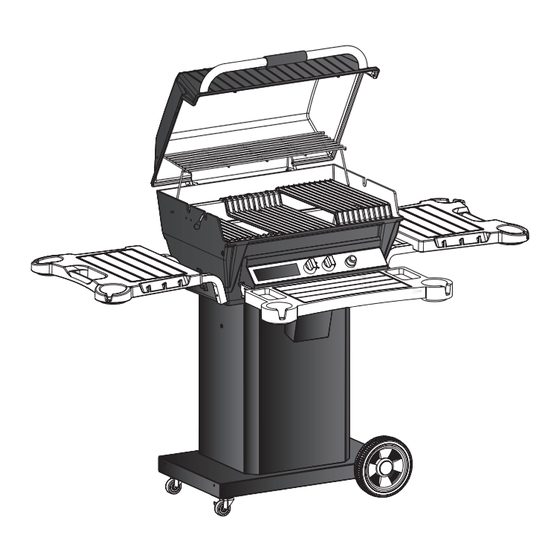
- Page 1 Deluxe "D" Gas Grill Owner’s Manual Optional Accessories Shown D3-1 and D4-1 Models B100691-4-0606 Page 1...
- Page 2 Parts may have sharp edges. Wear leather work gloves and handle parts carefully during the unpacking, assembly and installation. WARNING Broilmaster Gas Grills must ONLY use propane cylinders equipped with an Overfill Protec- ® tion Device (OPD). Use only a reputable propane dealer when exchanging or filling cylinders.
-
Page 3: Thank You
At Broilmaster, we continually strive to enhance the performance and quality of our products for your grilling enjoyment. Every effort will be made to ensure that Broilmaster continues to be your choice as the Deluxe grill of the future. Whether you are at the lake or in the privacy of your own backyard,... -
Page 4: Table Of Contents
ABLE OF ONTENTS Congratulations! You have chosen the finest grill for your outdoor cooking pleasure. Please take time to read this entire manual before assembling your Deluxe Broilmaster gas grill. ® Hardware Package ..........................5 Parts Diagram ............................6 List ................................7 Grill Assembly ..........................8-12 Propane Gas Grills ........................ -
Page 5: Hardware Package
Hardware Package B100691-4-0606 Page 5... -
Page 6: Parts Diagram
ARTS IAGRAM All repair part orders should be placed through your local Broilmaster dealer. To locate a dealer in your area, contact ® Broilmaster Customer Service at 800-851-3153 • .broilmaster.com. To ensure prompt and accurate service, please provide the following information when placing a repair part order: Model Number, Serial Number, Part Name, Part Number, and Quantity of parts needed. -
Page 7: List
"D" S ELUXE ERIES ARTS Index Part Description D3BL-1 D4BL-1 Grill Body Top (with Heat Indicator, Hinge and Bridge Pins) B100453 B073286 Grill Body Top (casting only) B100456 B076621 Heat Indicator (stainless) B076625 B076625 Lid Handle B070486 B070486 Foam Grip B073097 B073097 Retract-A-Rack (chrome) -
Page 8: Before You Begin
Follow all instructions unless noted to apply grill: only to other specific models. • Phillips screwdriver If you purchased an accessory with your Broilmaster, • Adjustable wrench set follow the instructions provided with the accessory for • Socket set assembly and installation. -
Page 9: Grill Assembly
RILL SSEMBLY Ignitor Assembly Slide the collector box spacer (26) and nut (provided on assembly) onto the collector box shaft and tighten. Figure 1. Note: Peel protective film from control panel label before installing ignitor. Figure 1 Installing the Ignitor Caution: Do not cut or damage ignitor wire. - Page 10 RILL SSEMBLY Radiation Shield Place the radiation shield (10) in the grill bottom (22). Figure 3. Installing the Burner Insert the burner assembly (9) into the grill bottom (22) with the venturi tubes facing the front of the grill. Figure 4. The gas jets from the control valve will be inside the ends of the venturi tubes when properly installed.
- Page 11 RILL SSEMBLY Handle For your added comfort a foam grip (4) has been provided. Figure 7. Tip: For ease of installation, slightly lubricate the front handle with liquid soap before pushing the foam grip into place. Figure 7 Fasten the front handle (3) to the grill lid (1) with two #10-24 x 1"...
- Page 12 RILL SSEMBLY Installing Racks Place the briquet rack on the burner assembly. Position the ceramic briquets evenly on the briquette rack without overlapping. Set the multilevel cooking grids Figure 8. Installing Char-Master Briquets Individually place the ‘Char-Master’ briquets in a single layer evenly on your grill’s briquet rack;...
-
Page 13: Propane Gas Grills
ROPANE RILLS Grill Location Gas Type When choosing the ideal location for your Broilmaster Never use Liquid Propane (LP) gas with a grill designed ® Deluxe Gas Grill, remember this grill is designed for for Natural gas, or Natural gas with a grill designed for outdoor use ONLY. - Page 14 A cylinder recommended procedures. that has been dropped, dented, or otherwise damaged must Warning: Broilmaster Deluxe Gas Grills require Liq- ® be replaced.
- Page 15 The pressure regulator’s fitting must remain clean and free of nicks and scratches. A dirty, nicked or scratched fitting can cause a gas leak, resulting in an explosion or fire. Use only genuine Broilmaster replacement parts ® unless otherwise specified by the manufacturer.
-
Page 16: Gas Conversion
Gas Conversion Gas Conversion Remove the hose and regulator from the valve. Replace the components inside of your grill. Propane grills include a conversion kit for natural gas. If Mueller you have a natural grill and wish to convert it to propane you will need to purchase the optional conversion kit #BCK195. -
Page 17: Gas Valve
Gas Valve Identifying Your Valve Valve mounting flange Valve stem cap Stamping on exterior of valve Gas inlet connection B100691-4-0606 Page 17... -
Page 18: Natural Gas Grills
ATURAL RILLS Gas Type Grill Location When choosing the ideal location for your Broilmaster The type gas required for your grill can be determined ® Deluxe Gas Grill, remember this grill is designed for from the product identification label located on the grill’s control panel. -
Page 19: Operation- Propane & Natural Grills
peration - ropane & atural rills Operating Instructions Checking for Gas Leaks Using the Igniter Check for gas leaks every time you connect your Broil- master propane gas grill to a Propane gas cylinder, when ® Caution: If a burner fails to light after 5 seconds, turn a connected cylinder has not been used recently, or when the burner OFF for 5 minutes, to allow the gas to clear, either a natural or propane grill is being used for the first... -
Page 20: Operation
Keep any electrical cord and fuel supply hose away from and provide better flavor. all heated surfaces. Cooking Broilmaster is happy to provide a cookbook with each of ® its grills. The cookbook contains helpful cooking tips and instructions as well as great tasting recipes for preparing many delicious foods on your grill. -
Page 21: Maintenance
Stainless steel burners often turn reddish brown after use. hot water. Touch-up paint is available from your dealer. This does not effect the performance of the grill. When Broilmaster protective covers are recommended. Stain- ® cleaning the interior of the grill, remove the burners and less steel components can be easily cleaned with a spray-on clean with a brass brush. -
Page 22: Troubleshooting
ROUBLESHOOTING Although the manufacturer has attempted to ensure that your grill will operate properly and satisfactorily, sometimes problems do arise. The following troubleshooting guide lists several possible problems and their probable cause and solution. Problem Cause Solution Burner will not Gas injector not inserted in ven- Realign/engage gas injector with the venturi light. -
Page 23: Warranty
WHAT IS COVERED AND FOR HOW LONG • From the date this Broilmaster Premium Grill is first purchased, we will make available at our factory a free replacement for any defective parts covered by this warranty on the following basis. Proof of purchase required. - Page 24 The Most Durable Grill Known To Man BROILMASTER ® A Division of Empire Comfort Systems, Inc. 918 Freeburg Ave. Belleville, Illinois 62220 Phone: 1-800-851-3153 FAX: 1-800-443-8648 Visit our web site at www.broilmaster.com Page 24 B100691-4-0606...
Need help?
Do you have a question about the D3-1 and is the answer not in the manual?
Questions and answers